


Simply change the trim to change the style.
10-15 minutes
Beginner
Introduction
Dissatisfied with the look of your recessed lights? Improve the appearance of your recessed lights by simply changing the trim. The task is simple and takes only minutes, and there are no tools needed!
Materials Required
- New recessed light trim
Project step-by-step (4)
Step 1
Determine the type of trim
Remove the existing trim and bulb and look up inside the metal housing for a sticker with the brand name, the model number and compatible trim styles. If you can’t find the information or the brand isn’t available, take the old trim to a lighting store and look for matches. Most manufacturers have several different types and sizes of housing that will accept a variety of trim styles.
Step 2
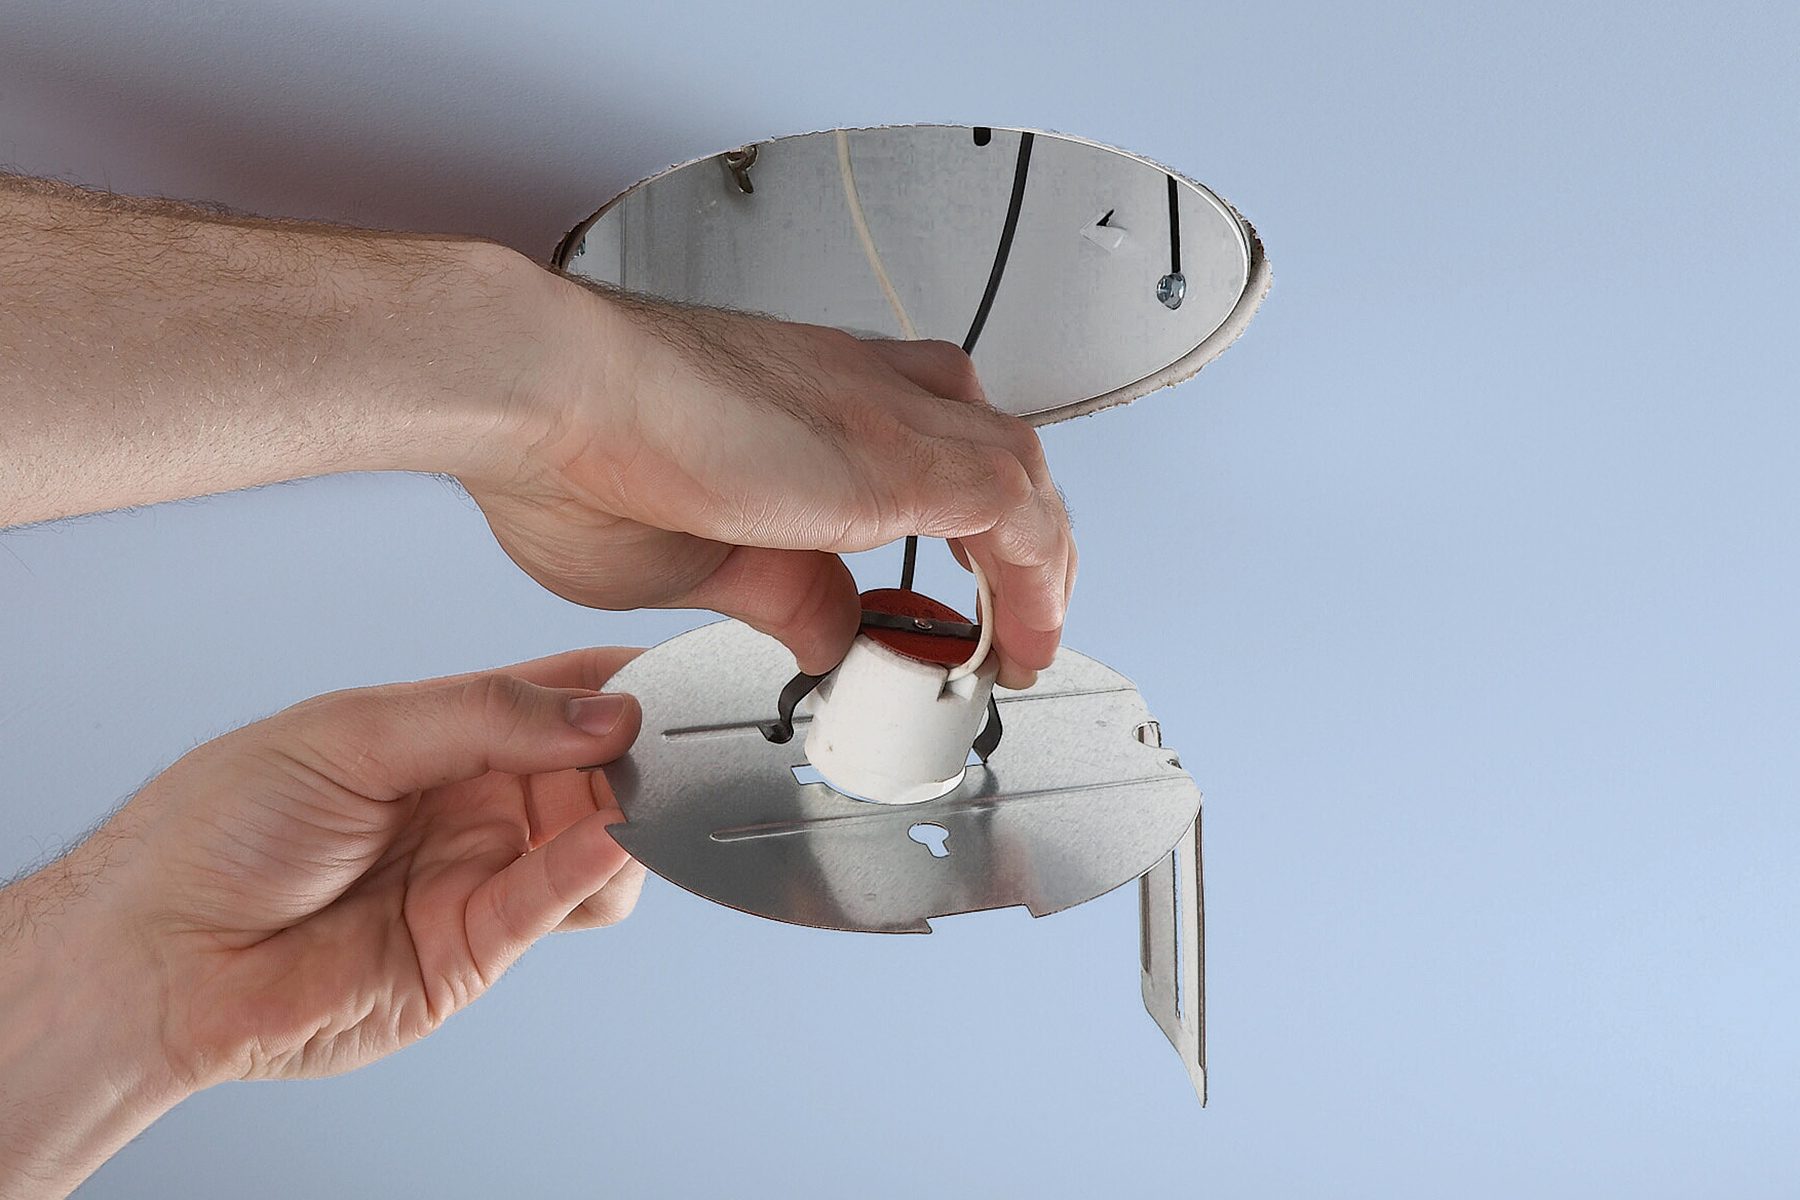
Remove the old trim and base
Changing old, yellowed trim for new trim is simple—just pull out the old trim and attach the new trim in the same hooks. Remove the metal base from the housing, then pinch the spring clamps that hold the ceramic light socket in place.
Step 3
Install the new trim
Slide the spring-loaded metal arms up into the slots in the housing, then push the trim up against the ceiling and put the lightbulb in.
Step 4
Eyeball-style trim
You can also replace standard trim with an eyeball-style trim that can be aimed in different directions, but it takes an extra step.
First, turn off the switch and circuit breaker and remove the bulb. Unscrew the wing nut that holds the base of the light in place and remove the socket. Then, snap the socket into the top of the eyeball shroud and push the eyeball trim up into the can. Be sure to use the type of bulb recommended on the label in the housing.
If you’re planning to save energy, you can upgrade light fixtures.