A quick and easy, no-soldering fix for your burst pipe.
An hour or less
Beginner
Less than $20
Introduction
Here is a quick and easy, no-soldering fix for your burst pipe.
Tools Required
- Disconnect clip
- Emery cloth
- Large bucket
- Pipe Cutter
Materials Required
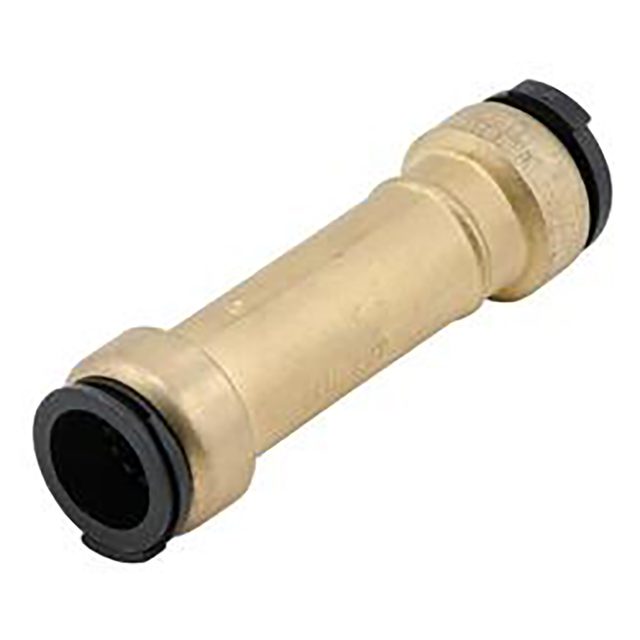
- Straight slip repair coupling
Watch How to Repair a Broken Pipe in Your Home
Project step-by-step (8)
Step 1
Shut off the Water
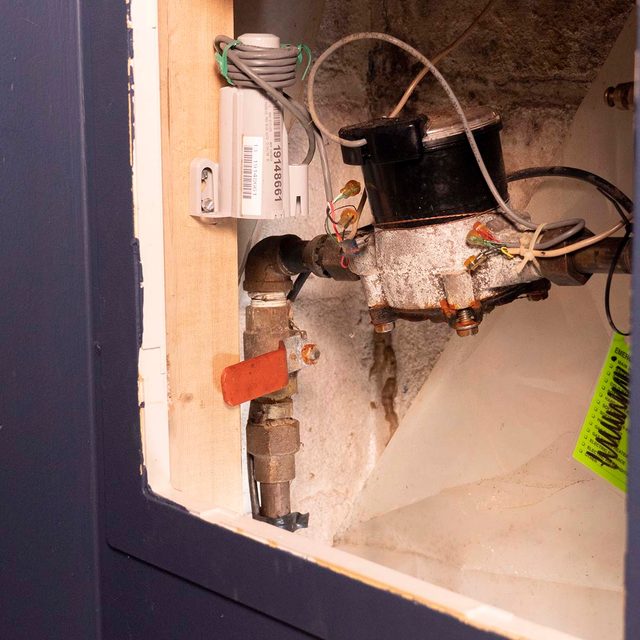
- Locate the shutoff valve to your water main and close the valve.
Step 2
Find the Leak
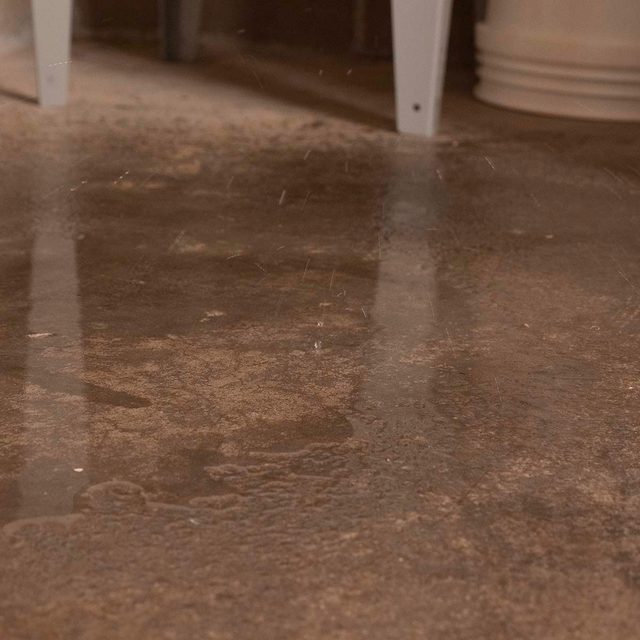
- The burst pipe could be a number of places in your house.
- Look for watermarks on the walls and ceiling. Wet floors and carpet are signs of a leaky pipe.
- You may have to cut open your wall or ceiling to access the problem.
Step 3
Push to Connect Fittings
- Push to connect fittings are compatible with PEX, Copper, CPVC, PE-RT and HDPE pipe.
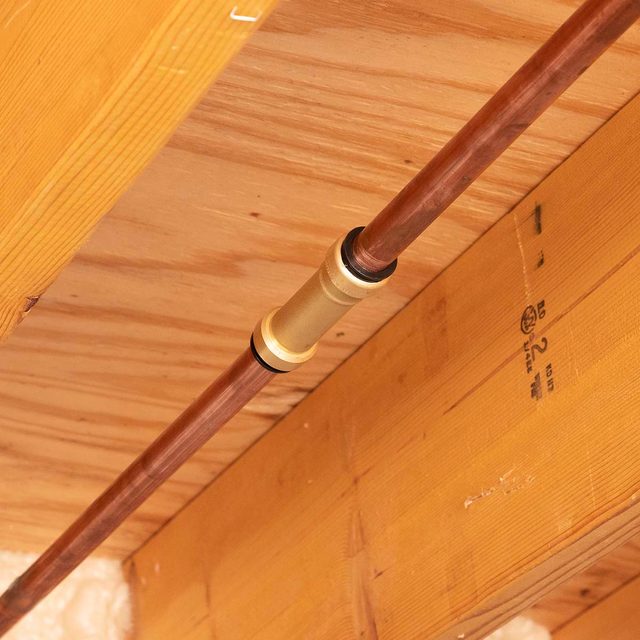
- Various fittings are available — tees, elbows, shut off valves and straight slip repair couplings (see photo).
- These fittings are removable and reusable. Use a disconnect clip to remove the fitting.
- A few brands available are SharkBite and Watts AquaLock.
Step 4
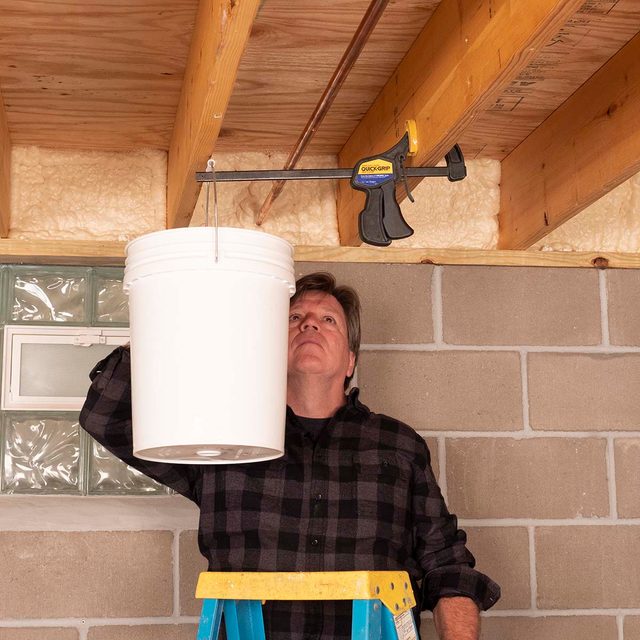
Drain the Pipe
- Even though you don’t need to drain the pipes to use push to connect fittings, you will stay drier if you do.
- Open all the faucets connected to the burst pipe and let the water drain out.
- Hang a bucket below the leaking pipe and let it drain.
Step 5
Cutting the Pipe
- Remove about 1-1/2-in. of the damaged section of the pipe with the proper cutting tool, making clean square cuts.
- Use a pipe cutter to cut copper and a PEX cutting tool for tubing. A hack saw works well for CPVC pipe.

Step 6
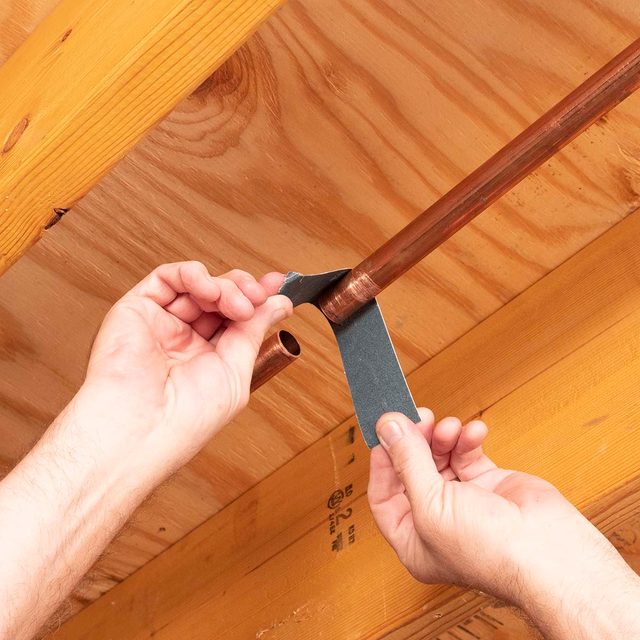
Cleaning the Pipe
- Use a deburring tool and emery cloth to remove any burrs or sharp edges on the end of the pipe.
Step 7
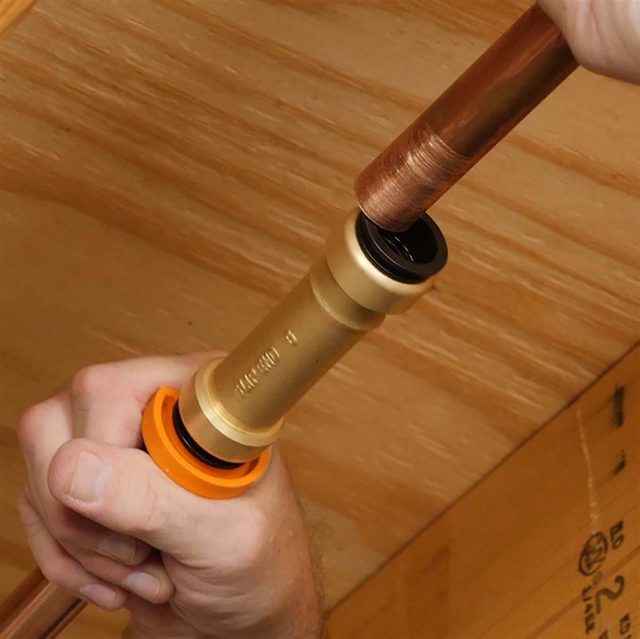
Install the Fitting
- Slip the repair coupling onto the first pipe, pushing it far enough so it clears the second pipe.
- Snap the disconnect clip onto the pipe and push down on the release collar, moving the coupling toward the second pipe.
- Insert the second pipe into the other end of the fitting, pushing down on the release collar while moving it.
- Some push connectors have locking clips to install. They slip between the release collar and the brass shoulder of the fitting.
Step 8
Look for Leaks
- Turn the water on and look for leaks. If it does leak, rotate the fitting until it properly seals onto the pipe.