Here is how to unleash your inner designer and learn how to make a gallery wall that transforms your living space into something spectacular.
A half day
Beginner
$50 - $150
Introduction
Elevate your home decor with our expert guide to designing and installing a gallery wall that captures your unique aesthetic style.
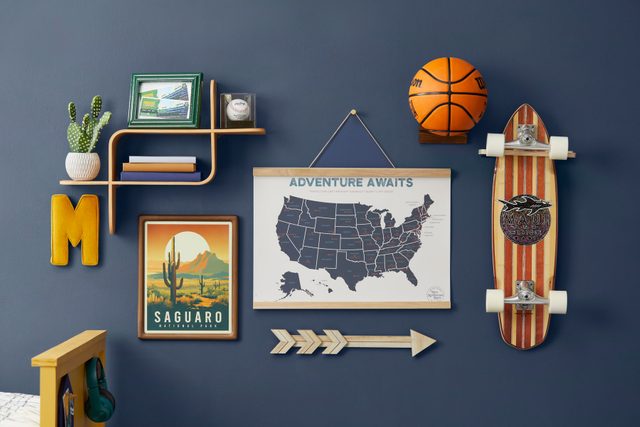
A gallery wall transforms a blank wall into a personal narrative, far more sophisticated than randomly hanging pictures here and there. This artistic display requires careful curation, thoughtful selection, and intentional arrangement. “A gallery wall isn’t about just throwing a screw up on the wall and haphazardly placing items,” explains Melissa Franco, senior set designer and stylist at Trusted Media Brands.
The art of creating a gallery wall involves understanding how various elements work together to create a cohesive visual story. Colors, sizes, textures, and themes must harmonize to produce a statement that reflects your unique style and personality. In this project, we will walk you through the detailed process of designing and installing a stunning gallery wall, from the initial concept to the final installation.
Tools Required
- Assorted drill bits
- Drill
- Level
- Measuring tape
Materials Required
- Anchors
- Gallery wall components
- Specialized mounts and hangers
- variety of screws
Project step-by-step (4)
Step 1
Choosing gallery wall components
When selecting items for your gallery wall, Franco recommends an intuitive approach: “I like to pick items that speak to me and will choose more items than I think I will need.” This strategy allows maximum creative flexibility and ensures you have options during the design process.
Begin with a focal point – typically the largest or most meaningful picture or piece. This anchor will guide the composition of surrounding elements. Your gallery can encompass a diverse range of items: framed photographs, original artwork, vintage posters, sculptural pieces, mirrors, or decorative objects. Use matching picture frames and similar subject matter for a uniform, organized look or try mixing varied pieces unified by a color palette or overall aesthetic.
The key is creating a collection that tells your story. “The beauty of a gallery wall is that you can choose whatever is most important to you!” Franco notes. Whether you’re showcasing family memories, travel experiences, or artistic collections, your gallery wall should feel personal and meaningful.
Step 2
Gallery wall layout
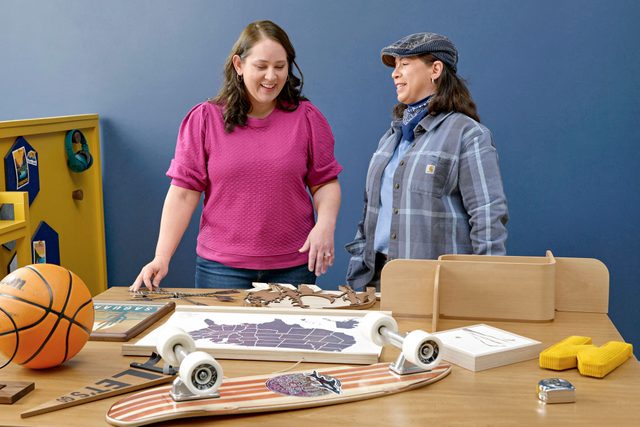
Preparation is crucial to creating a visually compelling gallery wall. Franco suggests two primary layout methods: arranging items on the floor or large table or using scale paper cutouts to map potential arrangements on the wall. This preliminary step allows you to experiment with positioning without making permanent marks.
Pay close attention to how different pieces interact. “It’s the different sizes, space between, and orientation of items that creates movement and allows your eye to travel around your gallery wall,” Franco explains. Avoid rigid, perfectly symmetrical arrangements. Instead, embrace slight asymmetry to create visual dynamism and interest.
To create a flow that guides the viewer’s eye, consider varying the size of the components, keeping consistent spacing between them, and balancing colors and textures to create visual harmony and depth.
Take time to assess your arrangement. Photograph potential layouts to help you visualize the final composition. Remember, the goal is to create a harmonious, intentional and effortless display.
Step 3
Installing the gallery wall
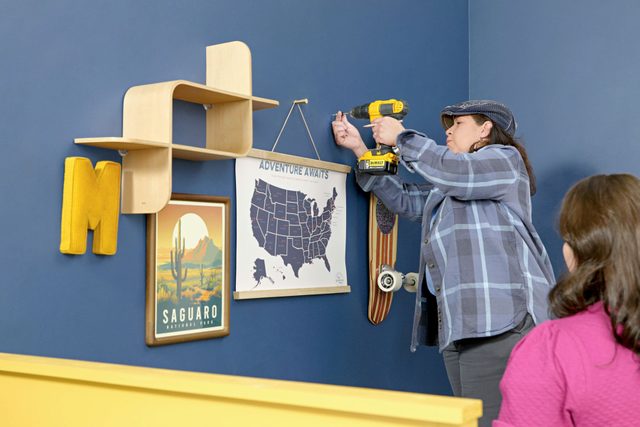
If you have drywall with studs, use a stud finder to determine where the studs are buried under the drywall. Mark the stud locations on the wall to help you remember them as you progress with installation. It is always best to hang even moderately heavy objects from studs. However, if your desired hanging location does not line up with a stud, install the appropriate wall anchor for the object’s weight.
Drive screws through the drywall and directly into the stud. To pierce metal studs, you will need to pre-drill with a metal drill bit slightly smaller than the screw you intend to use.
If you have lath and plaster walls, they consist of small wood slats called lath that is nailed over studs and then covered with plaster. Lath can be strong and solid or brittle due to aging or dry rot. Because the lathe slats cover the studs, it may be difficult to determine where the studs are located. For lightweight objects, screws work if they seed solidly into the lathe. If the lath seems weak or brittle, go ahead and install an anchor for added insurance. Mount heavier objects directly to a stud or use an appropriate anchor.
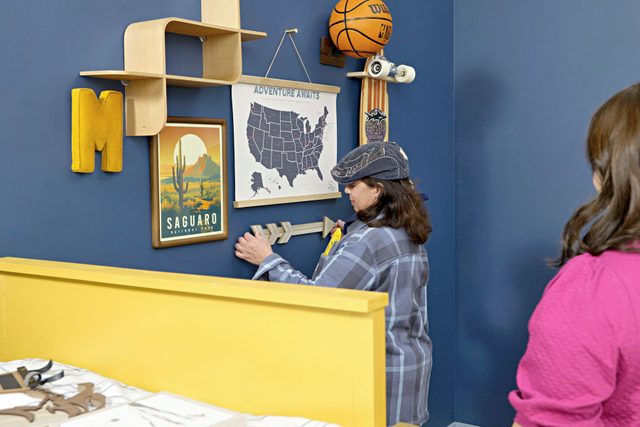
You’ll also want some wire, specific hangers or mounts (in our case, for a skateboard and basketball) and a level to ensure everything is straight and plumb when you finally hang it on the wall. Then start hanging, starting with the middle components and working your way out, making sure that the center of your galley wall cluster is at eye level.
Franco’s most encouraging advice: “Don’t be afraid to hang it! If you make a mistake and want to move it, it’s only a hole. Patch the drywall and move on.” Embrace the process, remain flexible, and remember that your gallery wall is a reflection of your unique aesthetic journey.
Step 4
FAQ
How many pictures should be on a gallery wall?
Use the size of the wall you are hanging your gallery wall on as a guide to the number of pictures it should have. Your gallery wall cluster as a whole shouldn’t exceed 60% of the available wall space not covered by furniture.
When did gallery walls start?
Gallery walls have been around in one shape or another since the 1600’s.