


If you are hanging a heavy picture, here is how to do it.
Our editors and experts handpick every product we feature. We may earn a commission from your purchases.Learn more.


Updated on Oct. 08, 2024
If you are hanging a heavy picture, here is how to do it.
Our editors and experts handpick every product we feature. We may earn a commission from your purchases.Learn more.
15 minutes
Beginner
$10-$20
Have you ever hung a heavy picture on a wall that fell and broke? Here's how to prevent that from happening again.
We’ve all done it. We put a nail in the wall, hang up a picture, and stand back to see our accomplishments. But then… whoosh! The picture falls and the frame splits. What happened? Upon closer inspection, the nail we had so confidently hammered into the drywall has shifted and is now at a downward angle.
Verdict? The picture was too heavy, so the weight pulled the nail through the drywall until… down went the picture—CRASH!
To avoid such disasters, here are some tips on hanging heavy pictures to drywall.
For heavy frames, putting a nail into a wall stud will provide the security needed to keep that picture from moving. However, If you’re like me, you want to hang artwork where it looks best, and not where a stud is located. If I happen upon a stud, great, but it’s not necessary, especially with the variety of drywall anchors available.
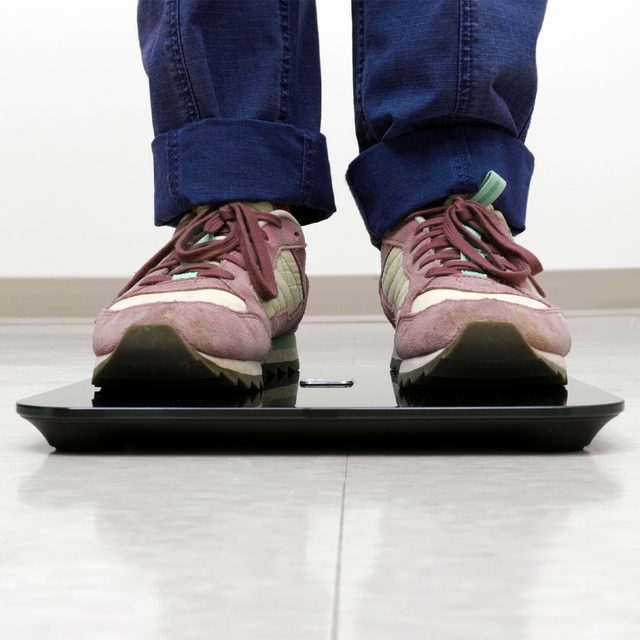
Each drywall anchor is rated to hold different weights. To figure out which works best, weigh your picture to see how heavy it is.
First, pull out your bathroom scale. Stand on the scale and take note of your weight. Step off, grab the picture, and get back on. Take the new total and subtract your weight. The outcome is the weight of the picture. Easy as pie.
Make sure to review the anchor’s packaging to determine what is appropriate for what you want to hang. The packaging will explain what weight it can handle and the thickness of drywall it is rated for. If you don’t know the thickness of your drywall, it is most likely 1/2-inch. Packaging will also explain what size drill bit to use as most anchors require a predrilled hole. This allows the anchor to expand and use the back or sides of the drywall to distribute the picture’s weight.
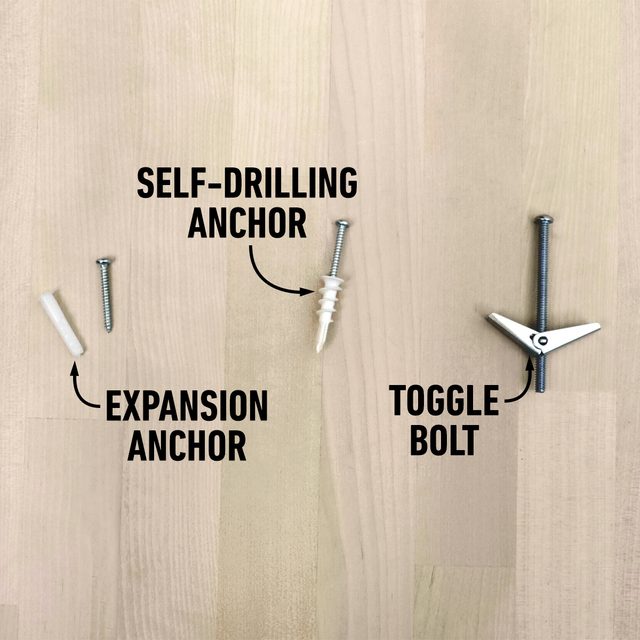
Here are a few common anchors for drywall:
Once the proper anchor has been purchased, it’s time to mark the spot.
Common advice is to hang pictures about 57-to 62-inches from the floor or at around eye level.
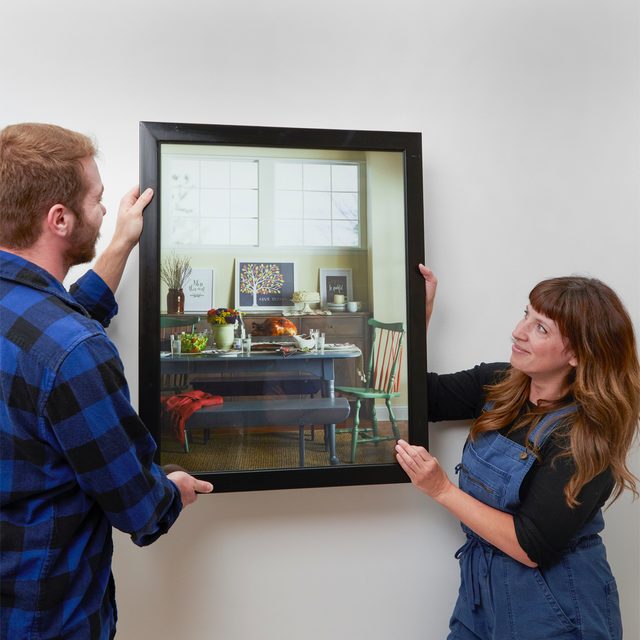
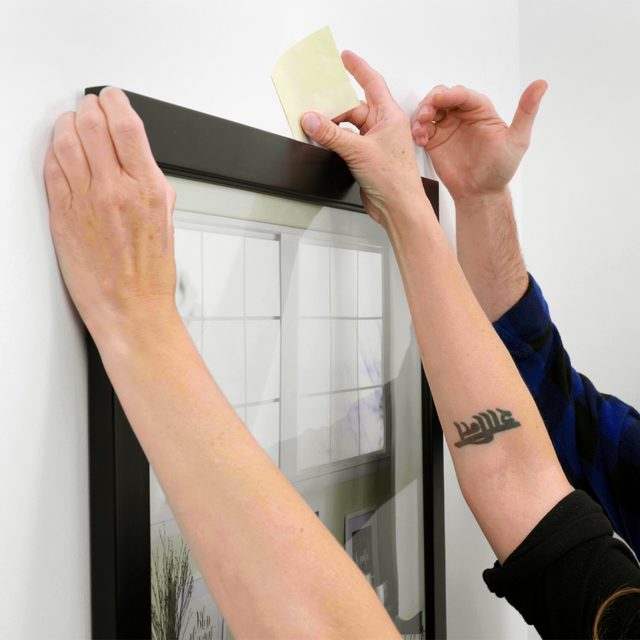
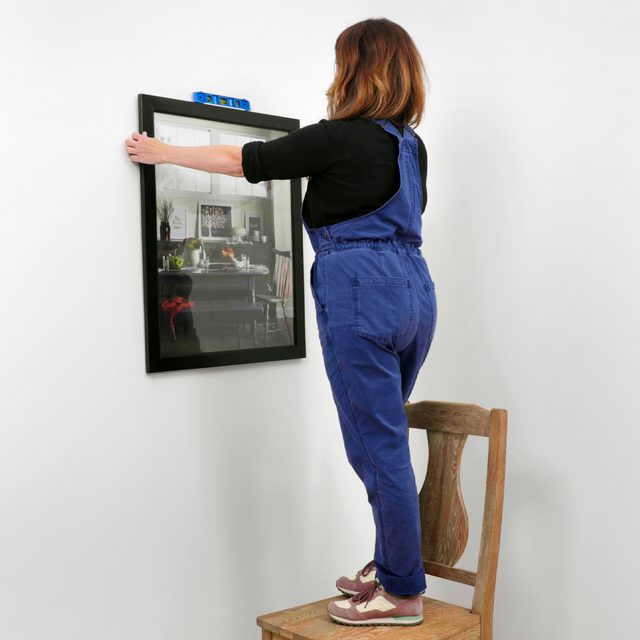
I suggest having a partner hold the picture where you want it and stand back to get a feel for the positioning. Adjust to your liking then place the corner of a sticky note to the top center of the frame. For a centered saw-toothed hanger, you are done and ready for the next step.
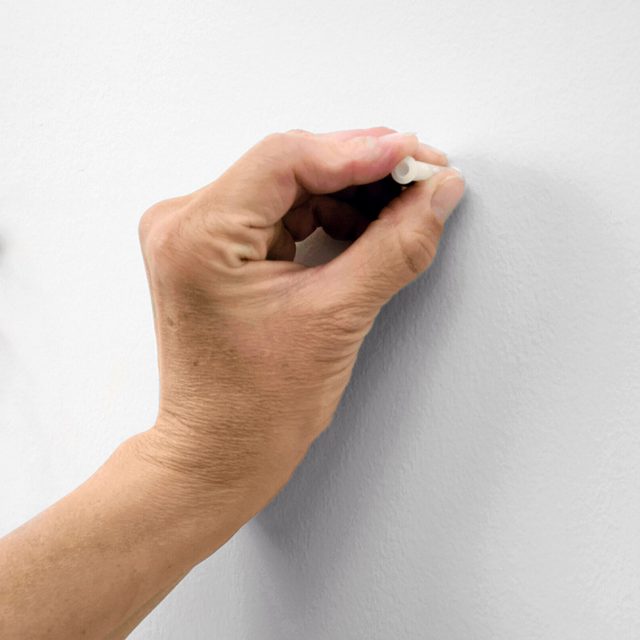
In the place where the spot has been marked, pre-drill a hole using the recommended drill bit size as stated on the packing of the anchor. Insert the anchor then use a screwdriver to tighten the screw. You will know if the anchor has set once the screw becomes difficult to turn.
Once a picture has been hung to the screw head, lay a bubble level on top of the frame or use a laser level to make sure it’s level.
Fantastic! Now this gorgeous picture of Henry the Pomeranian has a forever home!