


A burst pipe is the last thing anyone wants to tackle. But there are some quick temporary fixes you can do to slow the impact of a burst pipe.
15 Things You Should Do When You Find a Burst Pipe
1
/
15
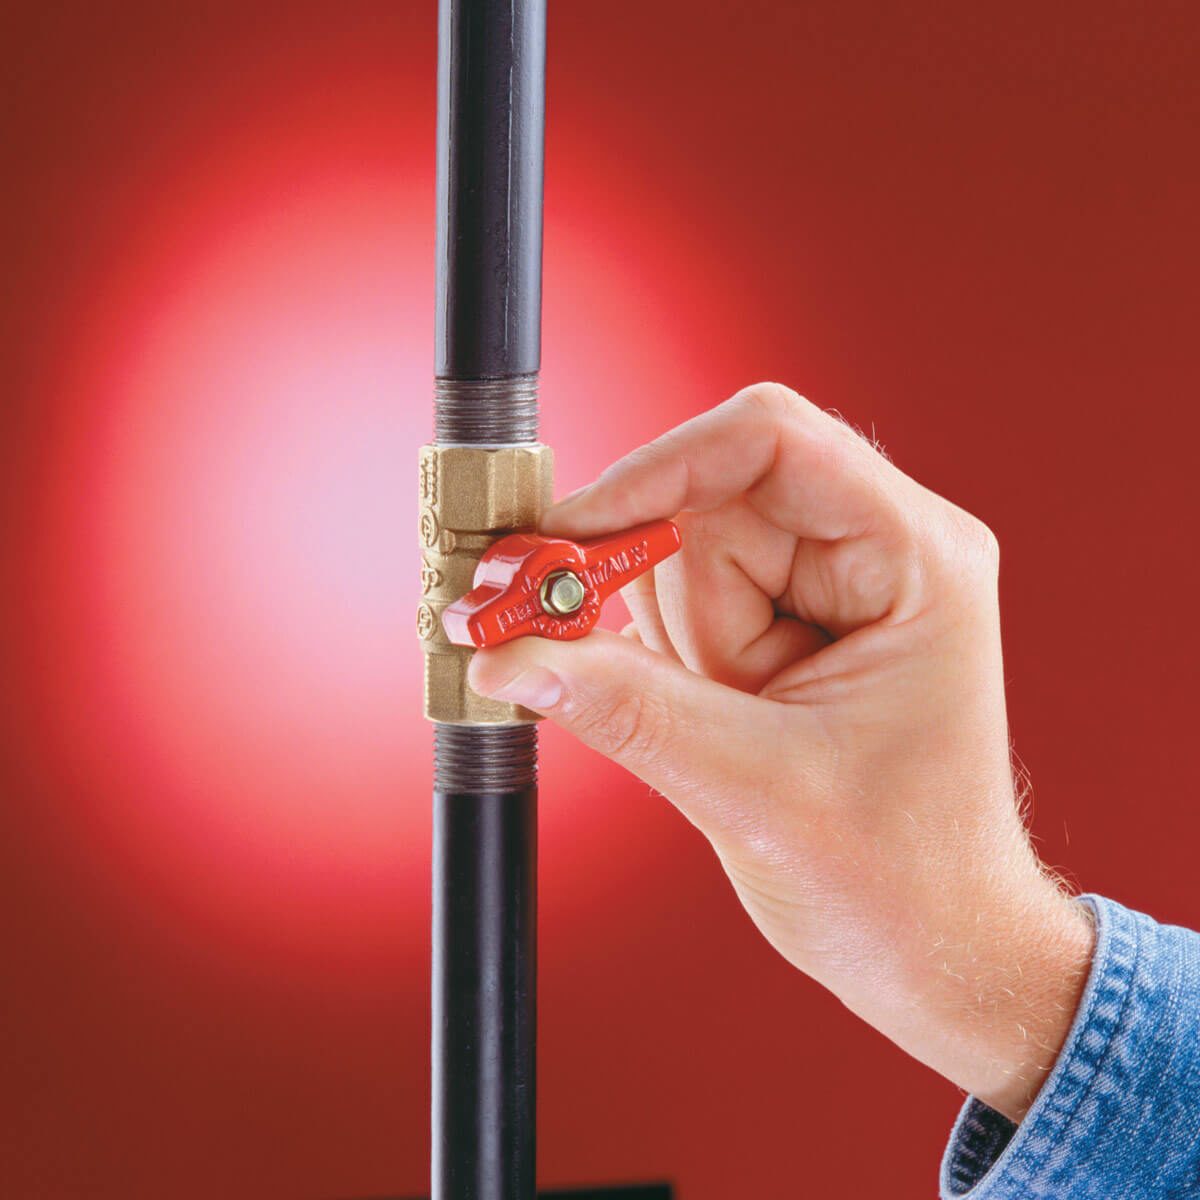
Shut off the Water
When water freezes, it expands in volume by about 9 percent. And it expands with tremendous force: The pressure inside pipes may go from 40 pounds per square inch to 40,000 psi! No pipe can hold that much pressure, so it breaks open. The break may occur where the ice forms, but more often, it occurs where water pressure finds a weak spot in the pipe. That may be inches or even feet from the frozen area. Find the water shutoff valve and turn off the water to prevent more damage. You might also need to shut off the electricity as well, depending on where the leaks occurs and how big it is.
2
/
15
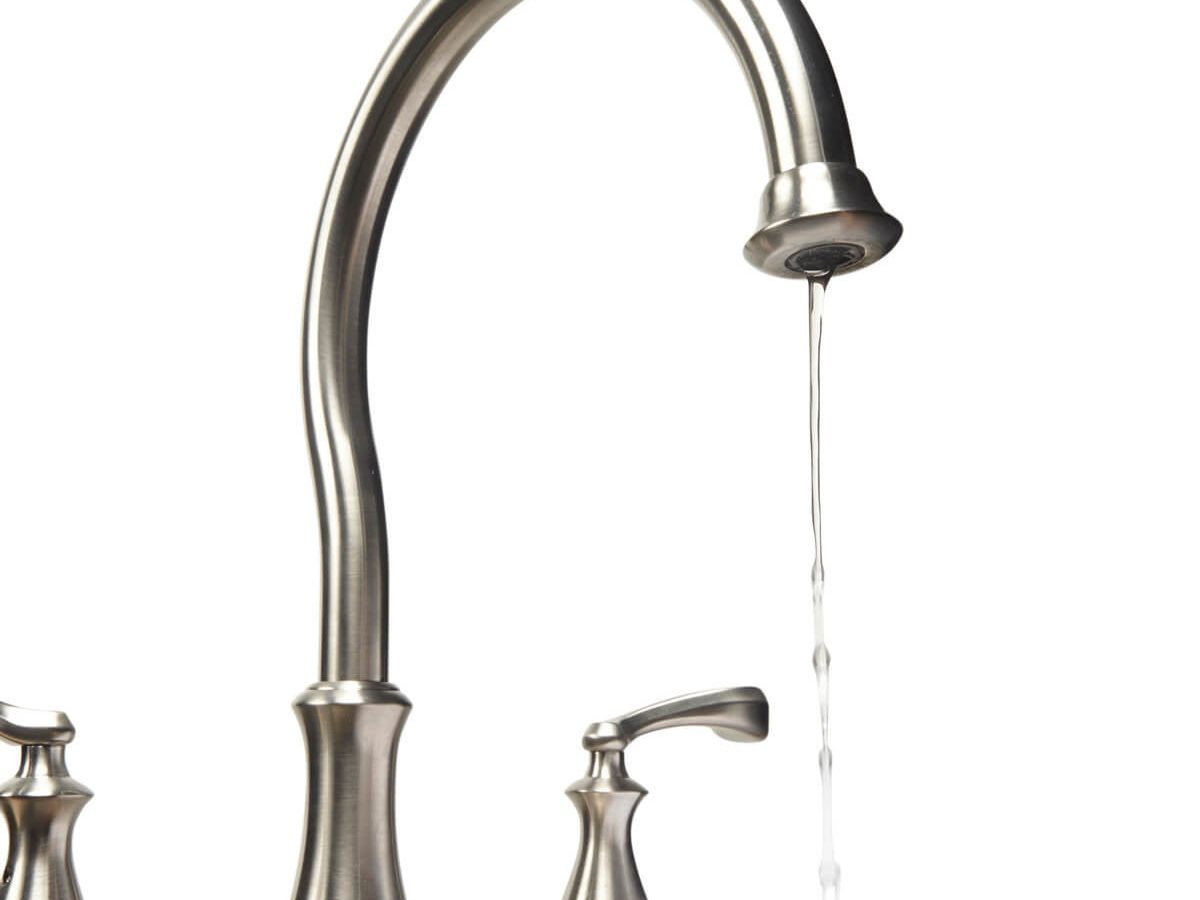
Open a Faucet
Opening a faucet after you shut off the water main will relieve any remaining water pressure in the pipes.
3
/
15
Call a Plumber
Unless you feel comfortable trying to repair a broken pipe on your own, you're probably going to need a plumber at some point. You can, however, do several things before calling the plumber that will help reduce the impact of a broken pipe.
4
/
15
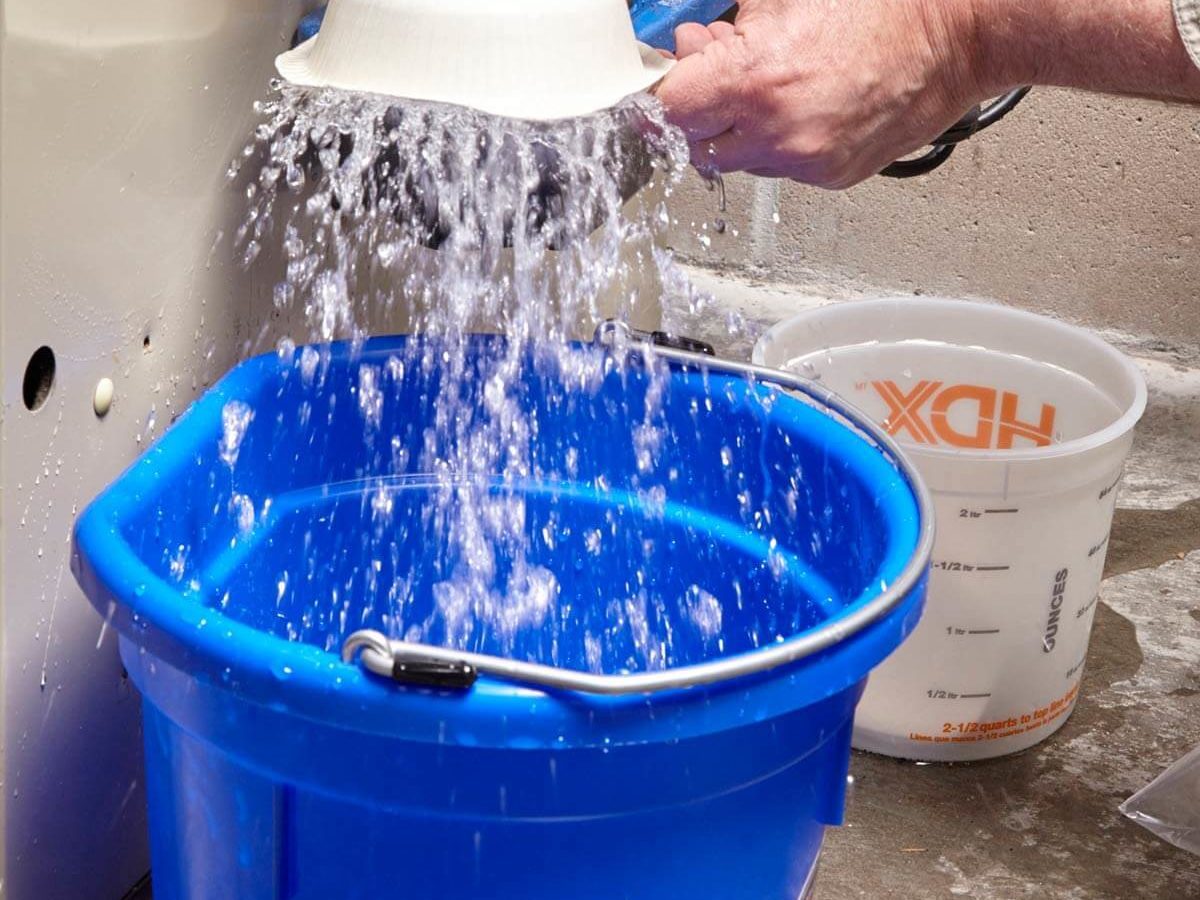
Start Getting Rid of the Water
Grab the mop, buckets and a shop vacuum to start to get rid of the water because you certainly don't want it soaking into everything else in the house. Plus, a quick clean up will reduce the chances of something getting moldy.
Also, learn how to avoid pipe condensation.
5
/
15

Turn up the Heat
Set up fans to blow heat into cold rooms. Keep the garage door closed.
If you have reduced water flow, heat the most vulnerable pipes (usually in basements and crawl spaces or near exterior walls) with a hair dryer. Leave the faucet on while you apply heat. As you melt ice, the flow will increase.
To prevent pipes from freezing, insulate your walls.
6
/
15
Open Doors
If you have exposed pipes inside closets or pantries, leave doors open. Open vanity or cabinet doors so warm air can reach the pipes under sinks as well.
7
/
15
Place a Piece of Rubber over the Leak
Putting a piece of rubber over the leak should be done in conjunction with placing some kind of clamp over the broken pipe. Insulating before winter can help prevent the problem.
8
/
15

Add a Block of Wood Before Adding a Clamp
If you're in a pinch and don't have the necessary tools around to stop the leak, you can improvise by adding a block of wood over the piece of rubber before fastening a clamp. The block of wood will spread the pressure and help prevent the pipe from collapsing.
9
/
15
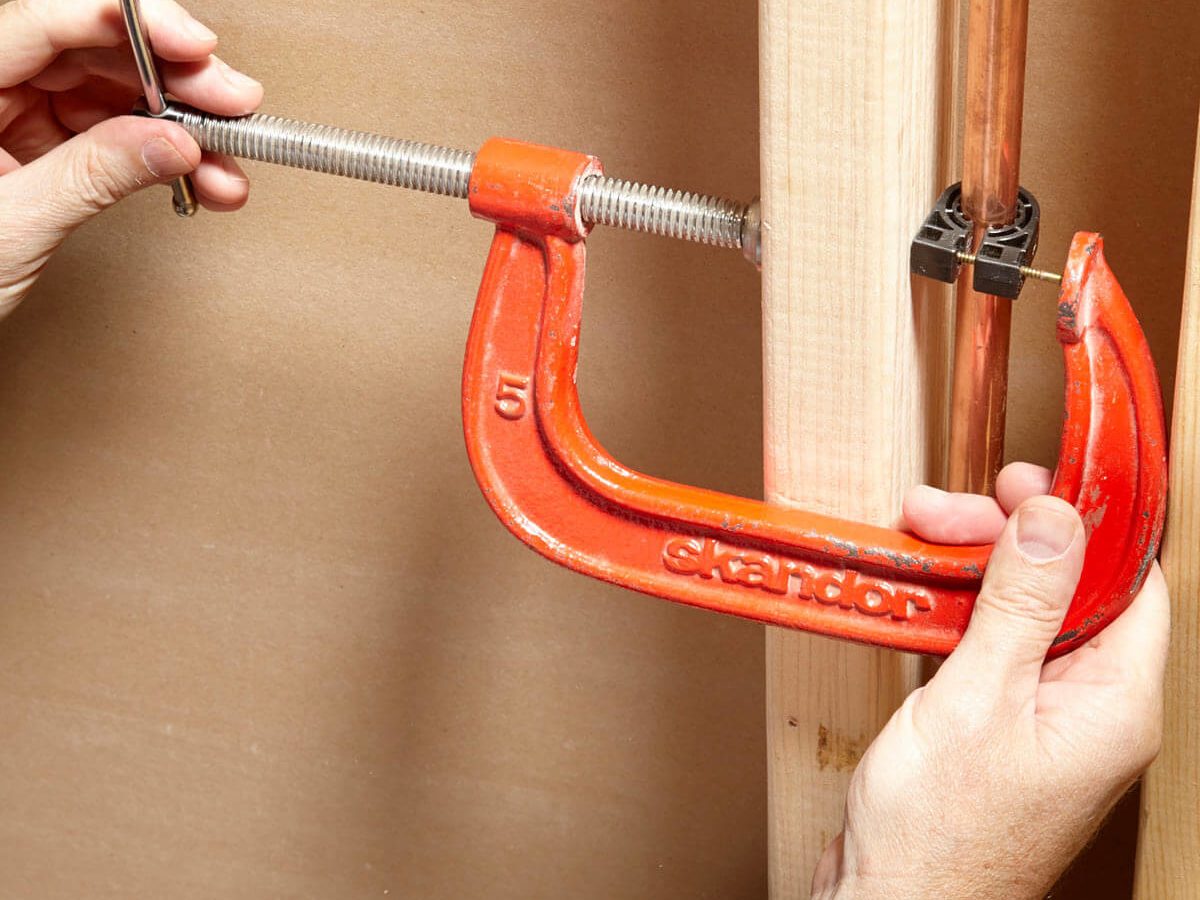
Grab a C-Clamp
Add a C-clamp over the block of wood and piece of rubber to seal the leak for a temporary fix.
Learn how to solder copper pipe for DIY plumbing repair.
10
/
15
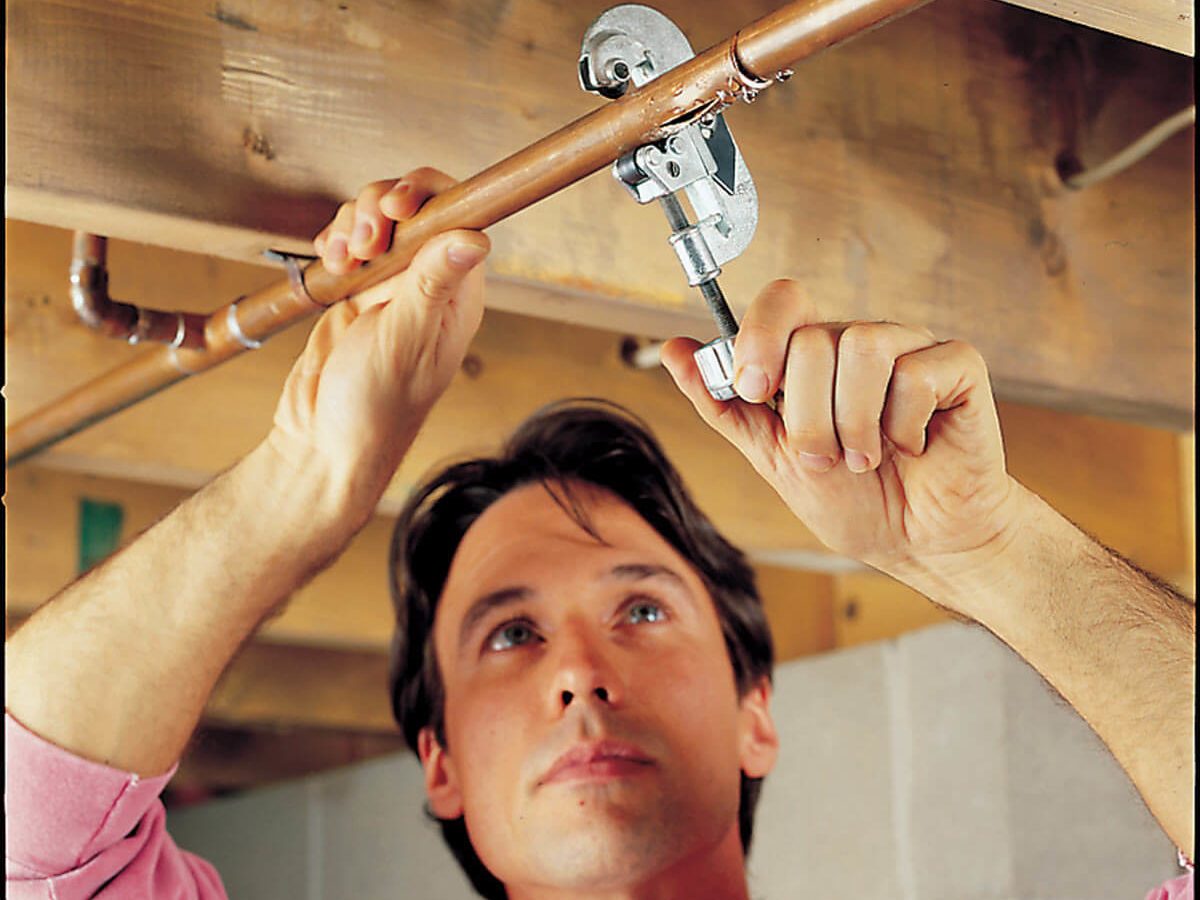
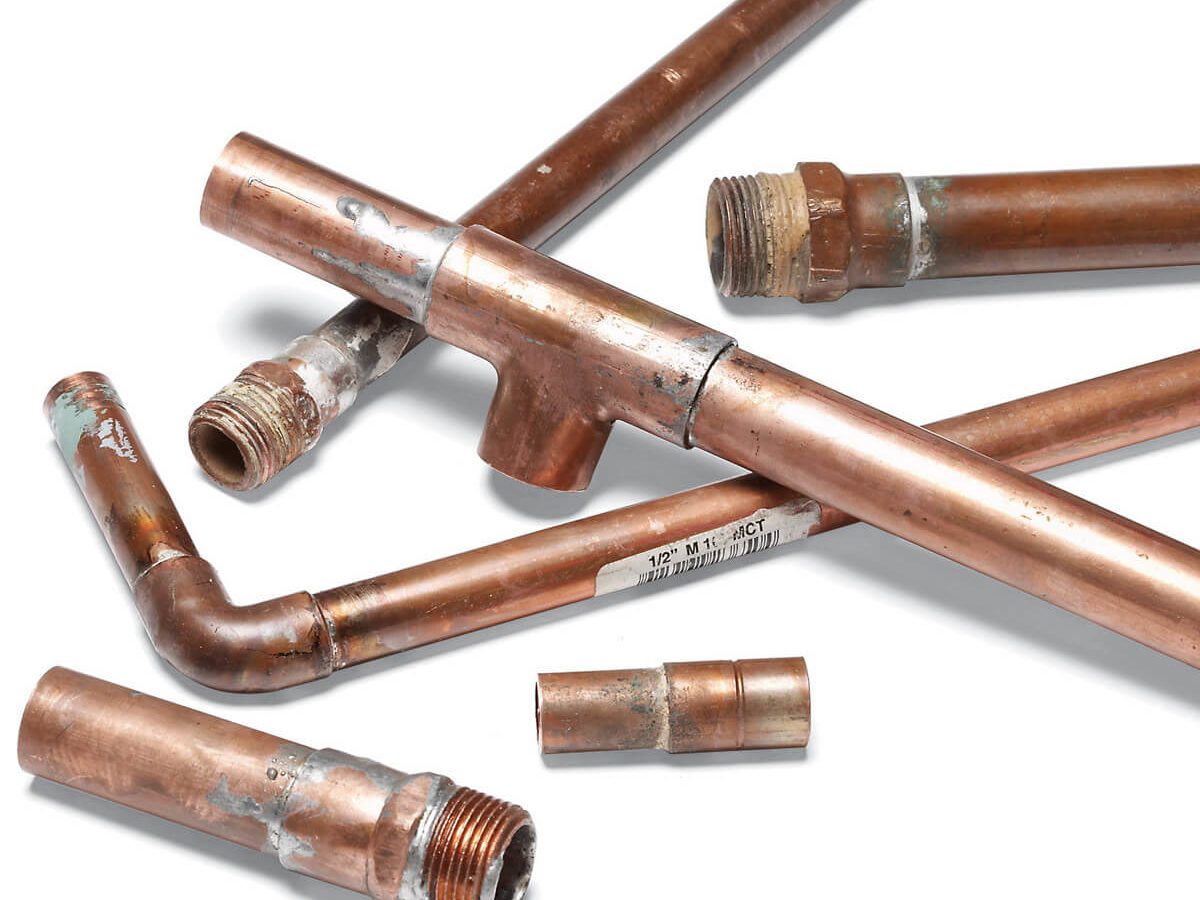
Cut Out the Damaged Pipe
If you're a little more well-versed in plumbing repair, you might take the next step and cut out the damaged area of the pipe.
Shut off the main water supply valve, drain the damaged water line and use a pipe cutter to cut out a section of pipe that extends about 1 in. to each side of the leak. Start by gripping the pipe firmly in the cutter’s jaws and tightening the cutter’s screw. Rotate the cutter in the direction shown—as you tighten the screw handle—until the pipe snaps.
11
/
15
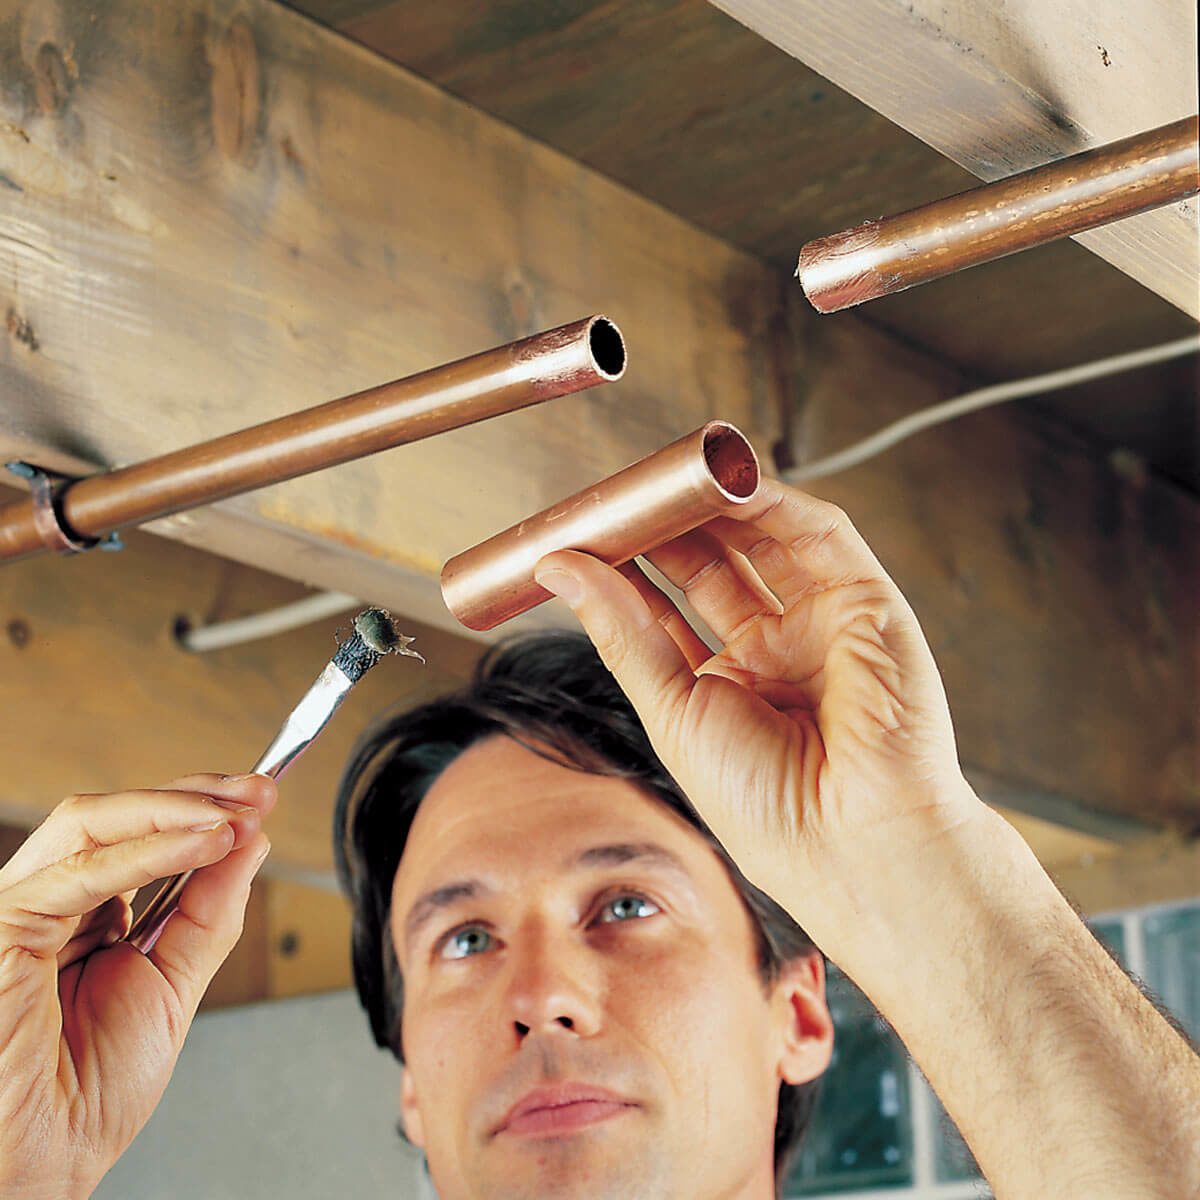
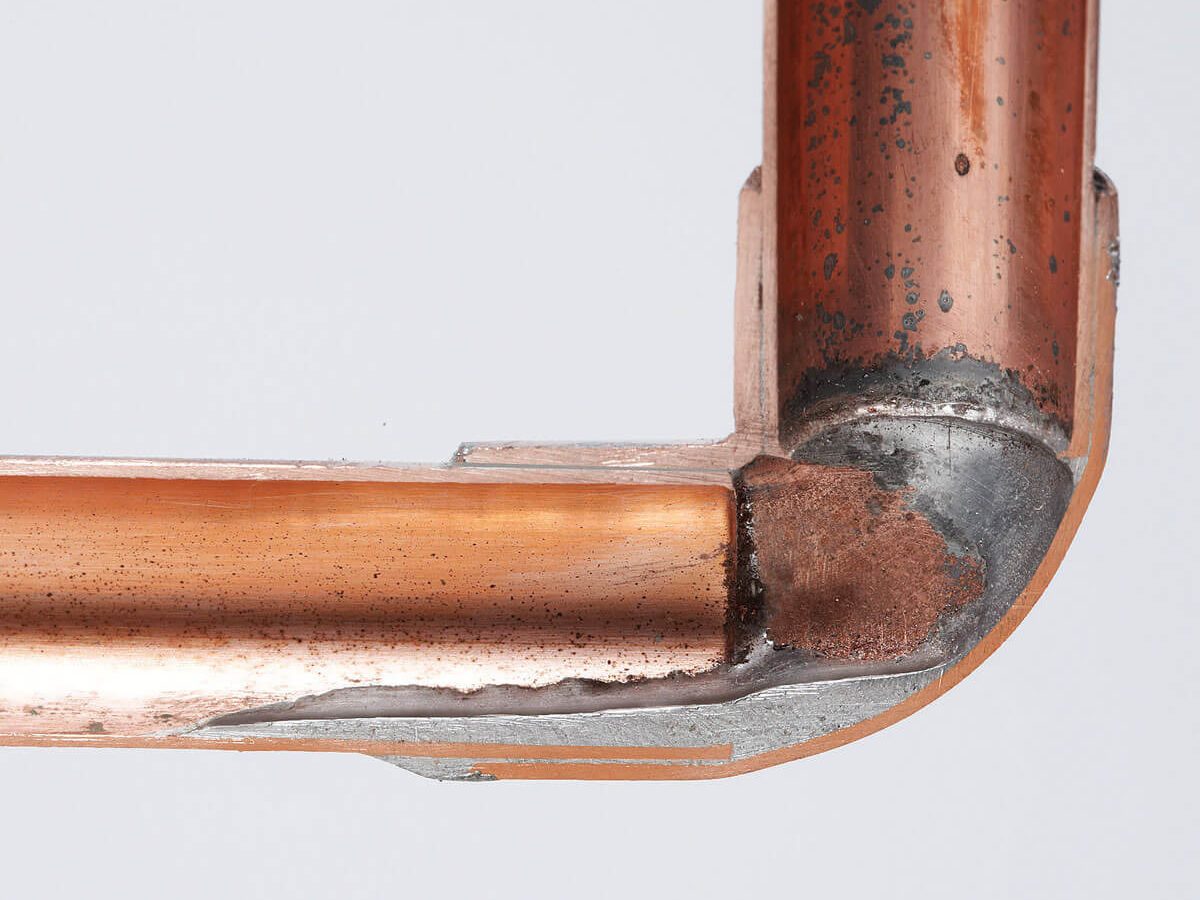
Clean and Flux Mating Surfaces
Clean corrosion from the inside of the repair sleeve using a wire fitting brush. Clean the outside of the pipe with plumber’s sandcloth or emery paper. Brush flux onto all four cleaned surfaces.
12
/
15

Slide on the Repair Sleeve
Slide an end of the sleeve first over one pipe and then slip it back over onto the other. You may have to loosen nearby pipe hangers. Center the sleeve over the pipe ends so that about 1/2 in. of each pipe is inside the sleeve.
13
/
15

Solder the Joint
Hold the tip of the torch flame to one side of the joint and hold the tip of the solder wire to the opposite side. Pull the solder away when enough of it melts to completely fill the joint.
14
/
15
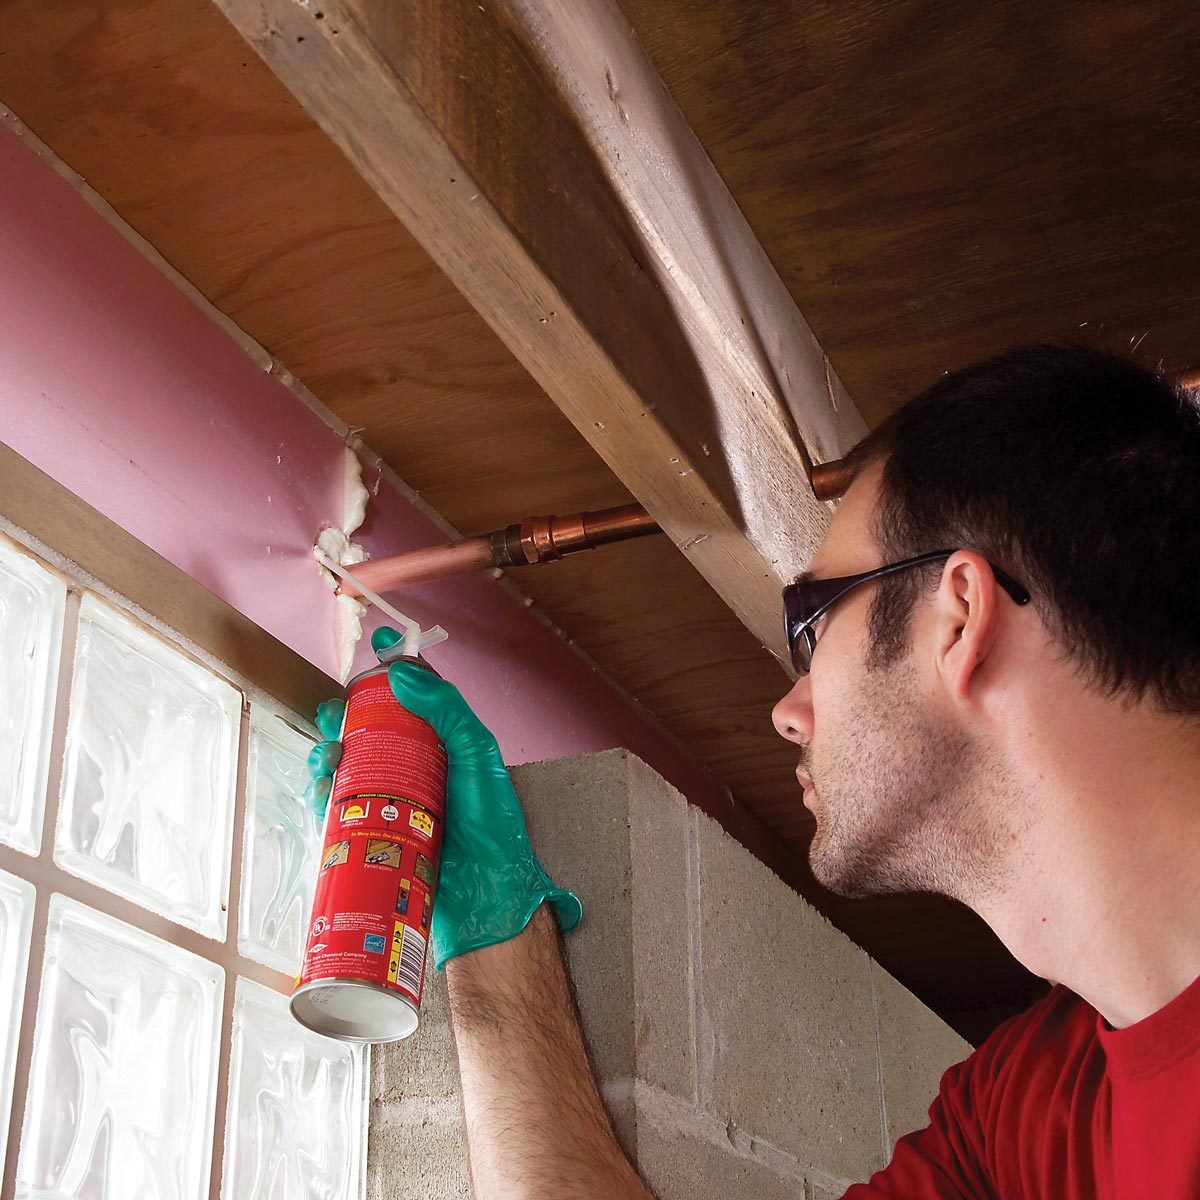
Work on Insulating the Pipes
Insulating your pipes will come long after the repair work but it's important to do in order to prevent future burst pipes.
15
/
15
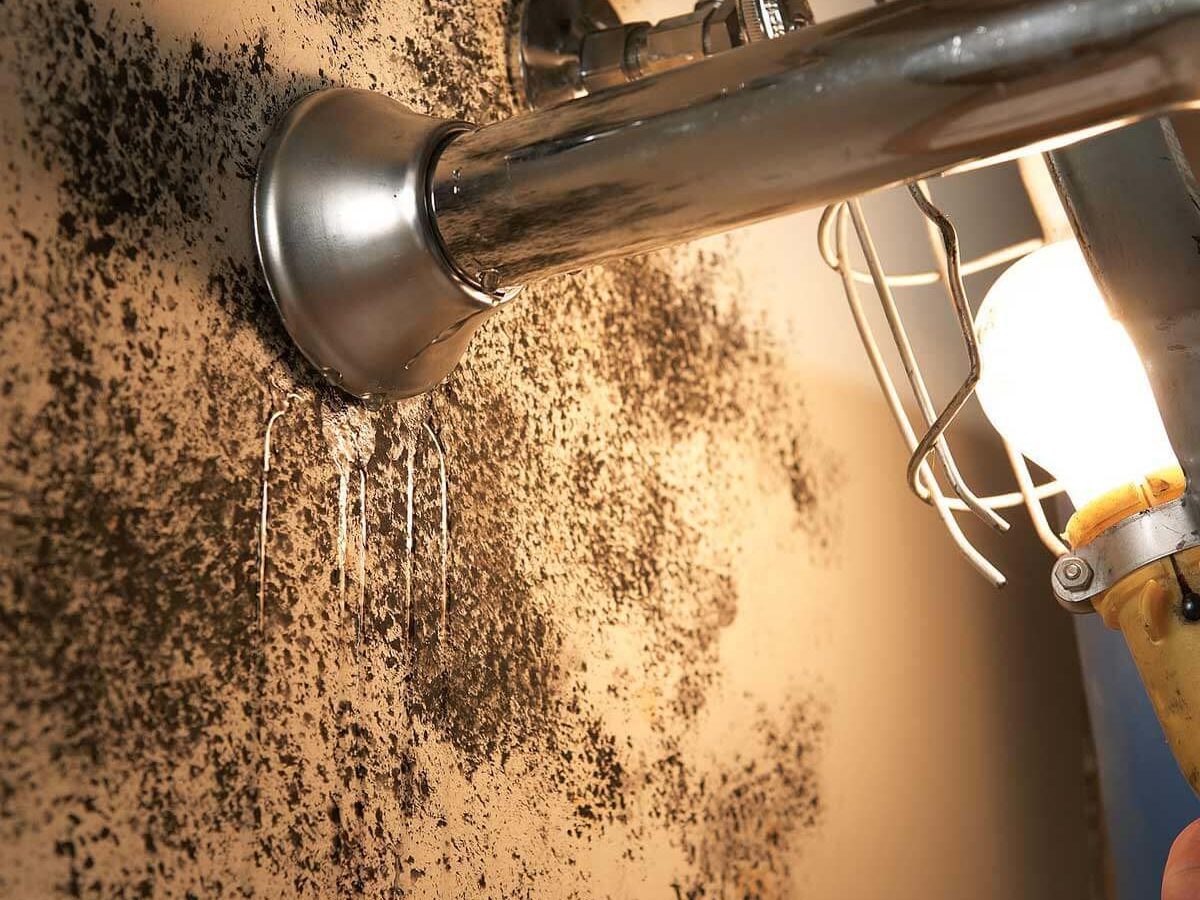
Clean the Damage
If there is any water damage, get to it quickly to prevent any kind of mold growth.