


These techniques for how to remove drywall and other complicated demolition problems will result in a faster and safer remodeling project.
How to Remove a Wall and Other Demolition Tips
1
/
14

Slice Up Drywall With a Multitool
There seems to be no end of odd jobs that can be done with an oscillating tool, and here’s another one: If you have to remove a section of damaged drywall, cut it out with a multitool equipped with a half-moon blade. The tool will cut almost as fast as you can pull it. And because the oscillations on the blade are so short and the teeth are so fine, the tool creates half the dust of a reciprocating or keyhole saw. Plus, the recess you cut will be much straighter and cleaner, making patching the drywall much easier.
2
/
14
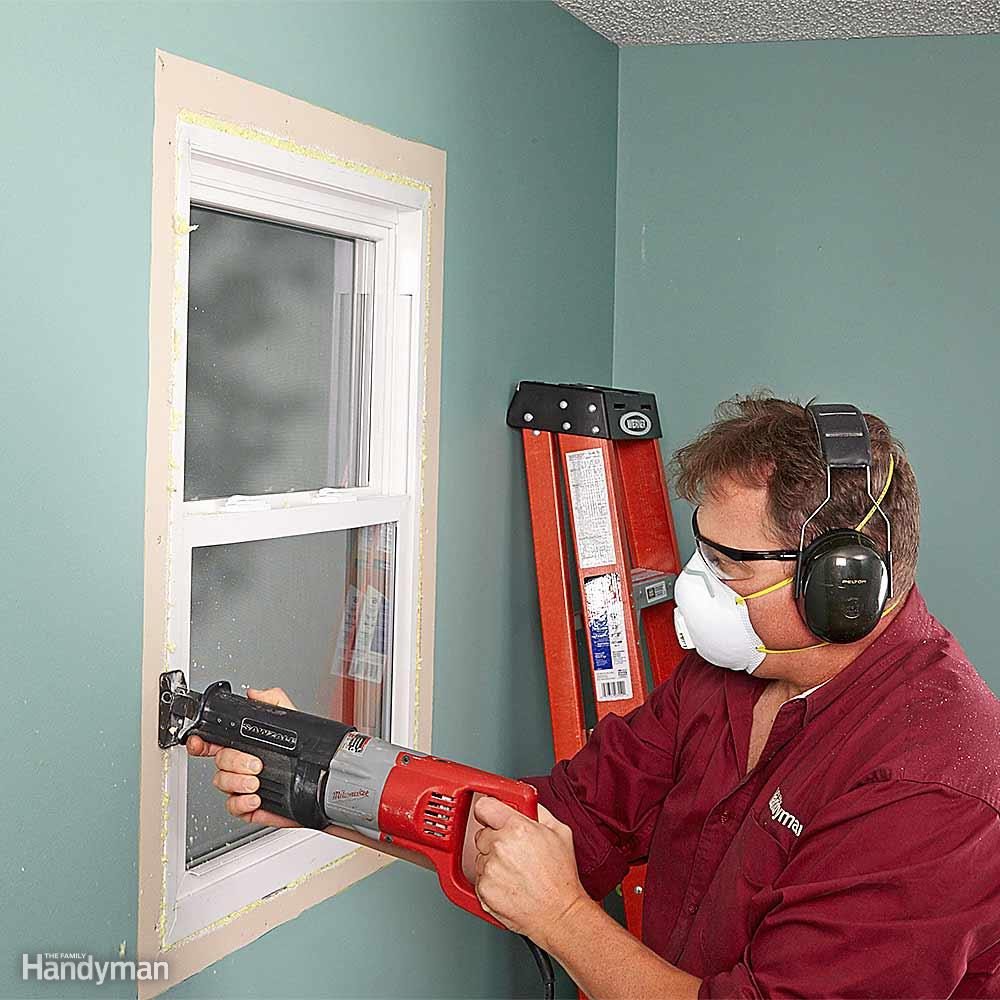
Cut Around the Window With a Recip Saw
Spray foam insulation does an excellent job of insulating around a window—and a surprisingly good job of keeping the window or door in place. Even if you remove all the fasteners holding in a window, you won’t be able to pull the window out until you deal with the spray foam. So don’t bother pulling the nails or screws out of an old window. Just run a recip saw between the window and the framing and cut the fasteners and the foam at the same time. You may want a buddy on the other side of the window to keep it from falling out when you’re done cutting around it. With a long enough blade, you can even slice through the nailing flange at the same time. That’s important if you’re trying to save the siding around the opening.
3
/
14

Cut the Jamb and Pull
You can knock a jamb sideways out of its opening, but the nails or screws holding it in place put up strong resistance to the shear force you apply.
An easier way is to cut one of the sides in half with a reciprocating saw and then pull the rest straight away from the framing. You can easily pull away any nails or screws holding the doorjambs in place simply by using the leverage of the jamb itself. Make your cut at an angle so the two cut sections don’t wedge against each other, preventing you from pulling them apart. This same technique works for pulling out windows.
4
/
14
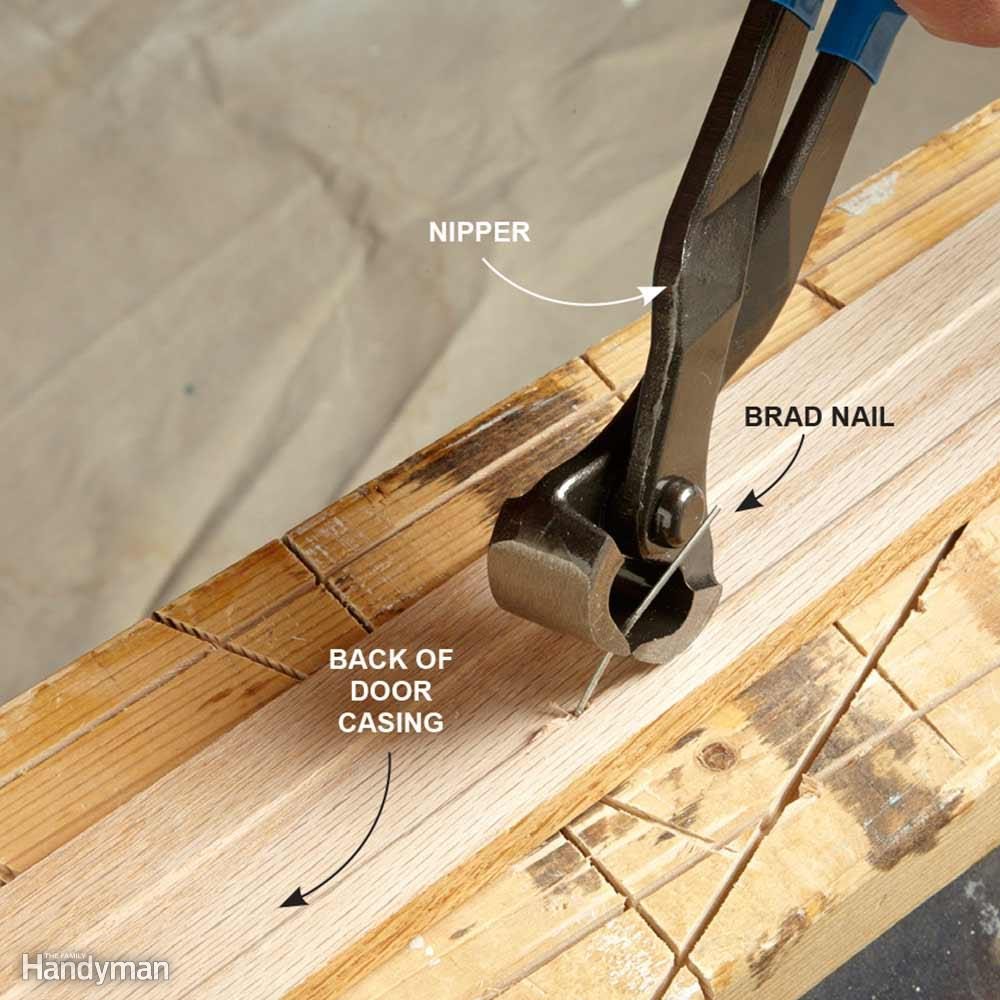
Pull Nails With a Nipper
If you’re replacing doors, windows, or flooring and you want to salvage the trim, end-nipper pliers are a handy tool to pull out brads and finish nails. The rounded end provides plenty of leverage, and if the nail breaks, you can always cut it down flush. Don’t squeeze too hard when gripping the nail or you may nip it off prematurely.
5
/
14
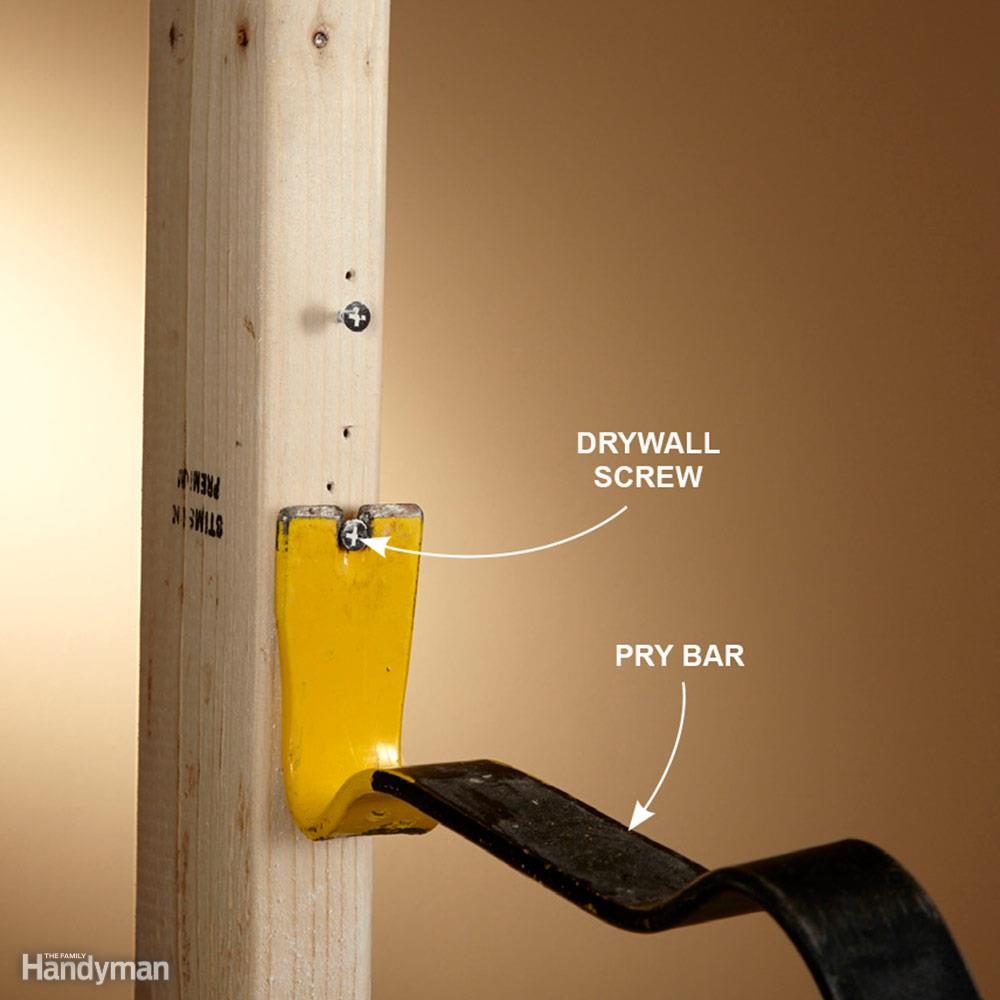
Pull Drywall Screws
When you pull drywall from a wall, the screws usually stay in the studs. Unscrewing them with a drill is not the most efficient way to remove them because the screw heads are usually deteriorated or full of drywall mud. Use a pry bar or your hammer claw, two of the most essential hand tools for demolition, to pull them out just like you would with nails. Drywall screws are brittle, so if some joker used 3-in. screws to install the drywall, snap them off with your hammer.
6
/
14
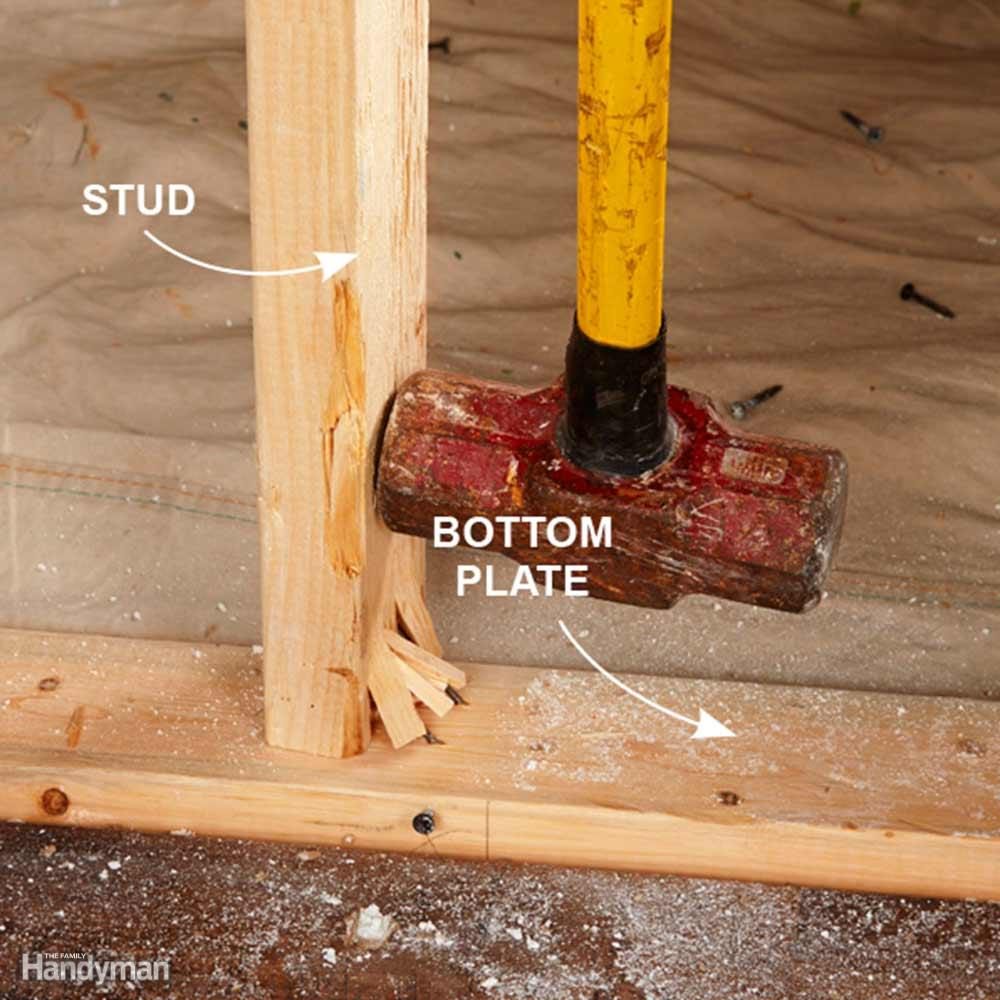
Knock Out Studs Sideways
A sledgehammer works great for busting up studs, but don’t take a whack at the middle of the studs—they’ll just wobble back and forth and probably bounce the head of the sledge right back in your direction. Hit the studs as close to the bottom plate as you can, but not so hard that you pull out the nails on the top plate—that’s a good way to catch a falling stud in the noggin. Hit the bottom of each stud just far enough to dislodge it from the nails that were holding it. Then grab hold of it and pull it off the top plate.
7
/
14

Cut Off the Nails On the Plates
After you’ve bashed the studs out of place, use a reciprocating saw to slice off the nails that held them down. Even if you’re not planning to reuse the plates, it’s a good way to avoid stepping on a nail. Make sure you use a bimetal saw blade; it’ll slice right through the nails.
8
/
14
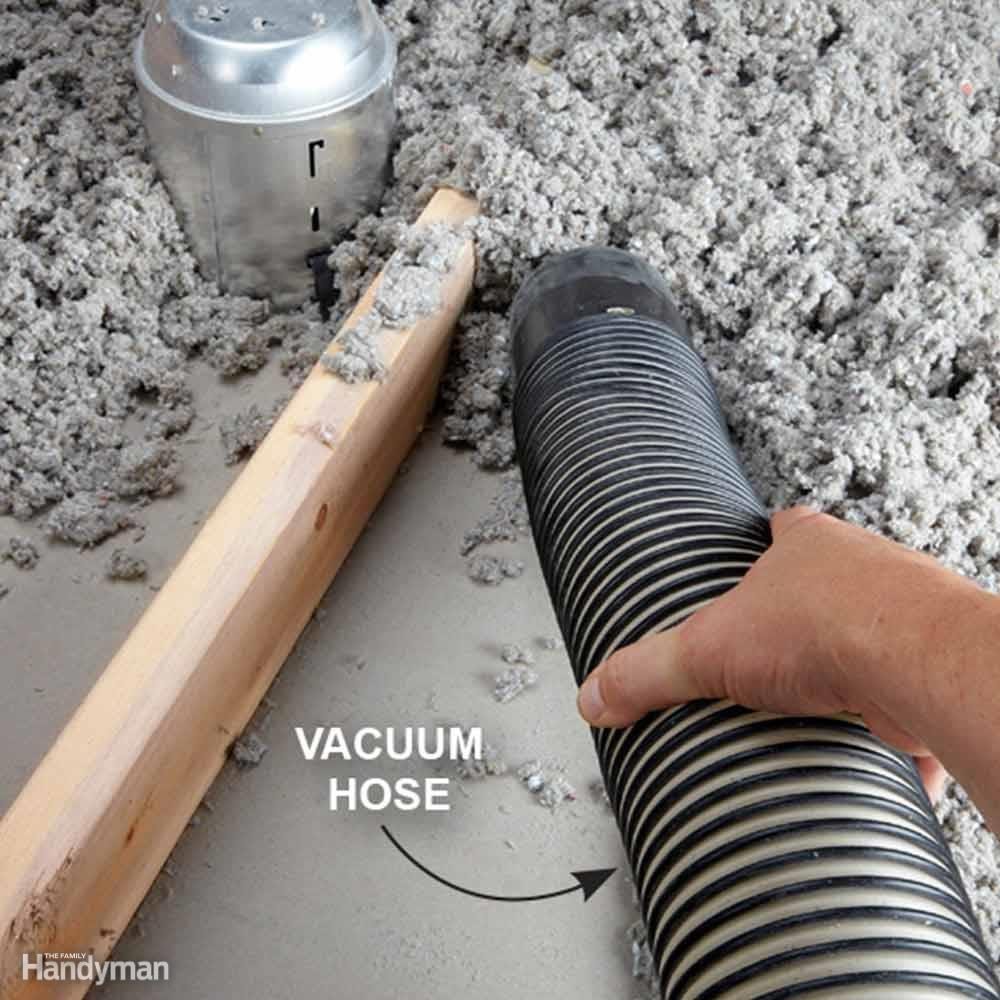
Suck Out Insulation
Tearing down a drywall ceiling is not a super-pleasant experience, but tearing down a ceiling that has 14 inches of blown-in insulation on top of it is a complete nightmare. Avoid that gigantic mess by sucking out all the insulation in the attic before pulling down any drywall.
The huge vacuum required for the job costs about $220 a day to rent, but if your local rental center doesn’t carry them, call an insulation contractor in your area. Many blow-in insulation installers also have the equipment to suck out the insulation. But this service isn’t cheap: Expect to pay about $1 to $1.50 per sq. ft. You might be able to get a deal if you use the same company to blow in the new insulation. Make sure your insulation is fiberglass or cellulose. If you even suspect there’s vermiculite insulation in the attic, get an expert opinion before touching the stuff—it could contain asbestos.
9
/
14

Cut It Up With a Circular Saw
Sledgehammers, pry bars and reciprocating saws aren’t the only house demolition heroes on the job site—your circular saw can be used for a heck of a lot more than cutting studs and sheets of plywood. Fitted with the right blade, your circular saw can cut up roofing, tin, concrete, rebar, steel doors and fiber cement. With a demo blade, you can cut up nail-embedded debris all day long.
10
/
14
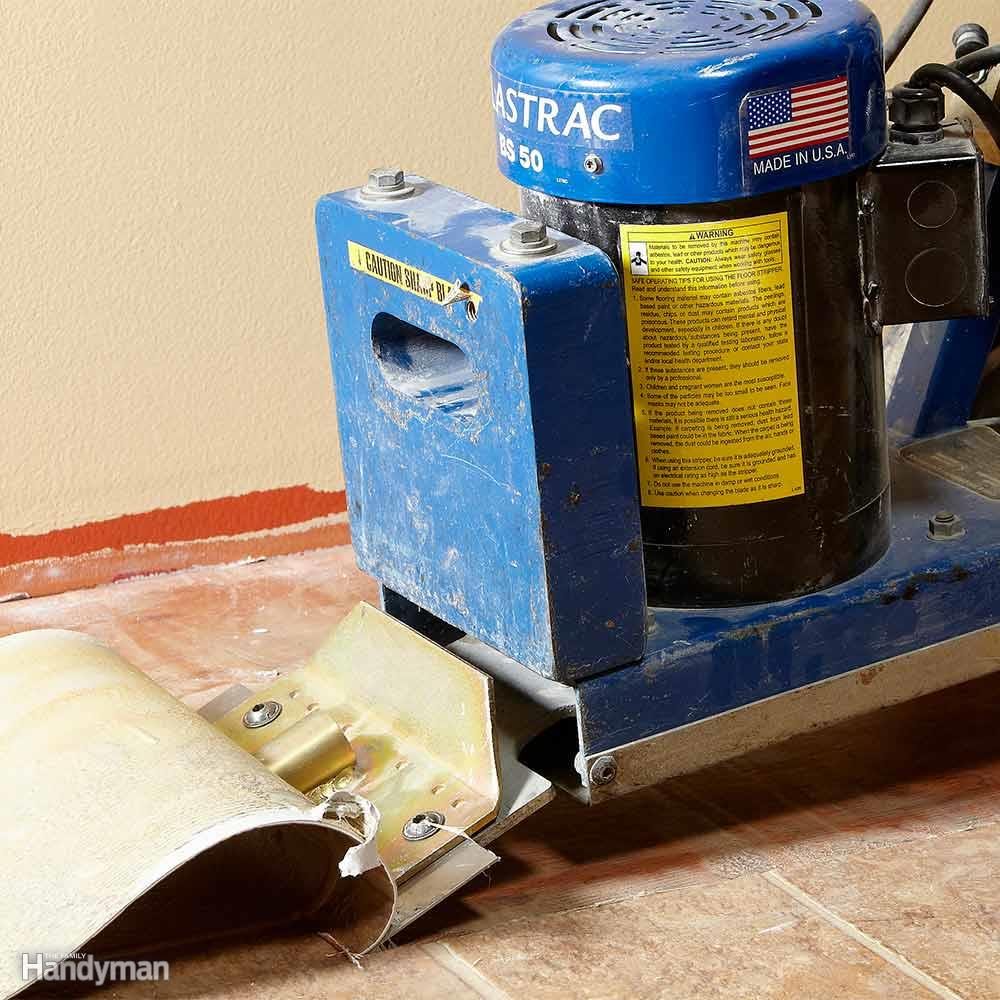
Rent a Walk-Behind Floor Scraper
Some old vinyl sheet or tile floors are super easy to pull up. Others are so thoroughly glued down that you’re lucky to remove quarter-size chunks with every whack of your handheld floor scraper. If a shovel and hand scraper are just not getting the job done in your kitchen demolition, rent a walk-behind scraper. For about $50 to $60 a day, you can save yourself a bunch of time and prevent a whole lot of wear and tear on your back and wrists. Many floor scrapers have an attachment for busting up ceramic tiles as well.
11
/
14
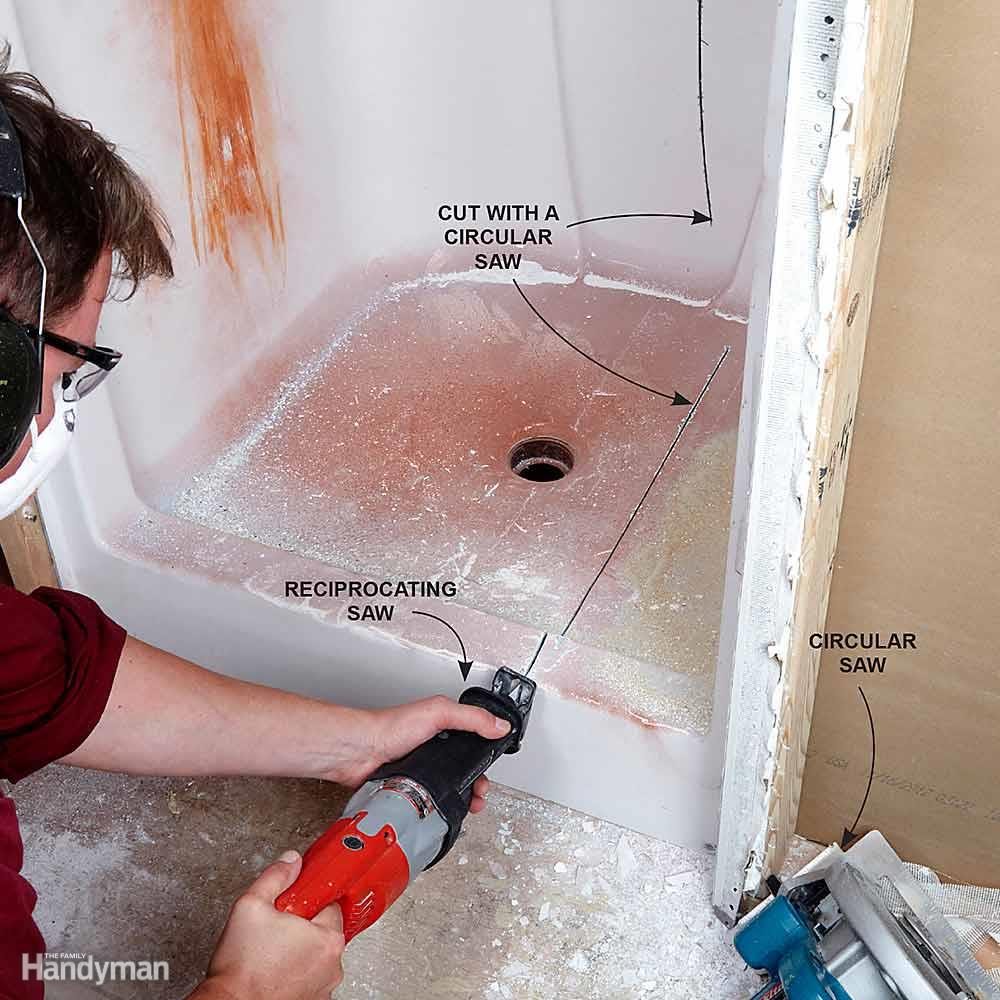
Cut Fiberglass Surround Into Pieces
Some bathrooms are built around a shower or tub surround. This means that even if you manage to remove all the fasteners holding it in place, the odds are you’re not getting that surround out the door in one piece. You’re going to have to dice it up. Make the long cuts with a circular saw, and finish the curved areas with a recip saw. Wear eye protection because fiberglass throws a bunch of chips when it’s cut. And a dust mask is a must—fiberglass dust is not something you want to breathe in. Most important, thoroughly investigate the areas where you’ll be making your cuts, to avoid severing any electrical wires or plumbing pipes.
12
/
14
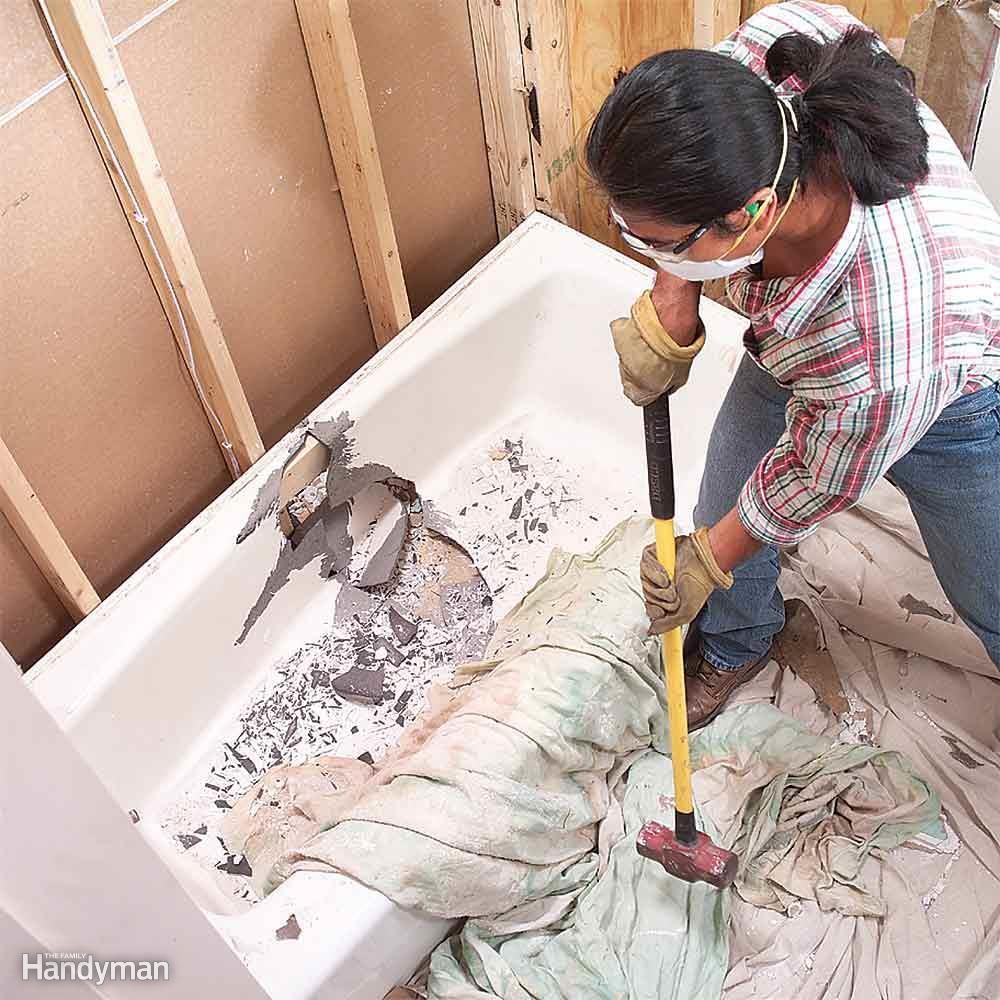
Save Time
Cast iron tubs are ridiculously heavy. So unless it’s a priceless collector’s item, you don’t want to have any part of moving one. Your best bet is to bust it up in place. It can be tough to get the cracking started, so begin hitting the tub at the edge. Once it does start breaking, pound your way along the smashed edges.
Throw a tarp or thick sheet of plastic over the top to cut down on flying shards of iron. And wear your safety gear, especially hearing protection—busting up a cast iron tub is like having a front row seat at a church bell convention. This tip works on just about anything brittle: old toilets, radiators, concrete laundry tubs, etc.
13
/
14
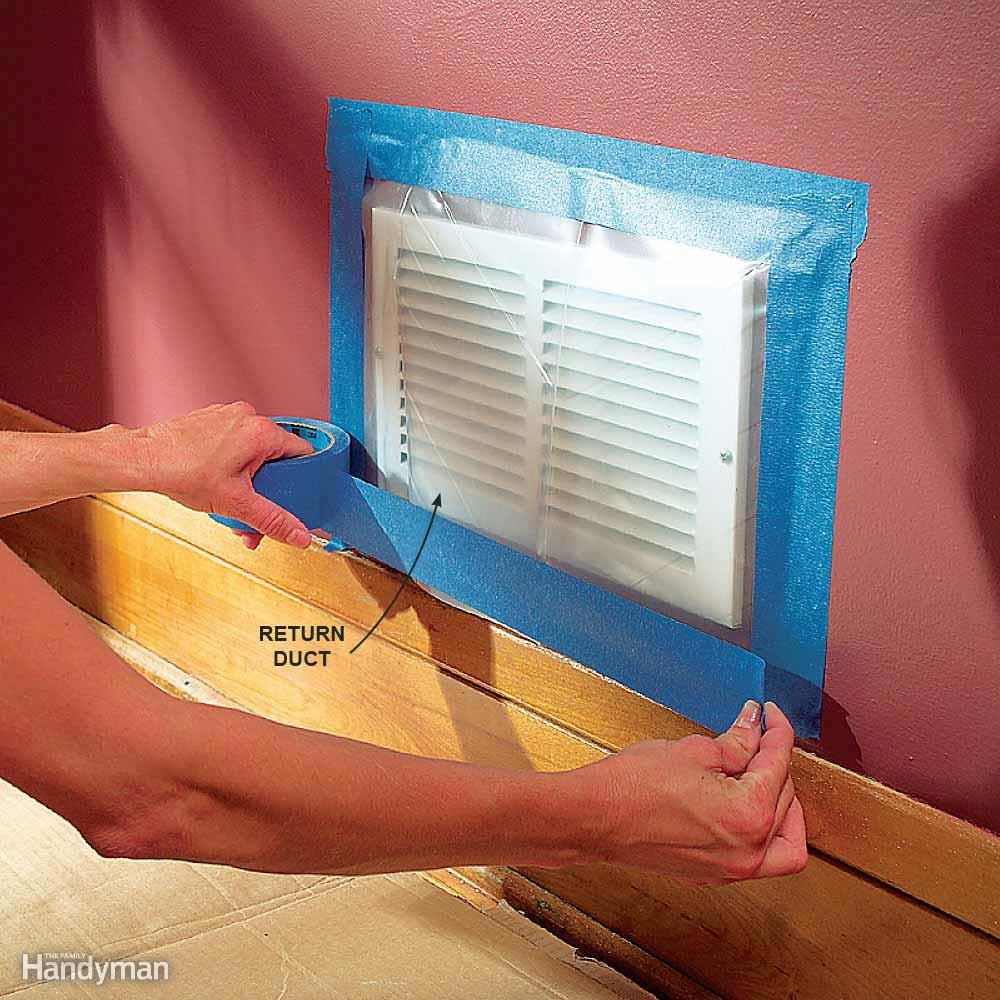
Cover Up Air Ducts
Construction dust sucked into return air ducts can plug your furnace filter. Even worse, small particles can pass through the filter and coat every room in the house with a blanket of fine dust when the blower turns on. Air supply ducts can be a problem too—dust that settles inside will come blasting out when your heating/cooling system starts up. You can close the damper on a supply register, but it won’t seal out dust as effectively as plastic and tape. Note: Turn off the heating/cooling system while the ducts are covered. Operating the system with restricted airflow can damage it.
14
/
14
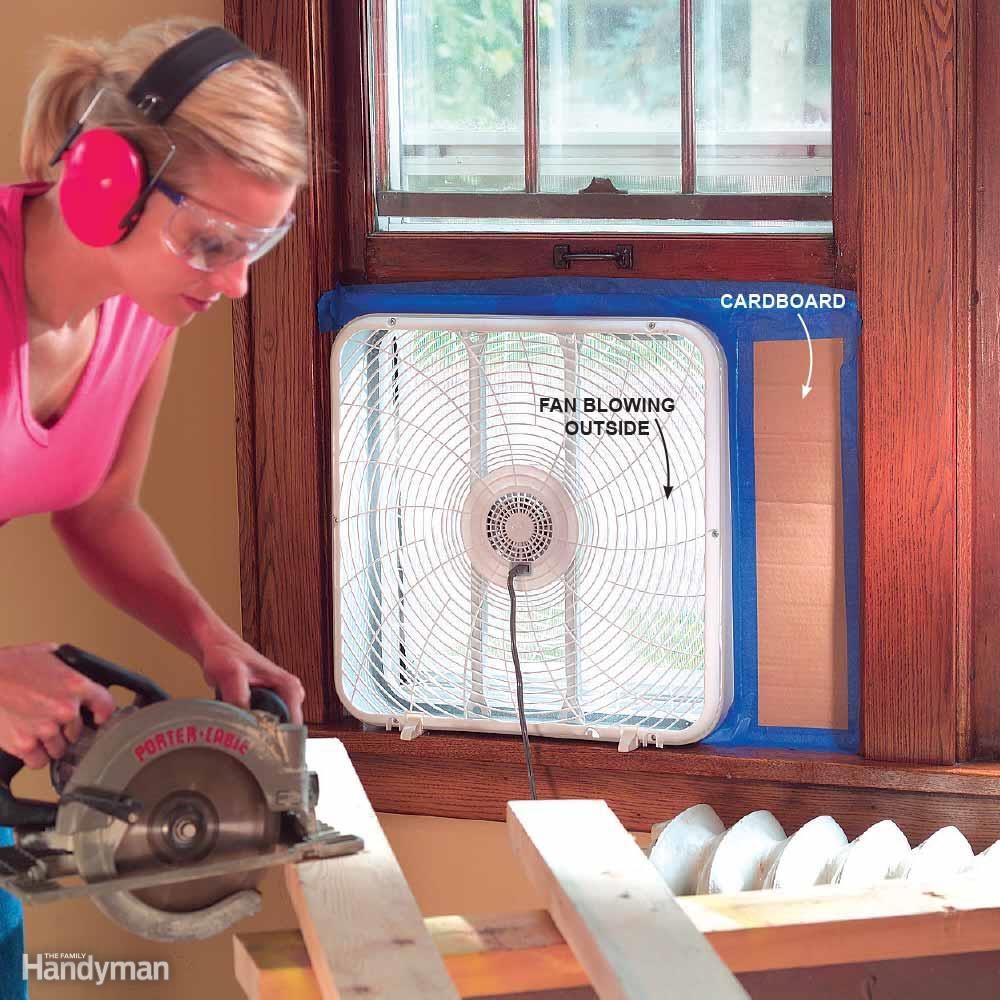
Drive Dust Outside With a Fan
In every situation, whether you are removing a load-bearing wall or cutting a few pieces of trim, blowing a fan out the window reduces dust levels and creates a slight vacuum in the work area. That way, any gaps in your dust barrier will let air flow into the work zone, but dust-laden air can’t sneak into surrounding rooms. This works so well, in fact, that you may not even need a dust barrier for light-dust projects, like perhaps in a small kitchen demolition project. Just be sure to close large gaps around the fan with cardboard or plastic so wind gusts don’t blow the dust right back inside. For good airflow, you may have to crack open a door or window on the opposite side of the room.