


Follow these tricks for a faster, trouble-free installation.
7 Tips for Hanging Drywall Like a Pro

Updated on Sep. 05, 2024
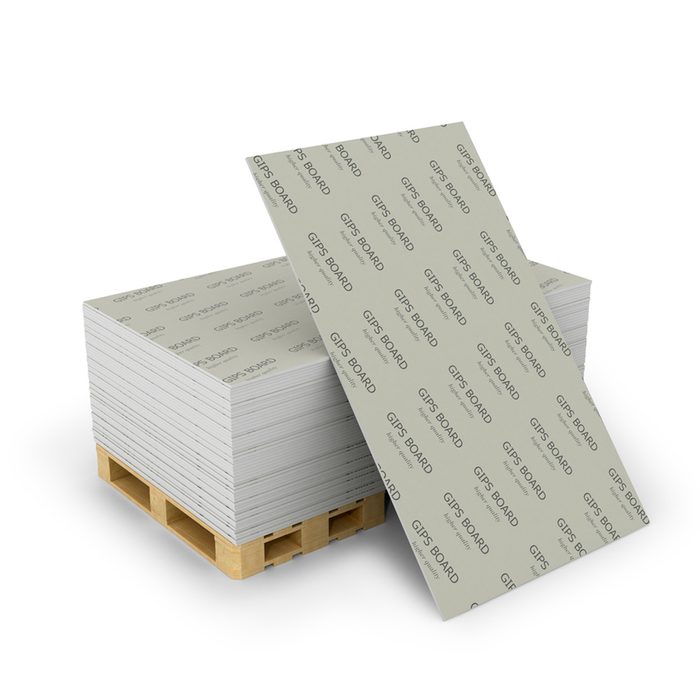
Whether you’re remodeling or adding onto your home, one DIY skill that will come in especially handy time and again is knowing how to hang drywall. Hanging drywall is a multi-step process, but a good drywall job starts with solid backing and properly driven fasteners.
Here, you’ll find some essential drywall tips from the pros about how to make a finished job look smooth and straight.
1
/
7
How to Put Screws in Drywall the Right Way
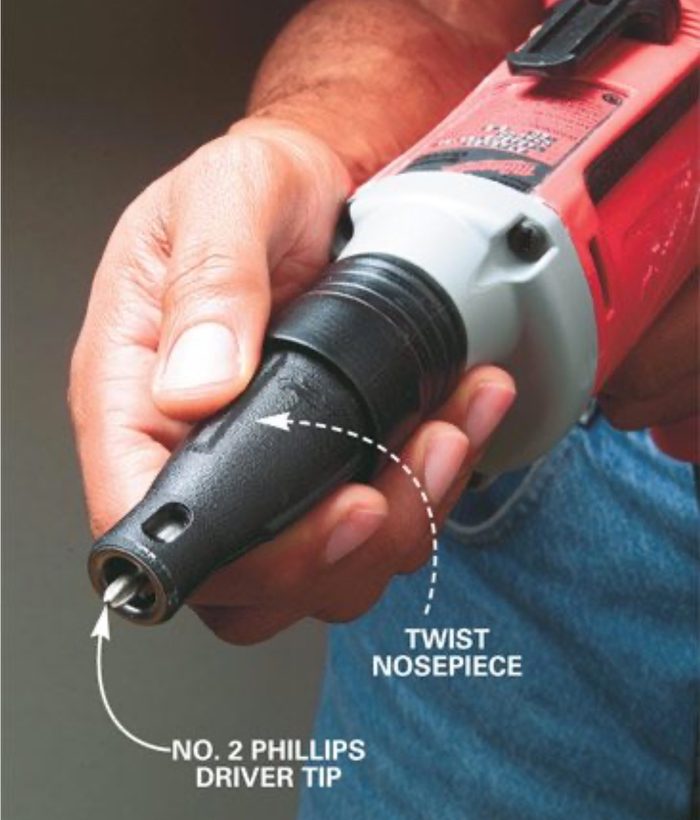
Don’t be tempted to use your cordless screwdriver or regular drill to drive drywall screws. Neither will give you the precise depth control you need for trouble-free fastening. Use a screw gun instead.
Adjust the screw gun tip for accurate depth
Adjust the screw gun to set screws at the correct depth. Practice driving screws on a scrap of drywall or in a closet to get the hang of it before tackling your room. Start by placing a screw on the magnetic driver tip. Then line up the screw with the center of the framing and squeeze the trigger to bring the driver up to speed. After the motor is running full speed, press straight in and don’t release the pressure until the clutch starts to ratchet. You’ll know by the clattering sound it makes.
2
/
7
Make Sure the Drywall Is Tight Against the Studs
Crooked studs or puffed-out insulation can prevent the drywall from lying tightly against the studs. If the gap is too large, you’ll get popped screws poking through rather than screws pulling the drywall tight.
3
/
7
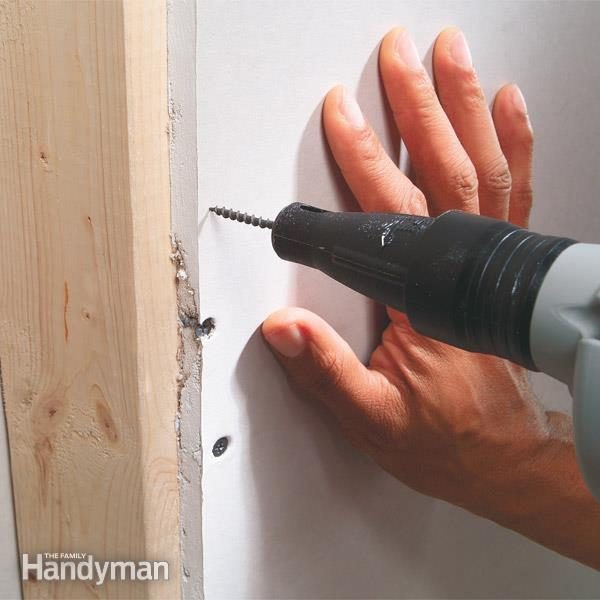
How Many Screws Per Sheet of Drywall?
Buy 1-1/4-in. coarse-thread drywall screws to attach 3/8-in., 1/2-in. and 5/8-in. drywall to wood framing. Use fine-thread screws to attach drywall to steel studs.
To answer the question “how many screws per sheet of drywall?” It all depends how big the piece of drywall is. But the most important part is to place screws 12 in. apart where the ends or edges of sheets butt at framing members, and along each framing member in the center of the sheet.
Don’t use longer screws unless you’re screwing through soft material like foam insulation into the underlying framing. The screws should only penetrate the wood 5/8 to 3/4 in. Any deeper and they’ll be prone to popping later.
4
/
7
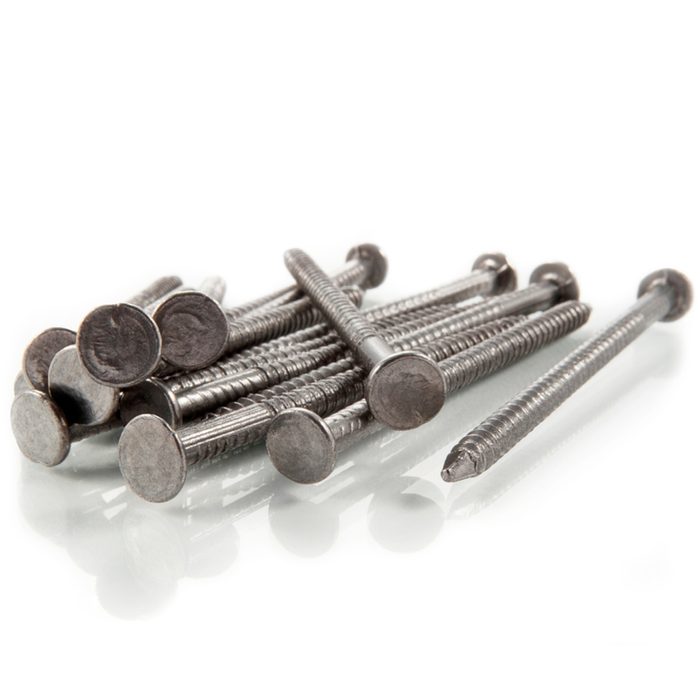
Tack with Nails, Fasten with Screws
For a speedier job, take a tip from the pros and tack the perimeter of the sheets with several ring-shank drywall nails (pictured above) to hold it. Then return to drive the screws. This saves you the hassle of carrying the screw gun around while you’re supporting the heavy drywall.
5
/
7
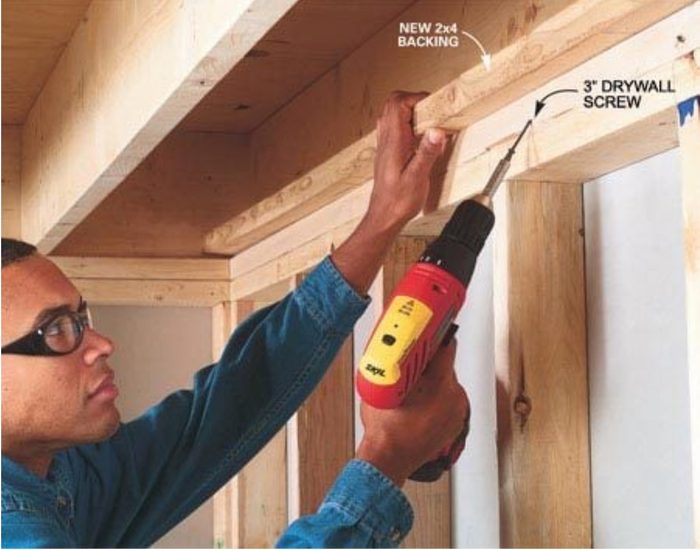
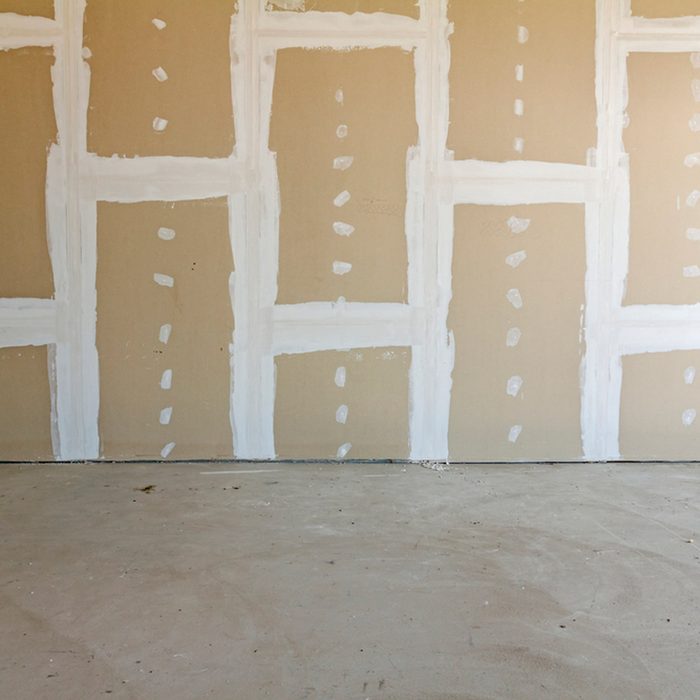
Provide Solid Backing on Edges Before Hanging Drywall Sheet
Inspect inside corners where walls intersect and along the top of walls where they meet the ceiling. The goal is to provide at least 3/4 in. of exposed framing to drive screws into. If you can’t swing a hammer in tight spots, screw in blocking with 3-in. screws. Keep a few lumber scraps handy so you can add backing on the fly if necessary.
6
/
7
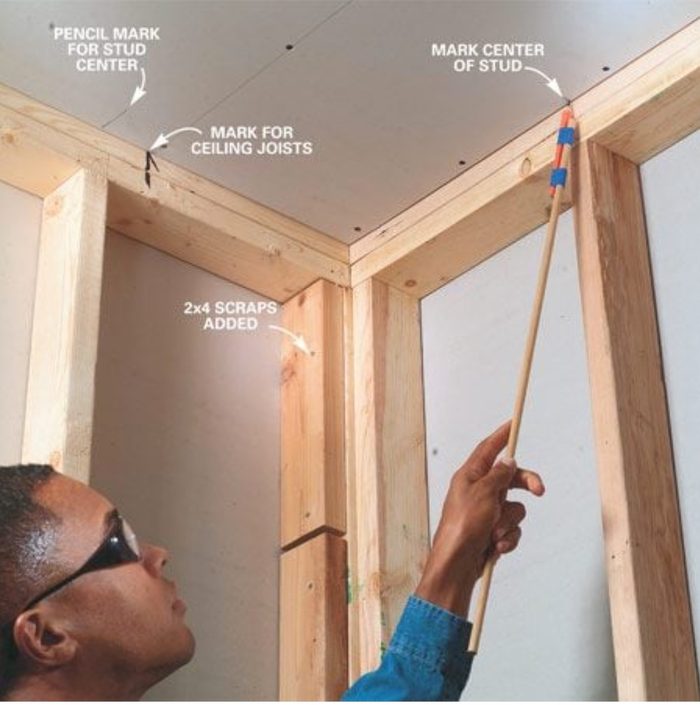
Mark the Framing
It’s frustrating to have to guess where framing members are after they’re covered with drywall. Avoid this hassle by marking all the framing members before you start hanging the drywall. Mark the center of each ceiling framing member on the top plate of the walls. After you hang the ceiling drywall, mark the wall stud centers on the ceiling drywall and on the floor. Use a pencil when marking on drywall. Ink from markers and pens will bleed through the paint.
7
/
7

Remove Screws That Missed the Framing
Even with careful preparation, you’ll occasionally miss a stud, drive a screw too deep or have trouble driving a screw deep enough. The screws don’t usually back out easily. The photo above shows one method of removing screws with your screw gun. If this doesn’t work, slide a putty knife blade under the head and press it against the threads while you back out the screw with your screw gun, cordless drill or Phillips screwdriver.
If you overdrive a screw and break through the paper, add another screw a few inches away and then remove the overdriven screw. Locate underdriven screws by sliding your taping knife over each line of screws and listening for clicks that indicate protruding screws. Use a screwdriver to twist them in a few turns, or remove them and drive a new screw alongside with the screw gun.