


If you've been neglecting your garage, it's time to pay attention and give that hard-working space the garage upgrades it deserves. With these DIY projects and easy garage ideas, you can increase storage capacity, improve the lighting, paint the floor and much, much more.
Upgrade Your Garage With These 12 Affordable DIY Projects

Updated on Jan. 08, 2025
1
/
12
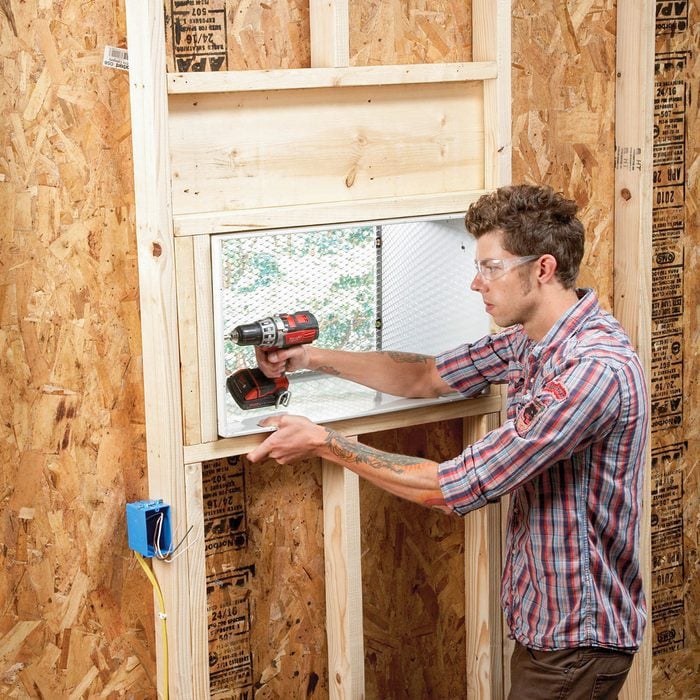
Through the Wall Air Conditioner
Many of our field editors suggested adding garage air conditioning. A through-the-wall AC unit is a good choice, since it doesn’t block a window and you can put it wherever you want.
Air conditioning in a garage may seem like a luxury, but there are a lot of advantages. Our field editors how installing a garage air conditioner reduces humidity, keeping their tools dry and rust-free.
Use the dimensions provided with the unit to build the opening in the wall. Add a header over the opening, just like you would if you were putting in a window. Also add a separate 20-amp circuit for power to the AC.
2
/
12
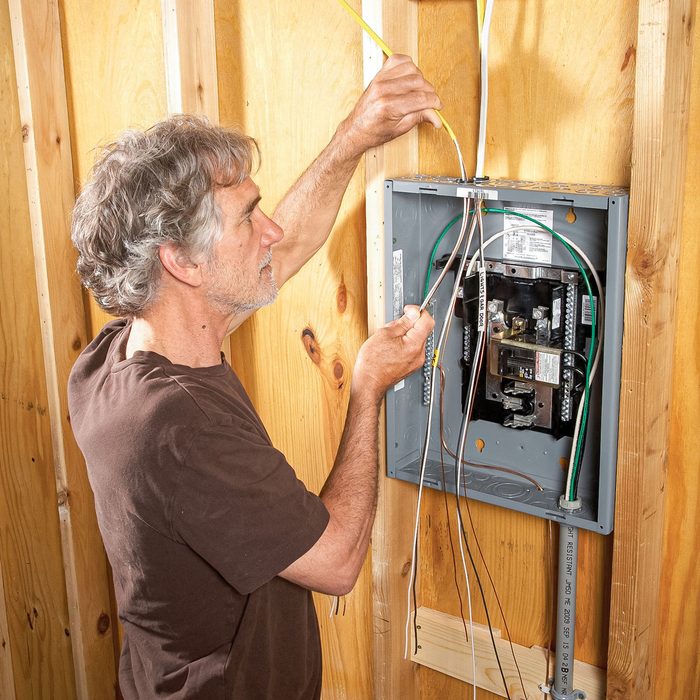
Add a Garage Subpanel
Lots of field editors told us that their biggest garage mistake was not installing a subpanel. Lots of others said including a subpanel was the best move they made. The reasons are simple: more power and more convenience.
If you want to use your garage for a shop, or plan to install air conditioning or other power-hungry appliances or tools, you’ll have all the power you need.
And it’s more convenient to put the circuit breakers in the garage. If you pop a breaker, you don’t have to run to the main panel to reset it. Plus, you can easily add more circuits without running wires all the way to the main panel.
It’ll cost you a few hundred dollars more for the load center, circuit breakers and heavy-gauge wire that runs to the main panel. But for convenience and future flexibility, it’s hard to beat a separate panel in the garage.
3
/
12
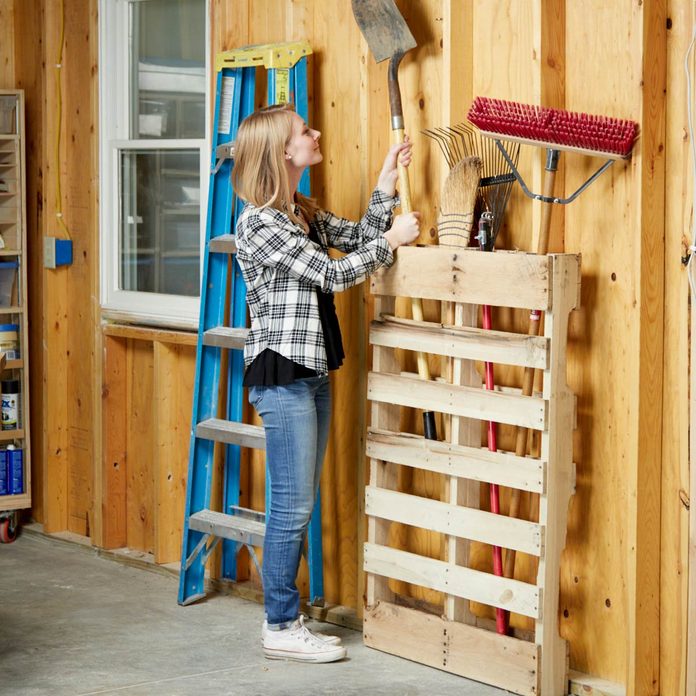
Use a Pallet to Store Lawn and Garden Equipment
If you have a yard or a garden, you probably use a lot of long-handled tools. One of the best ways we’ve found to keep tall, awkward tools handy is this nifty pallet garden tool organizer.
You can easily attach a pallet to a fence, shed or to the exposed wall studs in your garage. No matter what you choose, make sure that your screws are long enough to go through your pallet and the wall you’re attaching it to. We drilled two screws into the pallet, one into each exposed wall stud. If you don’t have any pallets lying around, they are easy to get for free. This quick, one-hour project is worth it. After you’re done, your tools will be out of the way but still easy to reach.
4
/
12
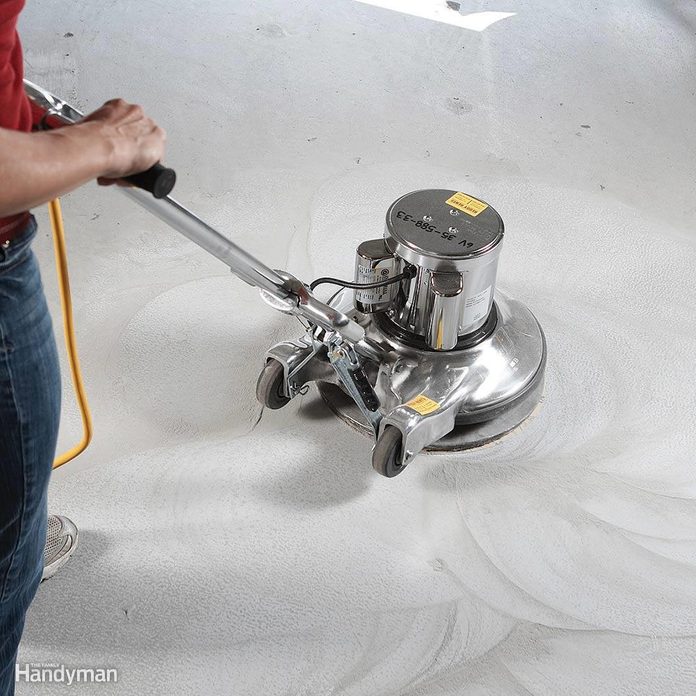
Epoxy Over Paint
Applying epoxy over garage floor paint or even another coat of epoxy without removing it is a great idea for garage flooring, but you have to prep the surface. Here’s how:
- Rent a floor buffer with a 60-grit sanding screen. Get extra screens and return the unused ones for credit.
- Run the buffer over the floor to remove loose paint and scuff the surface to create a texture so the epoxy sticks.
- Sweep the floor clean. Then, just as important, clean the floor with a cleaner/degreaser, available at home centers. The cleaner/degreaser will break the molecular bond of the grease so it’ll come off the floor. Epoxy won’t stick to oil- or grease-contaminated floors.
- Let the floor dry for a full day, then apply the coat of epoxy.
5
/
12
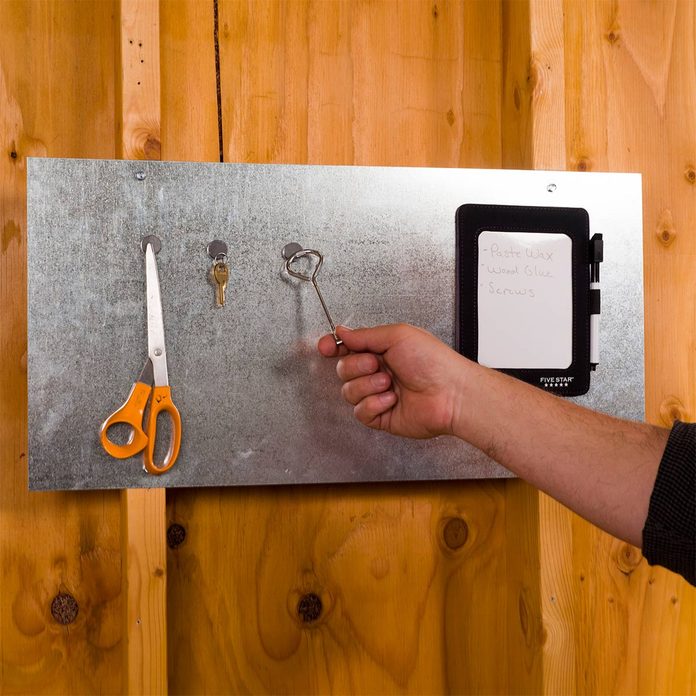
Sheet Metal Magnet Board
Sheet metal or strips of galvanized flashing make great magnet boards in the workshop. Be sure to level the material on the wall and use self-tapping sheet metal screws to fasten it to studs. Then put several magnets on the message board for hanging project plans, supply lists and even small metal tools such as a paint can opener or scissors. Above the workbench is a perfect place for mounting a magnet board.
6
/
12

Ceiling Storage Bonanza
If all the stuff in your garage is within easy reach, you’re probably wasting lots of storage space. The high spaces may not be prime real estate for often-used tools, but they’re perfect for long-term storage. A overhead garage storage system, deep shelving or cabinets near the ceiling can accommodate a tremendous amount of seasonal items, such as holiday decorations or camping gear, as well as declutter your wall shelf area and garage floor.
7
/
12
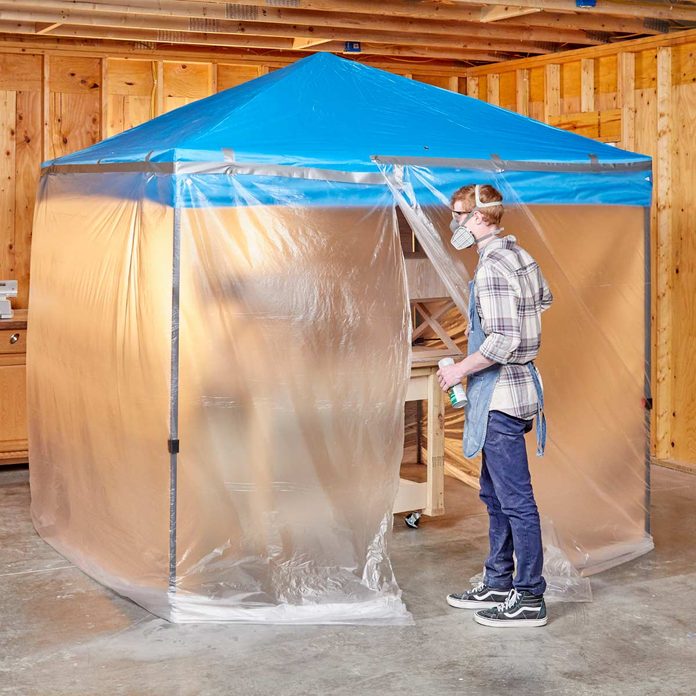
Build a Quick Set-Up Painting Booth
If you need a quick booth to paint some projects in your shop or garage, a sun canopy with painter’s plastic taped around it works great! Note that there’s no exhaust fan, so this set-up is just for quick finishing. Be sure to wear a respirator while you’re inside!
8
/
12
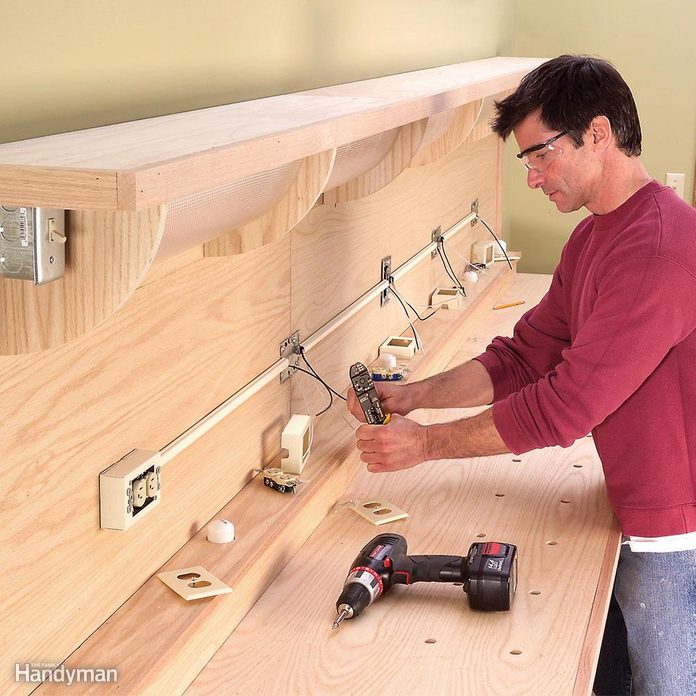
Add Outlets
Most electrical codes require only one outlet in the garage. And that’s just what most builders give you — one measly outlet for all your tools and toys. If you have open studs, you can easily run wire and add outlets as long as you follow a few basic rules.
If you want to wire a finished garage, you don’t need to cut into the walls to run wires. Instead you can mount metal or plastic wiring channels and outlet boxes right on the wall.
9
/
12
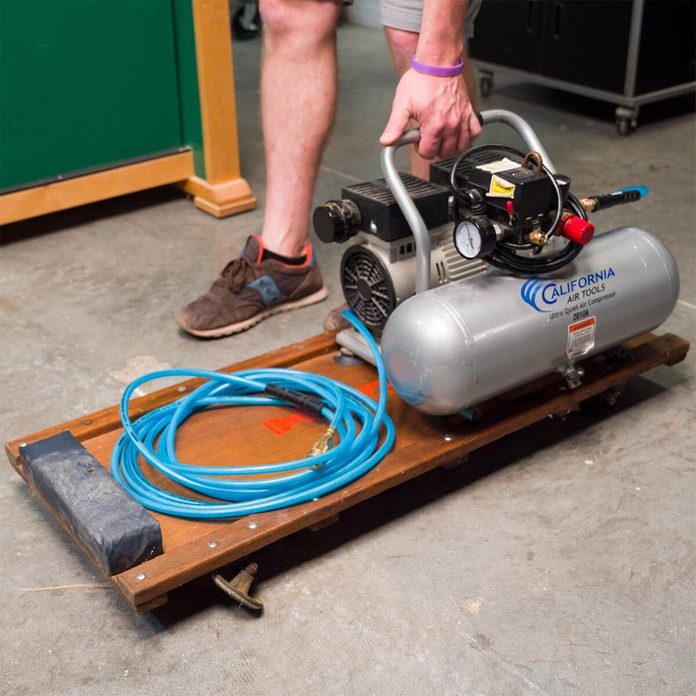
Compressor Creeper
If you don’t do your own car maintenance but have a mechanic’s creeper stowed away in your garage, this is another use for the handy rolling platform. Air compressors can be heavy and cumbersome to haul around your workshop or garage, so putting it on wheels can save you a lot of sore muscles later on! Depending on the size of your compressor, there may be enough room to store your compressor hose on the creeper, too.
10
/
12

Garage Wall Makeover
If you are considering a garage remodel, there may be no better addition than a customized garage storage wall with French cleats which can be easily assembled in minutes. These systems can hold just about anything. You can quickly move hooks, shelves and bins around to find the most efficient arrangement as your needs change. The entire system is inexpensive and easy to build. You only need two power tools – a circular saw and a drill.
11
/
12
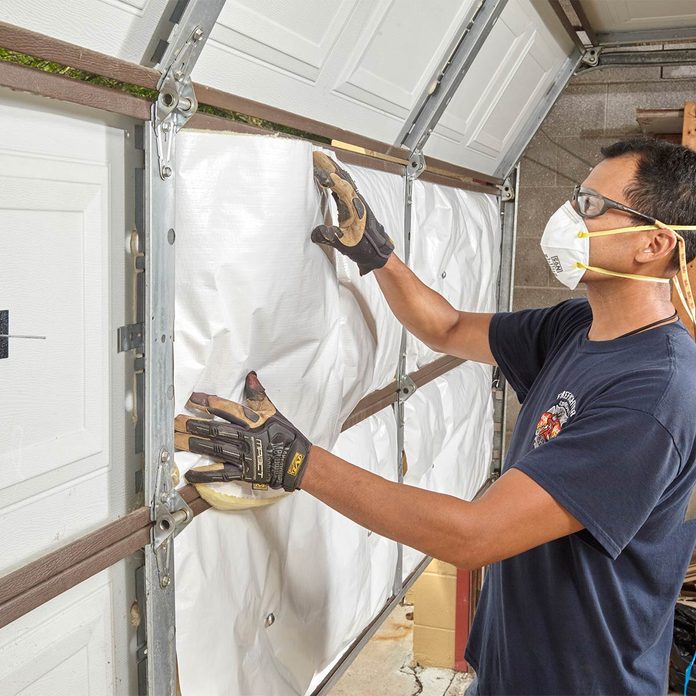
Garage Door Update
Studies done by garage door manufacturers prove that an energy-efficient R-18 insulated garage door can keep your garage about 12 degrees warmer in winter months and about 25 degrees cooler in summer. That reduces energy loss along the insulated walls and ceiling.
12
/
12

Attic Ladder
Many of our field editors suggested adding a pull-down attic ladder as one of the cheapest, easiest garage upgrades. You’re more likely to take advantage of the storage space if there’s an easy way to get up there. Most attic ladders fit between 24-inch on-center trusses, so you can install them without any structural changes.