


Check out these nine amazingly simple ways to optimize your flush.
9 Super-Simple Toilet Tune-Ups

Updated on Dec. 13, 2024
Toilet Tune-Ups
The toilet is arguably the most important seat in the house. When it’s not functioning properly, your life can quickly get a lot more complicated. If your toilet isn’t flushing well, don’t just live with it! You can probably fix the problem in less than 30 minutes.
All it takes is a little patience and time to troubleshoot the various problems that may be impacting your toilet’s performance. We’ve put together nine simple tips to help you get the best possible flush every time.
1
/
9
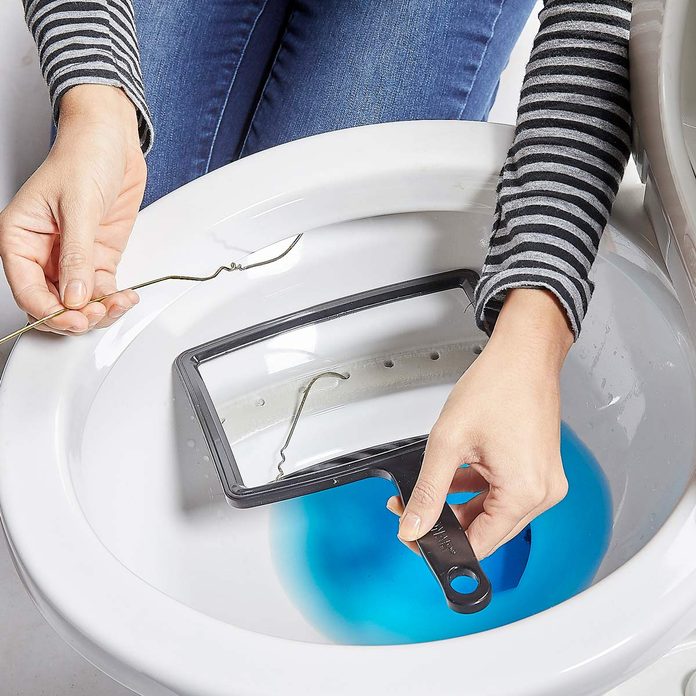
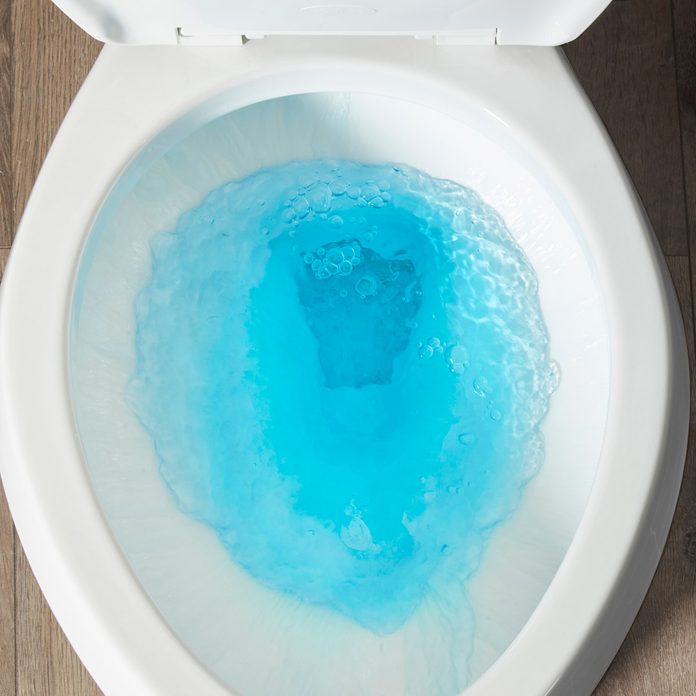
Clean the Rim Jets
Over time, particularly if you have hard water, mineral deposits can plug the rim jets. If you notice the sides of the bowl aren’t clean after flushing, the rim jets likely need cleaning. You’ll need a mirror to see them. Depending on the size of the jets, use a coat hanger or small screwdriver to clean them out. Here are a few simple steps that you should follow to keep your toilet clean.
2
/
9
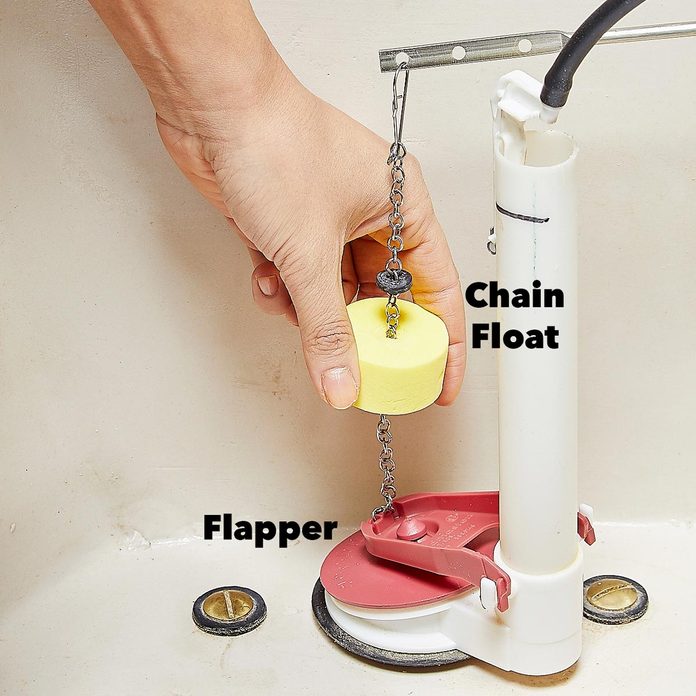
Get a Flapper with a Chain Float
A chain float helps the flapper stay open a bit longer, allowing more water to enter the bowl for a better flush. You can adjust the float up or down on the chain to fine-tune how long the flapper remains open. Get a stronger flush—and a lower water bill. Find out how to fix things if your toilet keeps running.
3
/
9
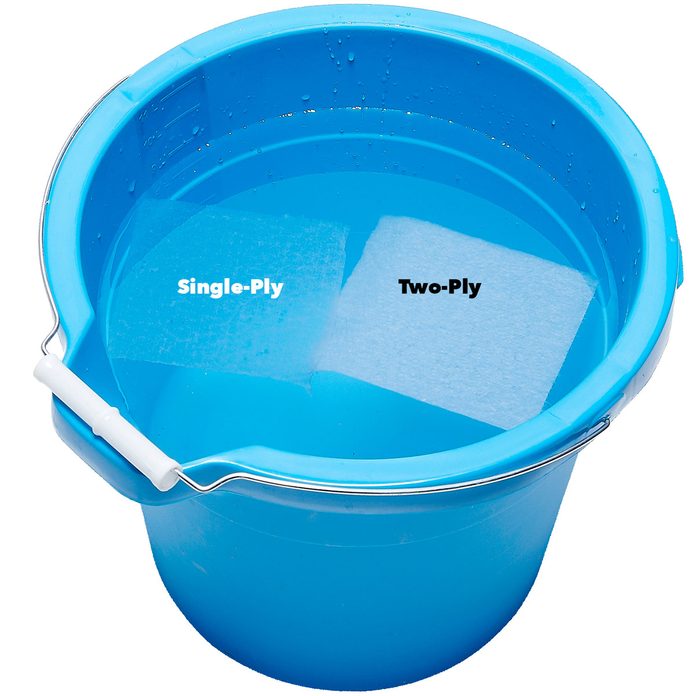
Switch to Single-Ply
Sometimes a poor flush is caused by partial drain clogs. The majority of these clogs are caused by toilet paper, particularly the luxuriously soft two- and three-ply varieties. Switching to single-ply toilet paper can help because it breaks down faster, even if you use the same amount of toilet paper.
4
/
9
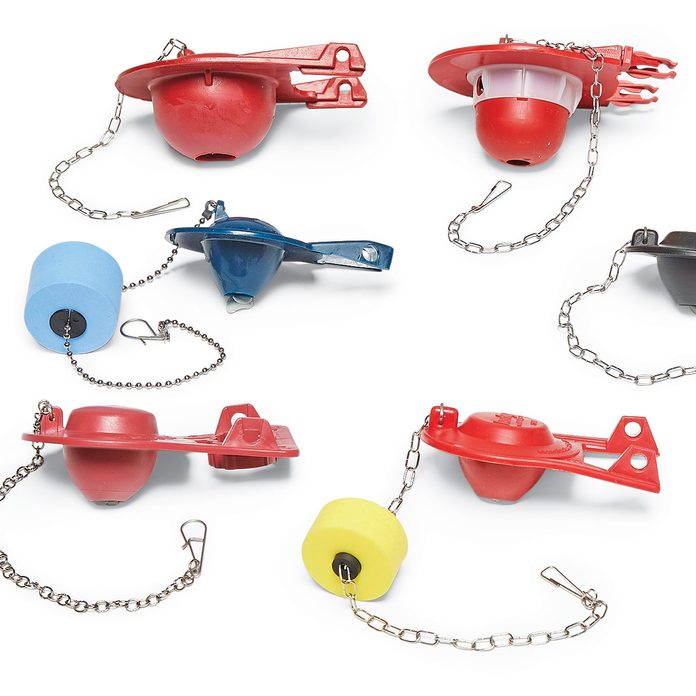
Try a Different Flapper
The flapper is the part inside the tank that goes up when you press the flush handle. There are hundreds of flapper styles , including some that allow you to adjust the amount of water per flush—but not all are compatible with every toilet. Plumbers often carry a variety in their truck and, through trial and error, choose the one that works best.
If you’ve tried everything else, buy a few different flappers and see which one works the best on your toilet. Check map-testing.com to find flappers compatible with your specific toilet. Flappers cost $3 to $20 each.
5
/
9
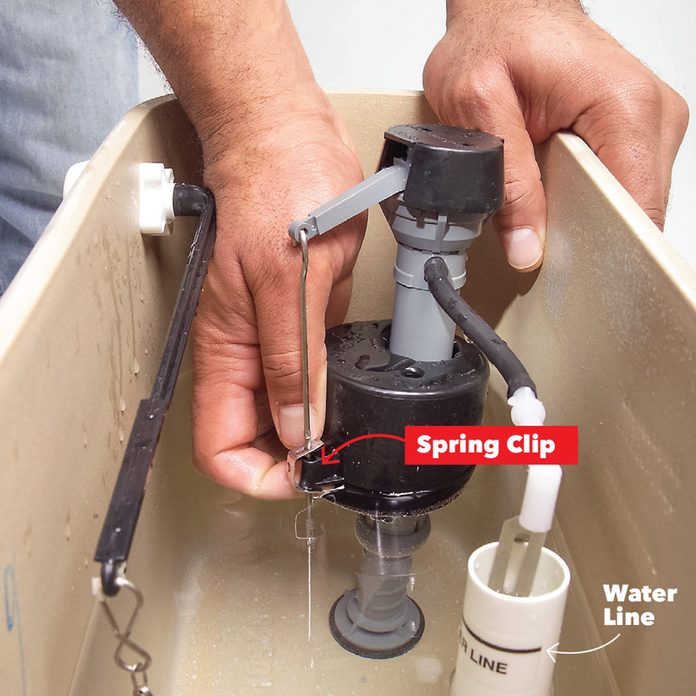
Adjust the Water Level
Most toilets have an indicator line showing the proper water level. If your toilet doesn’t, set the fill level 1-in. below the top of the overflow pipe. Closer than that might be asking for trouble. In the evening, the demand on your municipal water supply drops, which can increase water pressure. This can cause the water level in your tank to rise a bit.
If water is continuously flowing into the overflow pipe, you’re flushing both money and water down the toilet. There are many different mechanisms for adjusting your tank’s water level. The most common methods are an adjustment screw on the fill valve, an adjustment screw connected to the float, or a spring clip connected to the float.
6
/
9
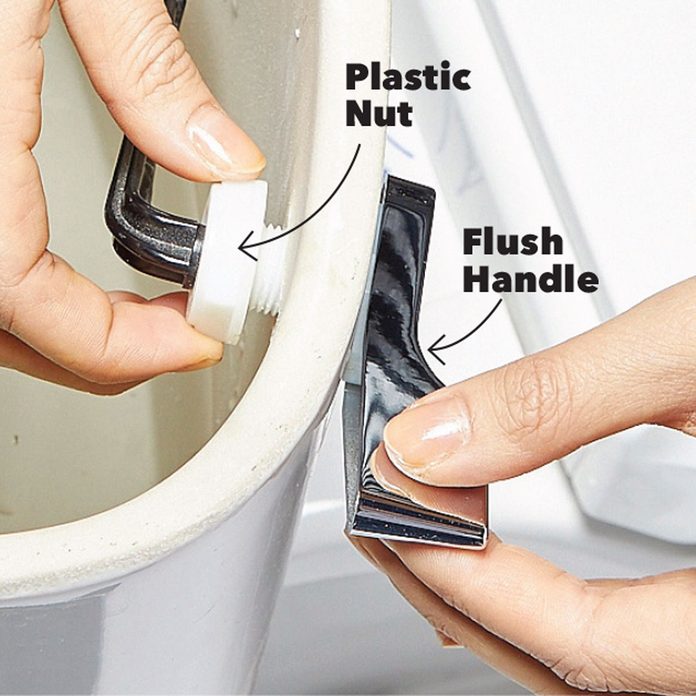
Tighten the Flush Handle
A nut inside the tank holds the flush handle in place. If it’s loose, it can throw off the chain adjustment. Tighten the nut, being careful not to over-tighten; it just needs to be snug.
Basement toilets are notoriously bad flushers. There often isn’t enough of a drop from the toilet to the horizontal drain that leads to the main sewer line, limiting the assist of gravity. This can also be a problem if you have a toilet in a building with no basement. A pressure-assist toilet might be your only option in this case.
7
/
9
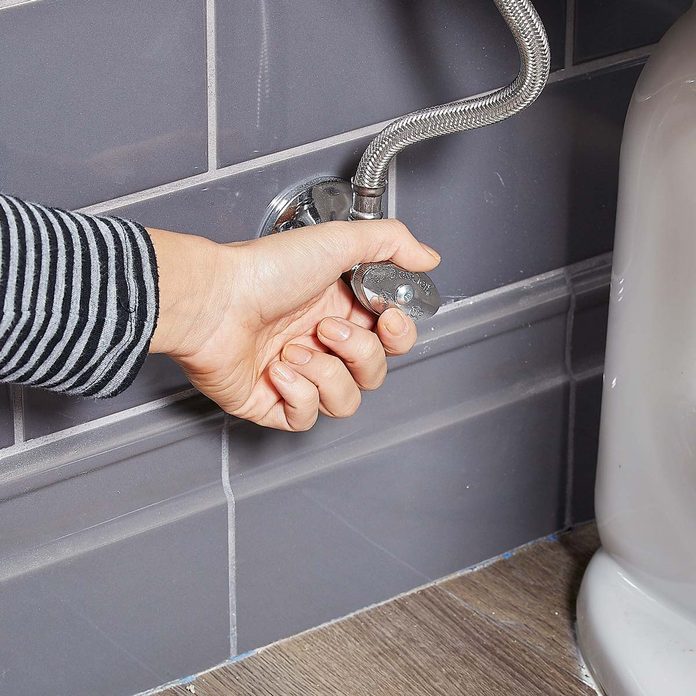
Open the Water Supply All the Way
When you flush, it’s not just the water from the tank that’s making the flush. The fill valve also opens, allowing more water to immediately enter the tank. The more water flowing in, the better your flush will be.
8
/
9
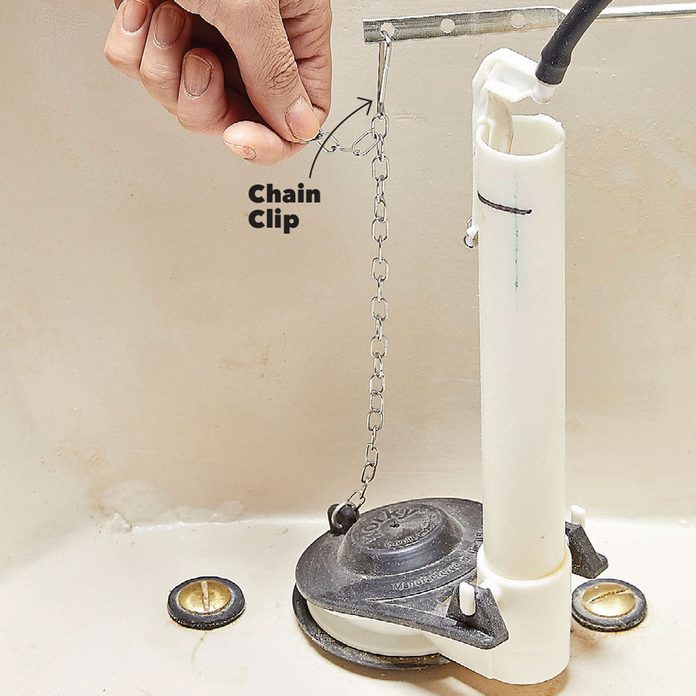
Adjust the Flapper Chain
Adjust the chain so that it just allows the flapper to seat. If the chain is too long, the flapper will close too soon for a good flush. If the chain is too short, the flapper won’t seal. To adjust the length, move the clip to a different chain link. Be sure there are no kinks in the chain, squeeze the clip closed and cut off the excess chain.
9
/
9
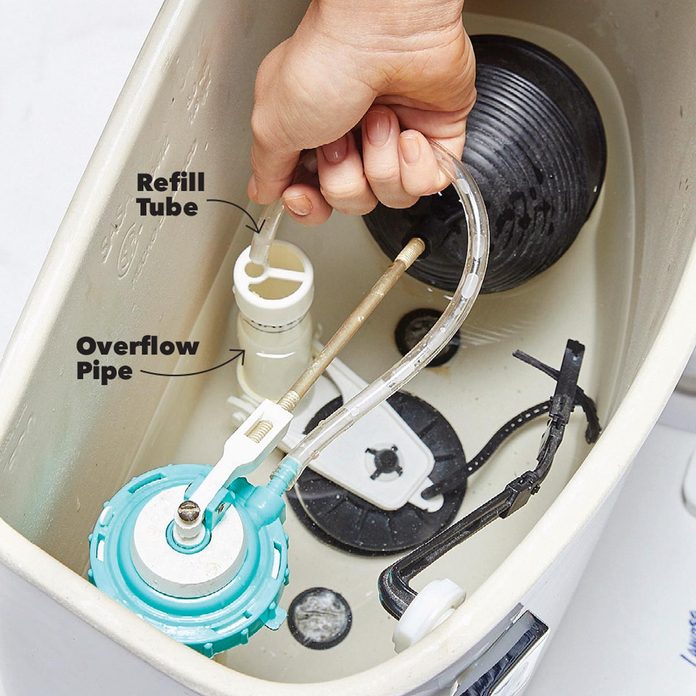
Aim the Refill Tube
Make sure the refill tube is aimed directly into the overflow pipe; you don’t want any water spraying outside it. That little tube refills the bowl with water from the tank after flushing. A low water level in the bowl contributes to a weak flush and fails to clean the sides of the bowl.
These tune-ups will help your potty achieve its full potential. But some toilet designs just don’t have much potential. To see if your model is a sewage superstar or a flushing failure, look it up at map-testing.com.