


Learning how to paint a front door can dramatically improve your home's curb appeal with minimal effort and cost.
One day or less
Beginner
$50-100
Introduction
Your home deserves a facelift! Discover how to paint a front door without removing it with our simple step-by-step project. /p>
A quick way to boost your curb appeal is to give your front door a makeover. The best way to paint a door will always be to take it off its hinges. However, if you’re feeling time-pressed or nervous about getting the door on and off its hinges—you can still successfully paint your exterior door while it’s on the hinges. It has kinda turned into a hack seen across social media. Since you’ll be working against gravity, you must pay extra attention to drips.
Prevent drips by using a foam roller when applying the paint uniformly, painting in thin coats, and using a drop cloth beneath the door. I recommend repairing any flaws on your door before painting for the best results, such as filling in cracks and holes. Remember that high gloss paints reveal imperfections more than other paints, such as semi-gloss or satin.
Before starting the project, you want to know what your exterior door is made of. Most exterior doors are wood, fiberglass, steel, and wood clad in aluminum. It’s important to note that certain paints and primers may adhere better to different types of door materials. If you’re unsure, it’s a good idea to consult with the professionals at your local paint store. I used a satin exterior enamel paint/primer and was very pleased with the results. It dried smoothly and quickly, so I didn’t have to wait around for hours to apply the next coat.
You might not have to do this extra step, but I had to paint the exterior door frame to match the door’s new color. This meant getting out the ladder and spending a bit more time painting. Also, don’t skimp on painter’s tape; mistakes will show, especially on door frames. When picking out a new front door color, consider what would complement the other exterior colors of the home. If you’re unsure, plenty of inspirational ideas are online, and some paint stores offer consultations.
Tools Required
- Angled paintbrush
- Drop cloths
- Heat gun or Hair dryer
- Ladder or stepstool
- Old toothbrush
- Paint roller
- Paint tray
- Screwdriver
Materials Required
- 220-and 320-grit sanding sponge
- Cheesecloths
- Clean microfiber cloths
- Cleaning degreaser (optional)
- Exterior enamel paint and primer
- Painter's tape
Project step-by-step (11)
Step 1
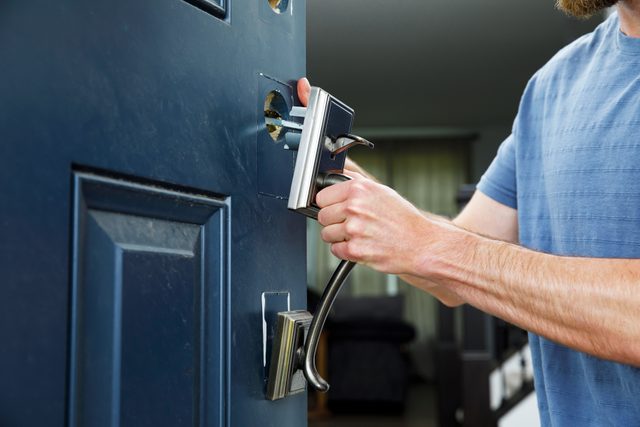
Remove door handle
Using a screwdriver, remove the door handle and lock from the door.
Step 2
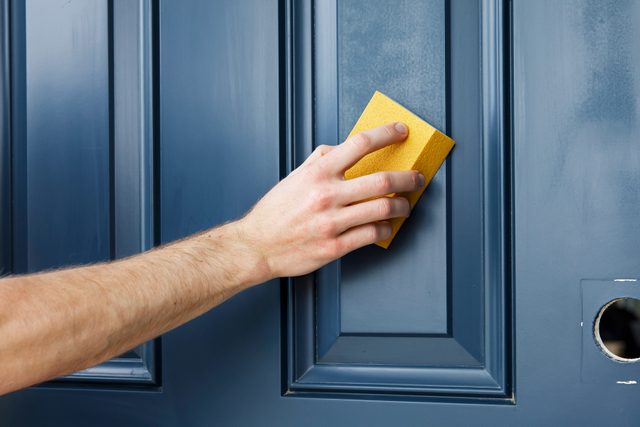
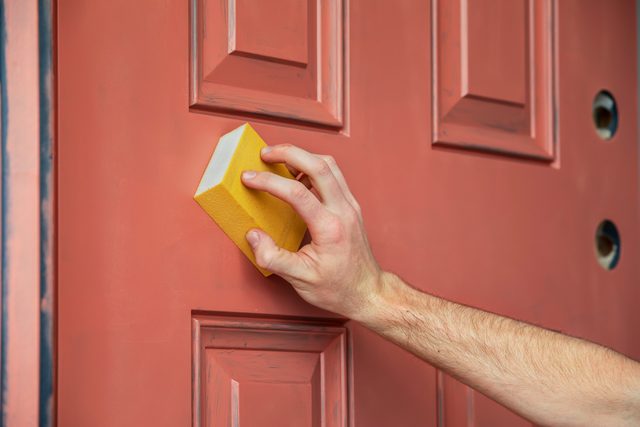
Lightly sand the door
Lightly scuff the door with a 220-grit sanding sponge. Be careful not to apply too much pressure, as it may scratch the door deeply enough to show through the paint.
Note: If your door is in rough condition, make repairs before scuffing it. Scrape off flaking paint, fill and sand cracks and holes with wood filler, etc.
Step 3
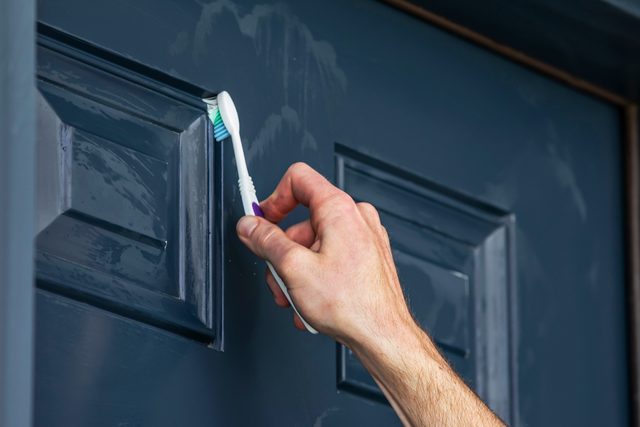
Clean the door
After sanding, clean the door with a damp microfiber cloth before painting it. If it is still dirty, use a cleaning degreaser. Finish removing small dust and debris with a cheesecloth.
TIP: Use an old toothbrush to clean the tight spaces in the recessed panel edges.
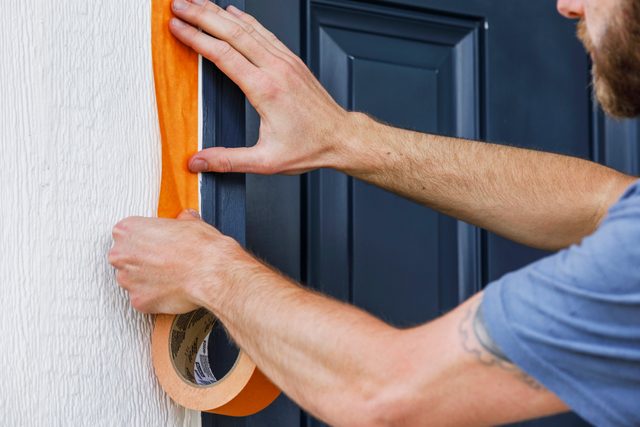
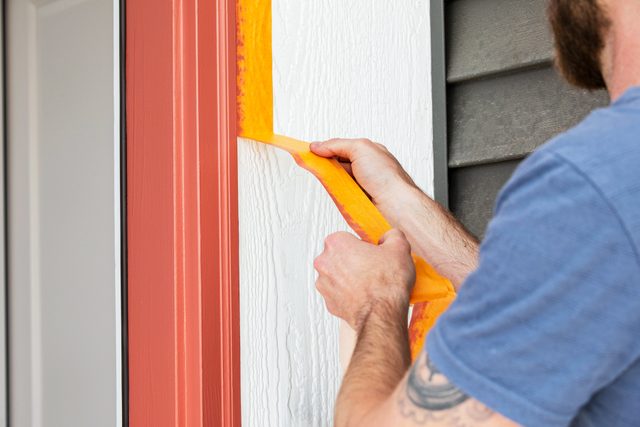
Tape the edges
Next, use painter’s tape to cover the edges of the door and frame.
Step 4
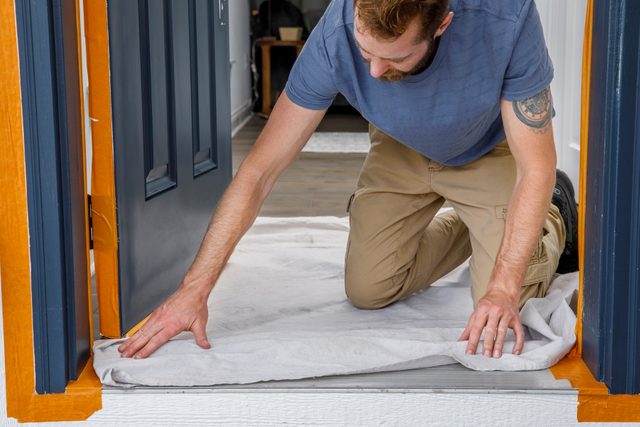
Prep the space
Lay down a drop cloth to prevent paint from dripping onto the floor.
Step 5
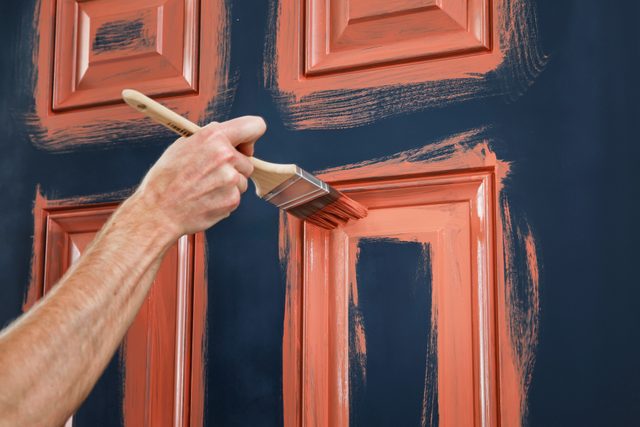
Paint the panels
Stir the paint, and begin painting any recessed panel edges with a angled paintbrush. Start with the highest recessed panels and work your way down to the bottom.
Step 6
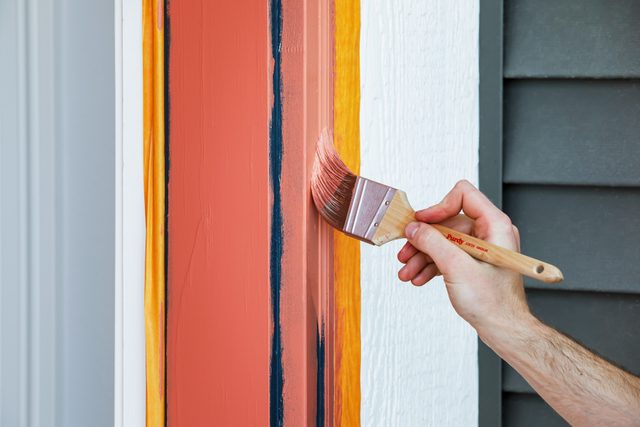
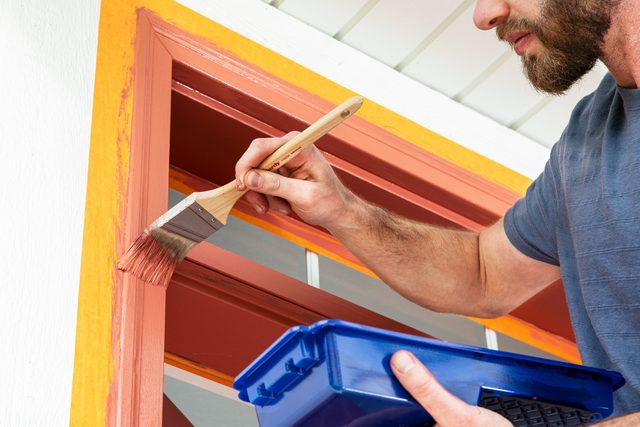
Paint edges and trim
Using the paintbrush, paint the edges of the door and the door frame.
Step 7
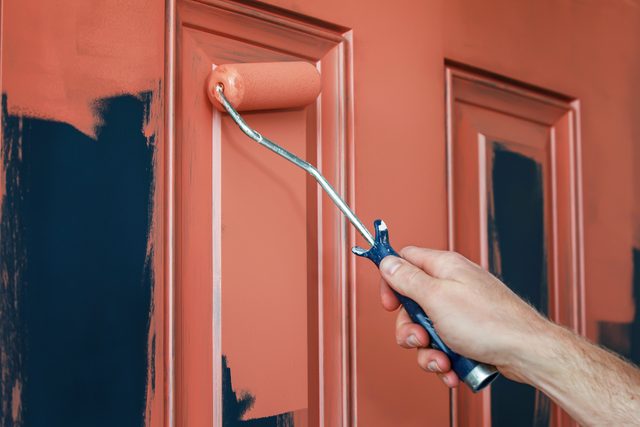
Roll the rest
Switch over to a paint roller for the large, flat surfaces of the door. Again, start at the top of the door and work your way down.
Step 8
Lightly sand between coats
Wait until the door is completely dry, then begin lightly sanding it with a 320-grit sanding sponge. Avoid applying too much pressure. After sanding, wipe down the door with a damp microfiber cloth and cheesecloth before painting the second coat.
Step 9
Paint the second coat
Repeat the process of painting the first coat on the door (steps 6- 10).
Step 10
Clean up and reattach doorknob
Remove the painter’s tape and put the doorknob back on when the door has completely dried. A painting tip I use whenever I’m painting in high-traffic areas, like this project, is to use a heat gun or hair dryer to speed up the paint-drying process. That way, no one touches or brushes against the wet paint. Clean off the paint brushes and rollers. Store the paint in a safe location and label it so you’ll know what project the paint was used on.
Step 11
FAQ
How to paint a door without drips?
Avoid rushing and overloading your paintbrush or paint roller with paint. Paint drips often occur on corners and edges, so be extra cautious around those areas of the door. Wait for the previous coat of paint to dry before applying another coat. If you notice a drip forming, use a foam roller to blend it in before it dries.
Should you paint an exterior door with a brush or roller?
When painting an exterior door, your choice of using a brush or a roller depends on the style of the door. If the door is only a flat surface, you can use a foam roller to achieve a smooth surface. However, if the door has panels, decorative edges, glass panels, etc., you will need an angled brush to reach the areas that a roller can’t. In most cases, you will need a brush and a roller to paint a door.
Do I need to prime the exterior door before painting?
Regardless of the material, an exterior door needs to be primed before being painted. The primer provides an ideal surface for the new paint to adhere fully. The surface will most likely not turn out completely smooth without priming the door. You can also purchase already primed doors to avoid the need for priming the door yourself.