


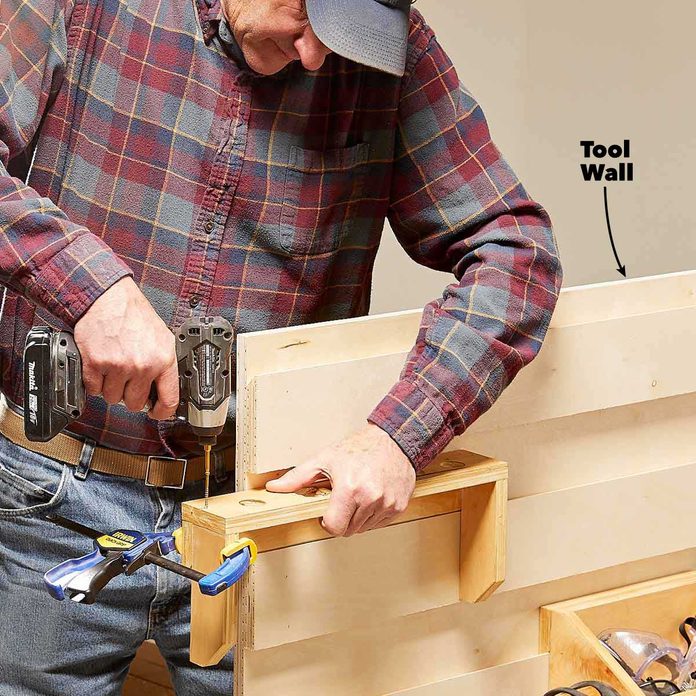
Once you build a French Cleat tool wall, you need to start adding tool holders and tools. Most tool holders take less than 20 minutes to build. Have fun and don’t be afraid to toss your failures and try again. Here are tips to help you build your wall and make custom holders for your tools and gear.
French Cleat Tool Holder Building Tips
1
/
9
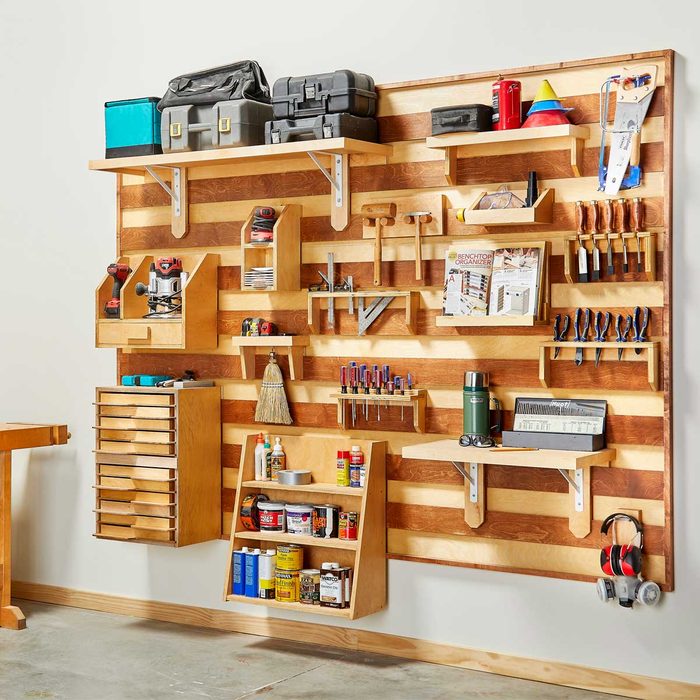
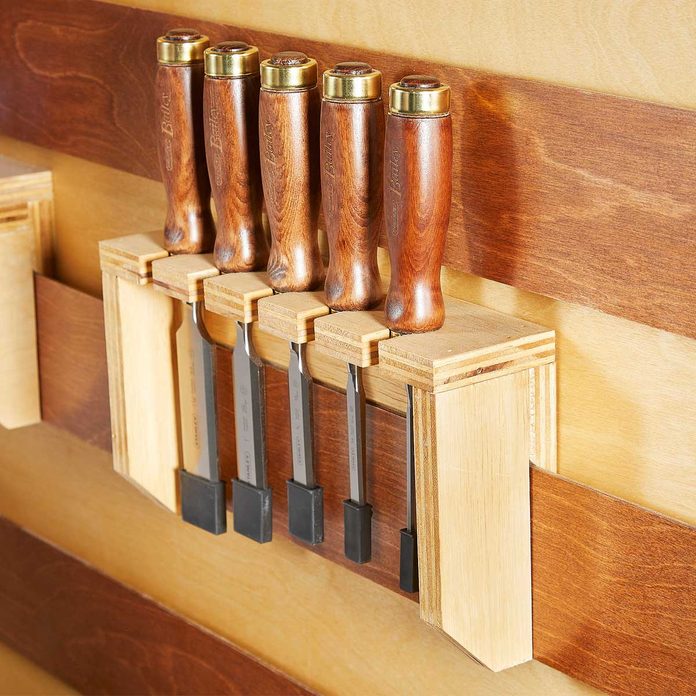
French Cleat Tool Holder
This french cleat tool holder is an attractive and useful addition to any garage or workspace. It makes use of vertical space and keeps tools tucked away neatly, without hogging floor space. And it’s customizable, so it’s easy to change as your tool collection grows and your storage needs evolve. Here are some tips for building this DIY french cleat tool holder.
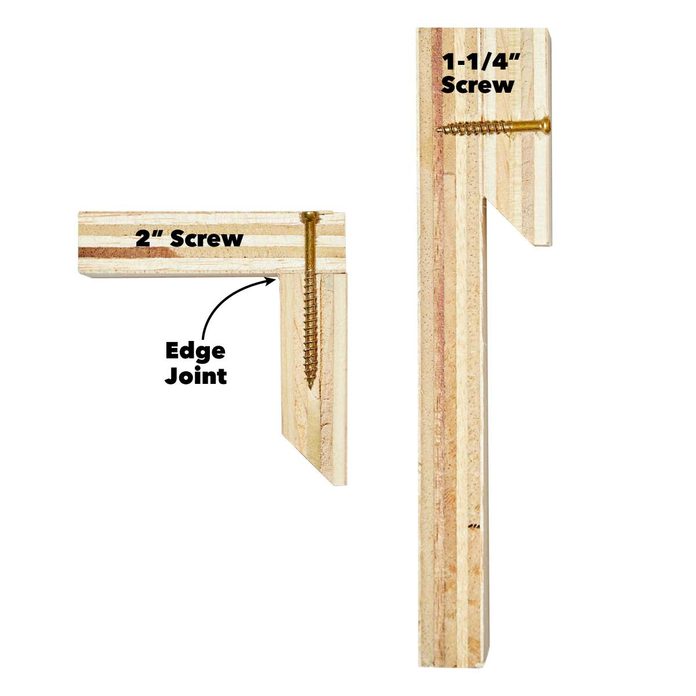
Fasten with trim-head screws
Use 1-1/4-in. screws for 3/4-in. to 3/4-in. joinery. Use 2-in. screws for edge joints.
2
/
9
Build a test wall
Mount three cleats on a half sheet of plywood to mock up a test wall. Use it to test and assemble your shelves, bins, hangers and more.
3
/
9
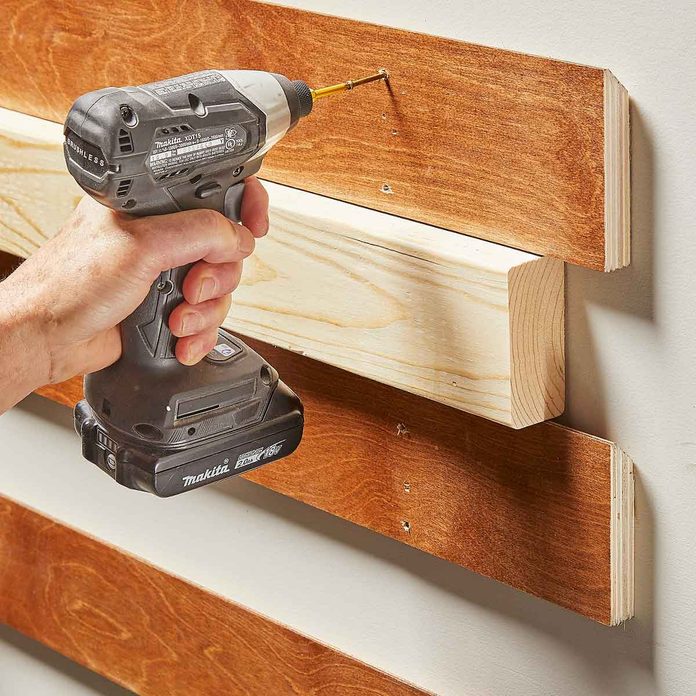
The plywood is optional
If your garage or shop wall has exposed studs, you’ll find the plywood in our plan ideal for finishing the wall. But you could also screw the wall cleats right through existing plywood or drywall or even directly to the studs.
4
/
9
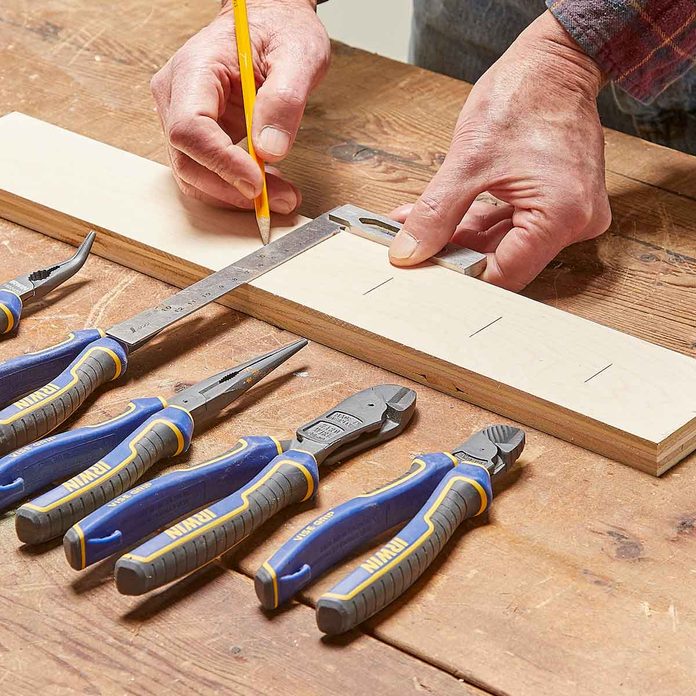
Plan your tool holders
Lay out the tools or other items to help you decide what type and size holder will work the best for storing your tools.
5
/
9
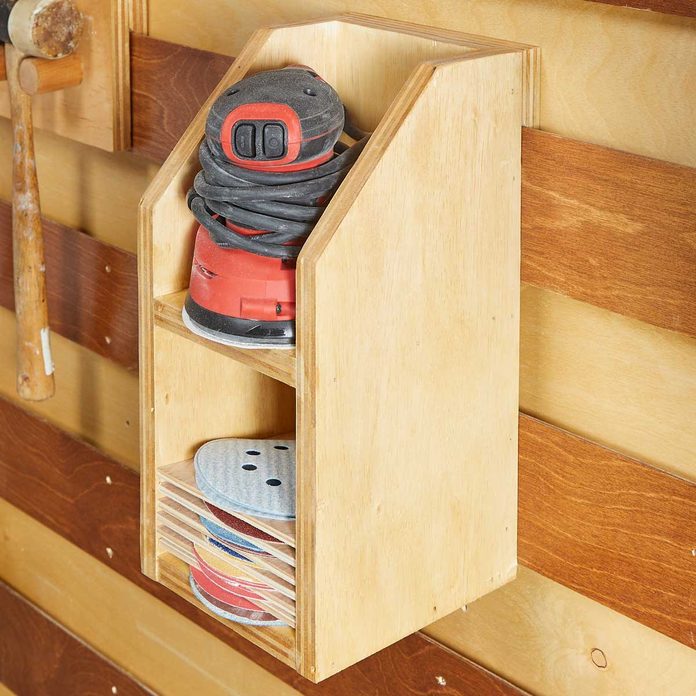
Small shelf supports
Small Shelves can get by with minimal support. They’ll only need vertical supports that cover one wall cleat.
6
/
9
Medium-size shelves
Medium-Size shelves, depending on their design and the weight of their contents, may need to span more than one cleat.
7
/
9
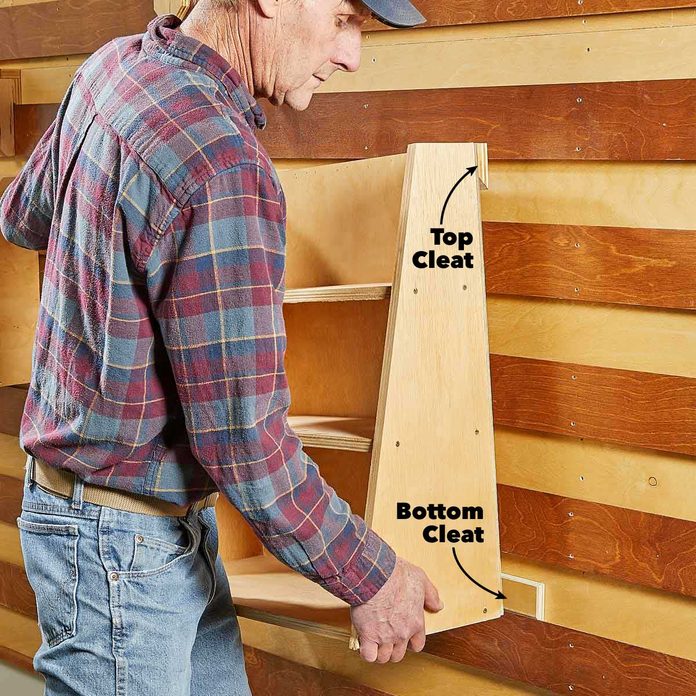
Heavy units
Support Large, heavy units with double cleats. Screw the top cleat to the tool holder, then hang it on the wall with the bottom cleat already nested in the wall cleat. That way you can screw the tool holder to the bottom cleat from the front in exactly the right position.
8
/
9

Take advantage of the hardware aisle
Stroll through the hardware section at your favorite home center. Choose hooks, racks and shelf brackets and build components to suit them.
9
/
9
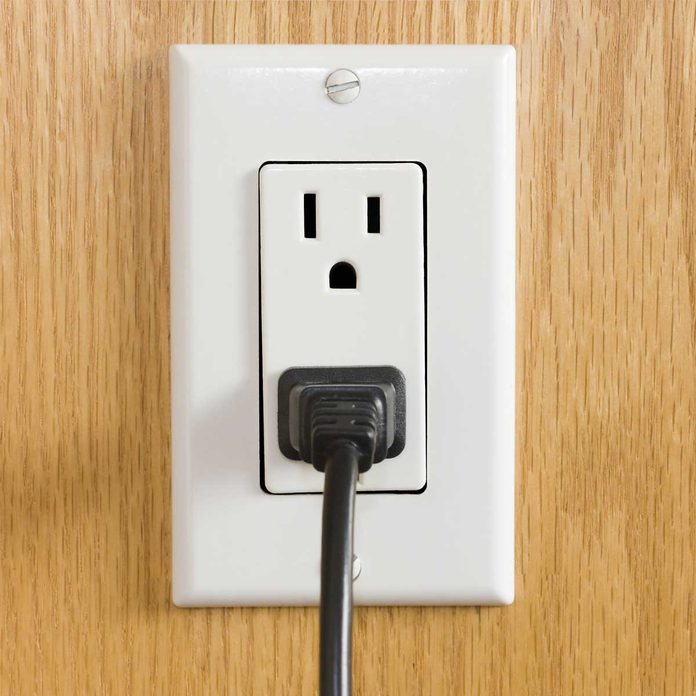
Plan for outlets
If you have existing outlets near the floor, you can tap into those outlets to feed new outlets in the slat wall itself. These new outlets can be at workbench level to feed battery chargers or up high to power lights.
You can cut holes in the drywall and feed cable up to those locations. You don’t need to patch those holes because they will be covered by the slat wall. Leave the cables coiled behind the plywood and note their locations. Then you can cut outlet holes in the plywood and insert “remodeling” junction boxes.