A heater hose repair kit is great insurance against roadside disaster.
An hour or less
Beginner
Less than $20
Introduction
A leaking heater hose will stop your car dead in its tracks. But with a basic repair kit, you can fix the hose yourself and be driving again in an hour.
Emergency Heater Hose Replacement
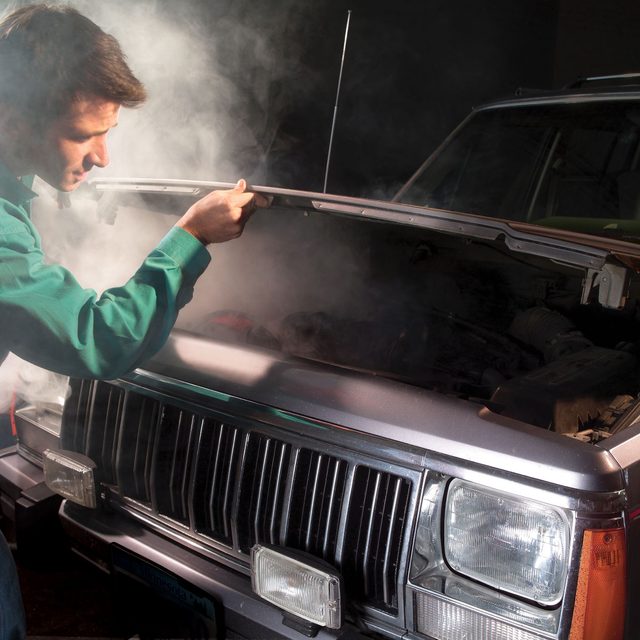
You’re driving along, running late for an appointment, when steam starts belching up through the edges of the hood. Your car has just blown a heater hose, and the coolant is vaporizing as it drains onto the hot engine.
Well, we can’t make you feel any better about what just happened. But we can help you replace your heater hose and get you back on the road in a reasonable amount of time.
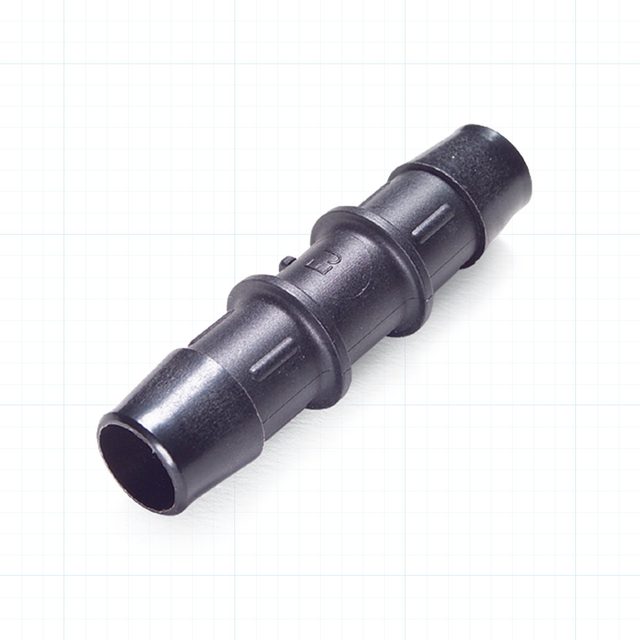
If your car is more than six years old, no doubt your radiator and heater hoses have seen better days. Next time you’re in the auto supply store, pick up a kit containing a heater hose coupling (like the one shown) and a pair of clamps. The kit doesn’t cost much and it’s a good insurance policy.
Tools Required
- 4-in-1 screwdriver
- Flashlight
- Pocketknife
- Rags
Materials Required
- Heater hose coupling
- Hose clamps
- Water or coolant
Project step-by-step (6)
Step 1
Open your hood and let everything cool down
Don’t touch anything until you can do so comfortably — you’ll risk serious burns if you don’t. You might need to wait up to 45 minutes, but better to be safe than sorry.
As the engine cools, look for splits or tears in the hoses. The telltale signs of a blown hose will be coolant splashed over the engine and under the hood. This alone doesn’t mean you have a blown hose, however. It could be a faulty thermostat that caused the radiator cap to release.
If the cap has a pressure-release flap that’s released, your engine may have only overheated. But if the cap is intact and you can see a leak in the heater hose, you can fix it. Once the engine cools, remove the radiator cap. Put the cap back on after the fix.
Step 2
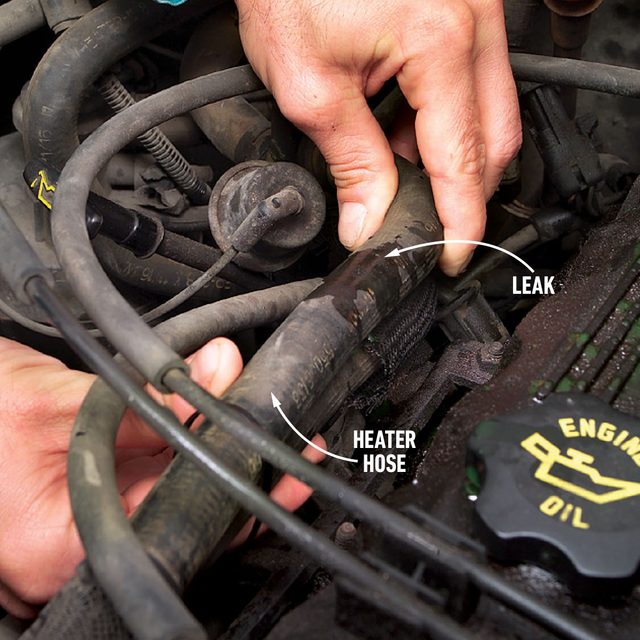
Look for a leak along the length of your heater hose
Carefully examine the hose from the water pump back to the heater core inlet and outlet near the firewall (i.e. the backside of the engine compartment).
Step 3
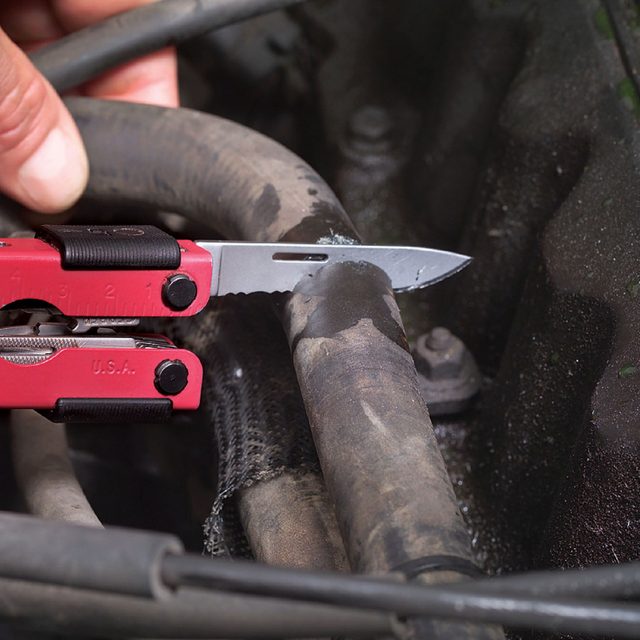
Cut out the bad section of hose
The leak may be at a fitting on the water pump or even at the heater core. If this is the case, you won’t need to use the coupling. Just cut the bad end off the hose, stretch the hose and reclamp it to the fitting. If the leak is along the hose, cut it at the leak and remove the bad section.
Step 4
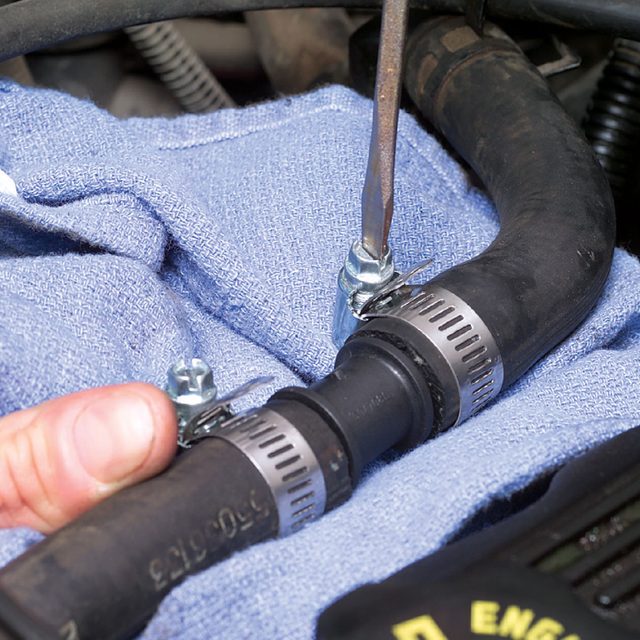
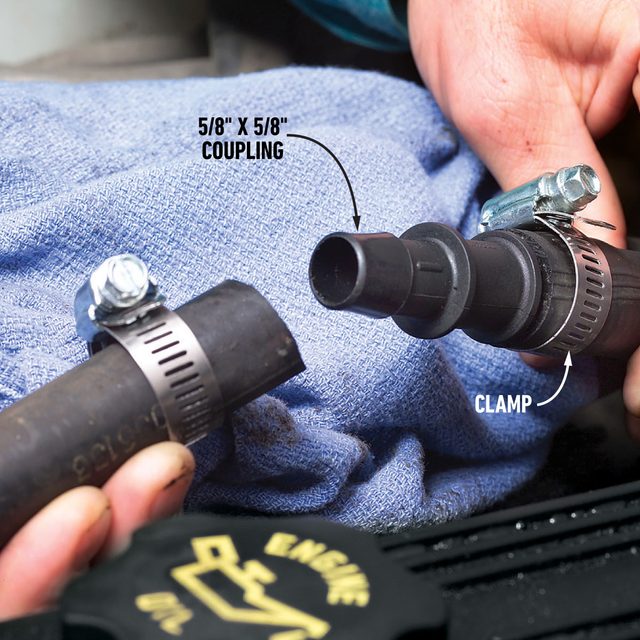
Push the hose firmly onto the coupling
Apply coolant to the coupling as a lubricant. Insert one end and tighten the clamp on it. Then slip the second clamp over the hose and push the other end of the coupling into the hose.
Step 5
Check the hose coupling
Hose couplings come in several sizes. Check your hose before buying.
Step 6
Tighten the clamps
Make sure you’ve slipped the hose onto the coupling and tightened both clamps. Don’t cowboy the hoses; they may be fragile and need replacement. Add water to your reservoir or radiator, or drive (no longer than 10 minutes!) to the nearest place you can get coolant.
This fix isn’t permanent, so make an appointment to have your hoses and coolant checked.