Replace the dirty, old carpet in an afternoon.
A full day
Intermediate
$200 - $600
Introduction
Replace the old dirty carpeting in your car with new pre-formed car carpet. It's an easy upgrade that you can do yourself.
You got a great deal on a “preowned” vehicle, but the carpeting in the car is simply a disaster. New carpeting is the best solution if it’s too far gone for removing stains and cleaning the car carpet. You can buy preformed car carpet replacement specifically for your car’s make, model and color and install it yourself.
Shop for car carpet replacement at an auto parts store or an auto carpet website. But make sure the carpet you buy is custom molded to fit your car’s floor pan and hump. Better car carpets include original factory features like a heel pad under the accelerator and brake pedal. Most manufacturers offer a “mass backing” that duplicates the padding and rigidity of the factory carpet, and an economy “poly” backing. Choose mass backing if you plan to keep the car, poly if you’re going to sell it in the near future.
Tools Required
- 4-in-1 screwdriver
- Drill/driver - cordless
- Socket/ratchet set
- Torx bit
- Utility knife
- Wrench set
Materials Required
- Chalk
- New carpet
- Rust converter
- Spray adhesive
Project step-by-step (6)
Step 1
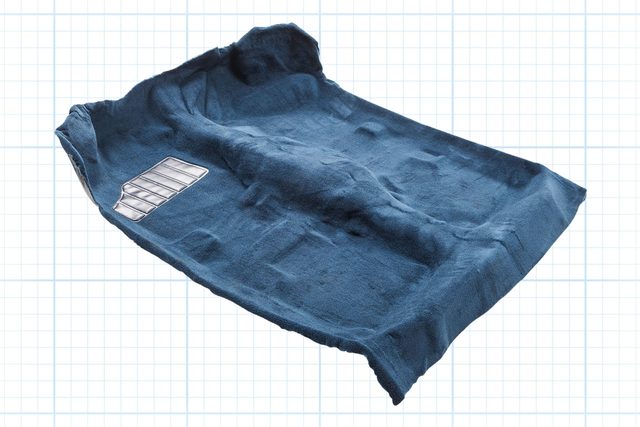
Lay out the car carpet replacement
When the carpet arrives, unroll it and let it sit on a flat surface for at least two hours to lose its curl.
Step 2
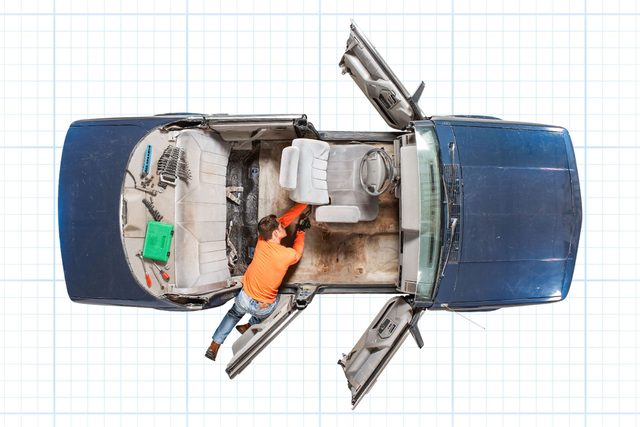
Remove the old carpet
While the carpet is “uncurling,” start removing the trim and seats to expose the old car carpet for removal. Detach the door sill covers and remove the kick panels from the bottom of the front pillars.
Step 3
Remove the seats
Unscrew/unsnap any trim pieces from the seat tracks so you can get to the four nuts that secure the seat to the floor pan studs. You may also have to remove the seat belt anchor bolts; you may need Torx bits for these bolts.
Disconnect any electrical connectors under each seat and lift the seats up and out. You may need to call in a helper for this part. Then, remove the rear seat cushion. If you have a console, remove the shifter knob and all the fasteners. Lift the console out of the vehicle and pull out the old carpet and pad. But don’t throw out the old car carpet just yet; you’ll need it.
Vacuum the floor pan and check for rust. Treat rusted areas with a rust converter and paint them with rust-inhibiting paint.
Step 4
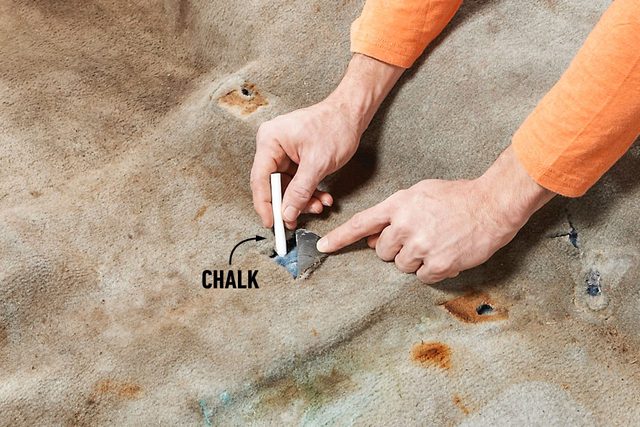
Mark openings
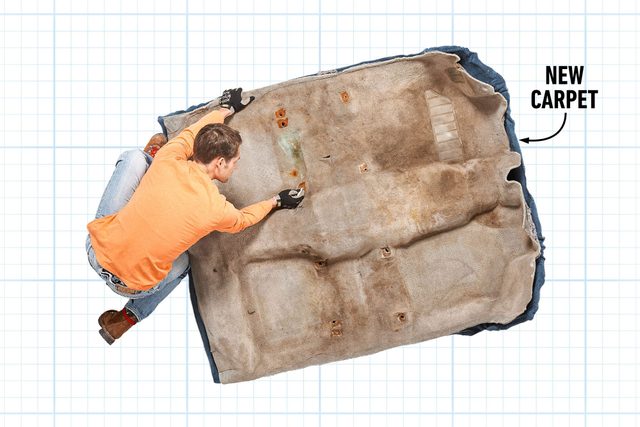
Using the old car carpet as a template, trace the cutouts onto the new carpet with chalk. Next, move the carpet into the vehicle and double-check your cutout marks with the actual stud and anchor points on the floor pan. When you’re confident the marks are in the right places, cut X-shaped openings at each chalk mark. Fit the openings over the studs and feed the electrical cables through.
Step 5
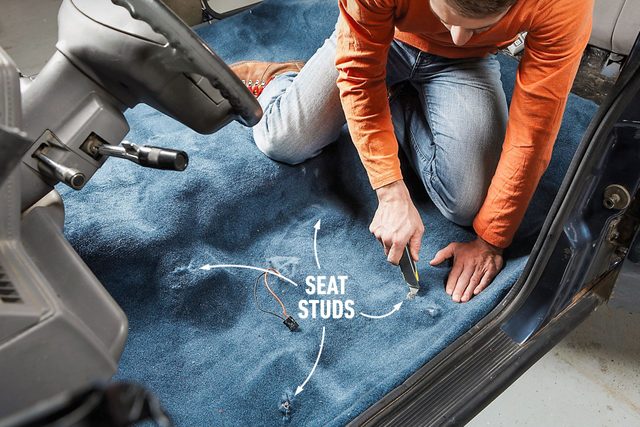
Enlarge openings
Enlarge the openings once the carpet is fully in place and you’re sure the fit is right.
Step 6
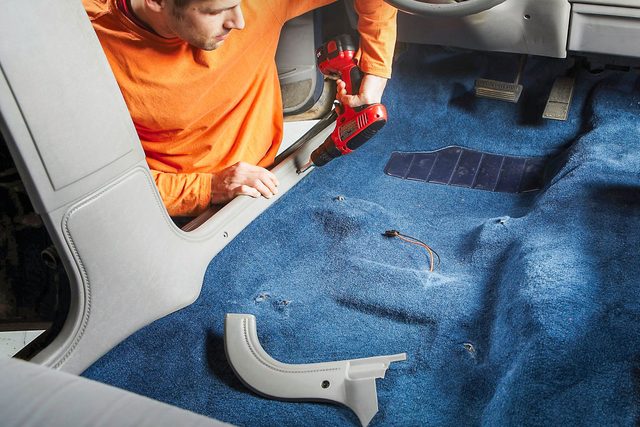
Replace the parts
Cut off excess carpet at the door sills and apply a light coating of spray adhesive to the back of the carpet where it rides up onto the firewall. Then reinstall the seats and trim and reconnect the electrical connectors. Enjoy the look and feel of your new car carpet— and maybe buy a set of no-spill coffee mugs.