Frustrated by a loose, wobbling chair? This step-by-step walkthrough shows how to fix a wobbly chair's loose connections.
Our editors and experts handpick every product we feature. We may earn a commission from your purchases.Learn more.


Frustrated by a loose, wobbling chair? This step-by-step walkthrough shows how to fix a wobbly chair's loose connections.
Our editors and experts handpick every product we feature. We may earn a commission from your purchases.Learn more.
2 - 3 hours plus drying time
Beginner
Under $50
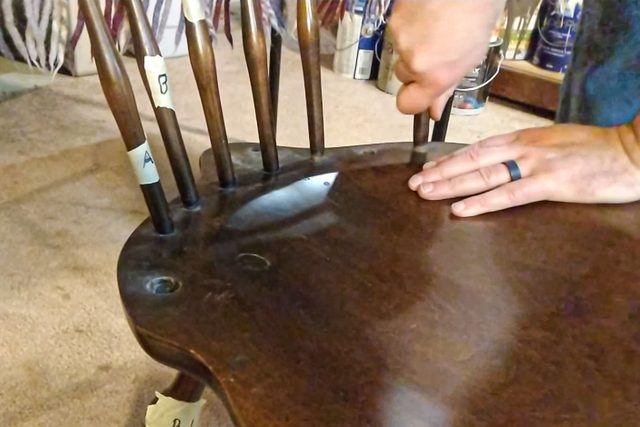
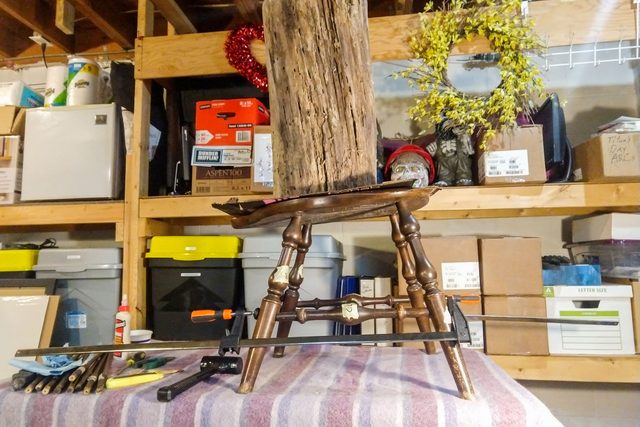
Typically, a wooden chair becomes wobbly because the joints connecting the legs, seat and back come loose. You can pull them together with a quick fix, but a better long-term solution is to completely disassemble and re-glue the chair.
That may sound intimidating, but it's a surprisingly easy project, and a satisfying way to learn about furniture making.
Here are a few tips, before I explain the how-to steps:
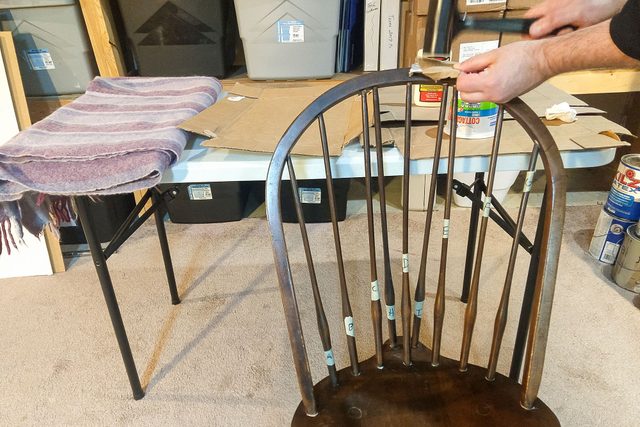
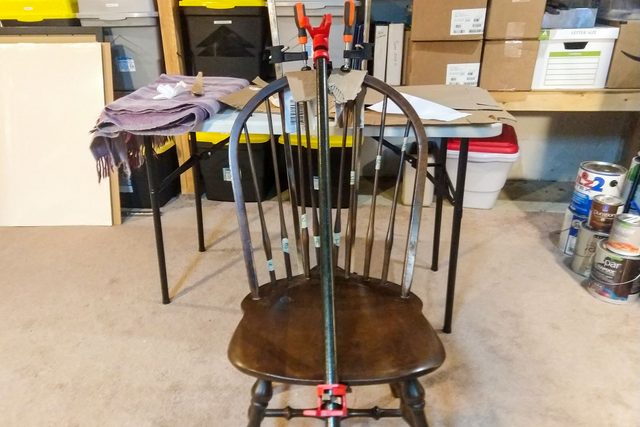
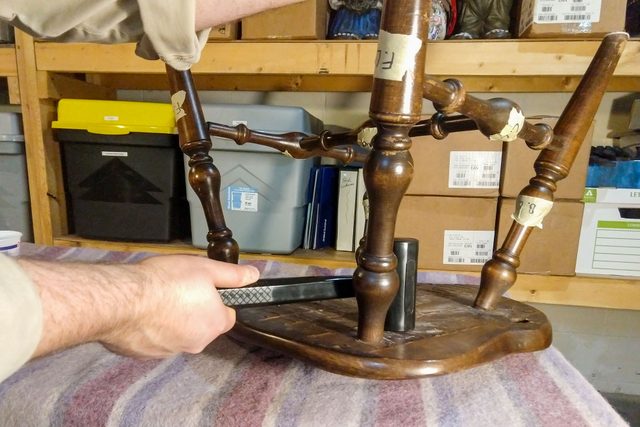
I selected a Windsor chair for this project because it has many parts to disassemble, making it a great learning template. But that's only one of many chair designs. Take the steps in this project and modify them as needed for your specific chairs. Some modern chairs have easily accessible bolts that can be tightened to eliminate wobbly chair legs. Also, you may find that some joints on your chair are already very solid, and don't need to be taken apart. If so, feel free to leave them alone! (I left the center rung on my chair in place during disassembly.)
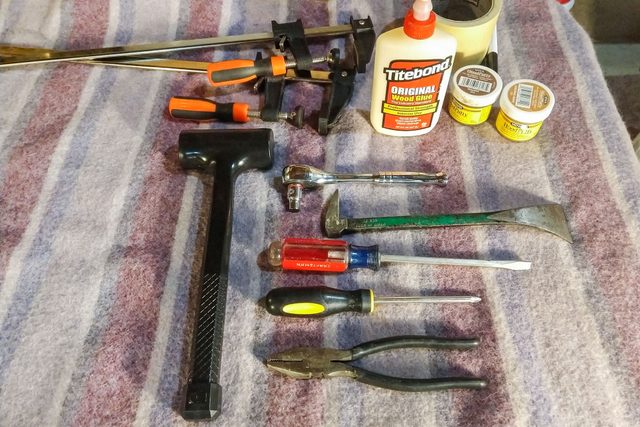
A deadblow hammer is hugely helpful for easy chair disassembly. Readily available in hardware stores or online, deadblow hammers contain loose metal shot that adds impact and minimizes rebound, while the plastic body isn't damaging to your work material. They're not technically necessary, but considering that rubber mallets bounce too much and metal-head hammers easily mar the furniture surface, a deadblow hammer definitely make the job easier.
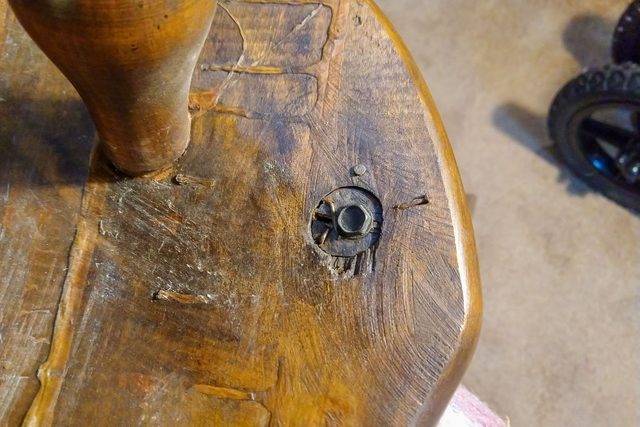
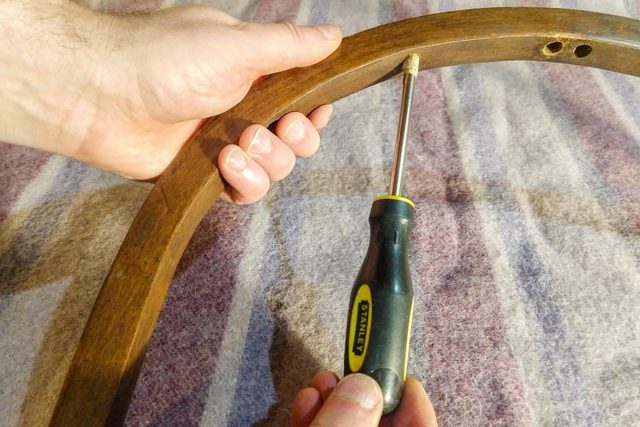
Many chair parts are bound with screws or nails as well as glue. Not all of these fasteners are obvious. You may have to look for small screw or nail holes patched with filler that matches the chair finish. You may have to dig out nails with a screwdriver or chisel, and it's always possible to still miss one. (On this chair I removed a screw and four nails from a single back joint, only to find two additional nails when I disassembled it.)
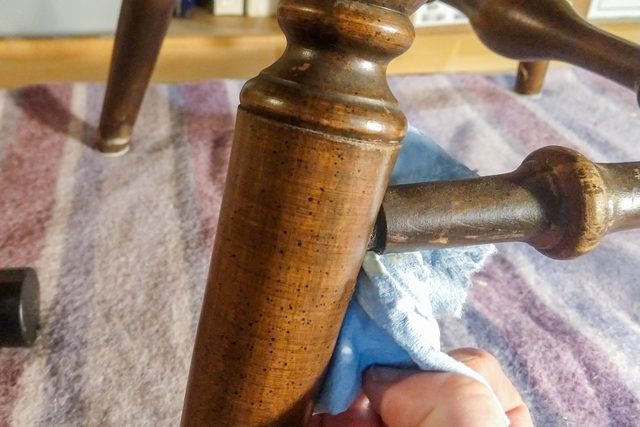
If you do miss a nail, there's a good chance the wood might split as you knock the chair apart. Don't panic! The damage is more cosmetic than structural and is easily repaired. Pull out the nail and save all damaged wood pieces for re-gluing and clamping during reassembly.
If a rail or rung has split, there’s an easy fix. You’ll need to use a bit of scrap wood or a shim, and possibly some wood stain and finish to make the fix invisible.
Some joints are just too damaged to allow for a tight glue joint, especially when repairing areas that have broken several times. Epoxy filler, however, can get the joint working again.
With the chair disassembled, cleaned, and any split rails repaired, it’s now time to put it back together!
I chose to do the legs and back on consecutive days, but it’s possible to do it all at once.